Quick Start
This guide walks you through connecting Google Workspace and creating your first managed identity. By the end, you will have a working identity with credentials you can reveal and use.
Time to complete: 5 minutes.
- An AccessHive account with Agency Owner access
- Google Workspace (GWS) admin access – super-admin is recommended for provisioning
Quick start versus full onboarding
This guide covers the five essential steps to get you up and running. For the complete onboarding process – including client setup, team invitations, and compliance configuration – see the Full Onboarding Guide.
| Step | Quick start | Full onboarding |
|---|---|---|
| Connect Google Workspace | Yes | Yes |
| Configure naming template | Yes | Yes |
| Create first identity | Yes | Yes |
| Verify provisioning | Yes | Yes |
| Reveal credentials | Yes | Yes |
| Set up clients and portfolios | – | Yes |
| Invite team members and assign roles | – | Yes |
| Configure approval policies | – | Yes |
| Connect additional identity sources | – | Yes |
| Enable compliance reporting | – | Yes |
Step-by-step walkthrough
Step 1 – Connect Google Workspace
Navigate to Settings > Identity Sources > Google Workspace and click Connect. Complete the OAuth flow using a super-admin Google account. When prompted, grant the Admin SDK and Directory API scopes. Once the flow completes, the connection status shows Connected with mode set to Provisioning.
Google Workspace (GWS) is the foundation for managed identities. AccessHive creates domain users through GWS, which means the connection must be active before you can provision managed identities.
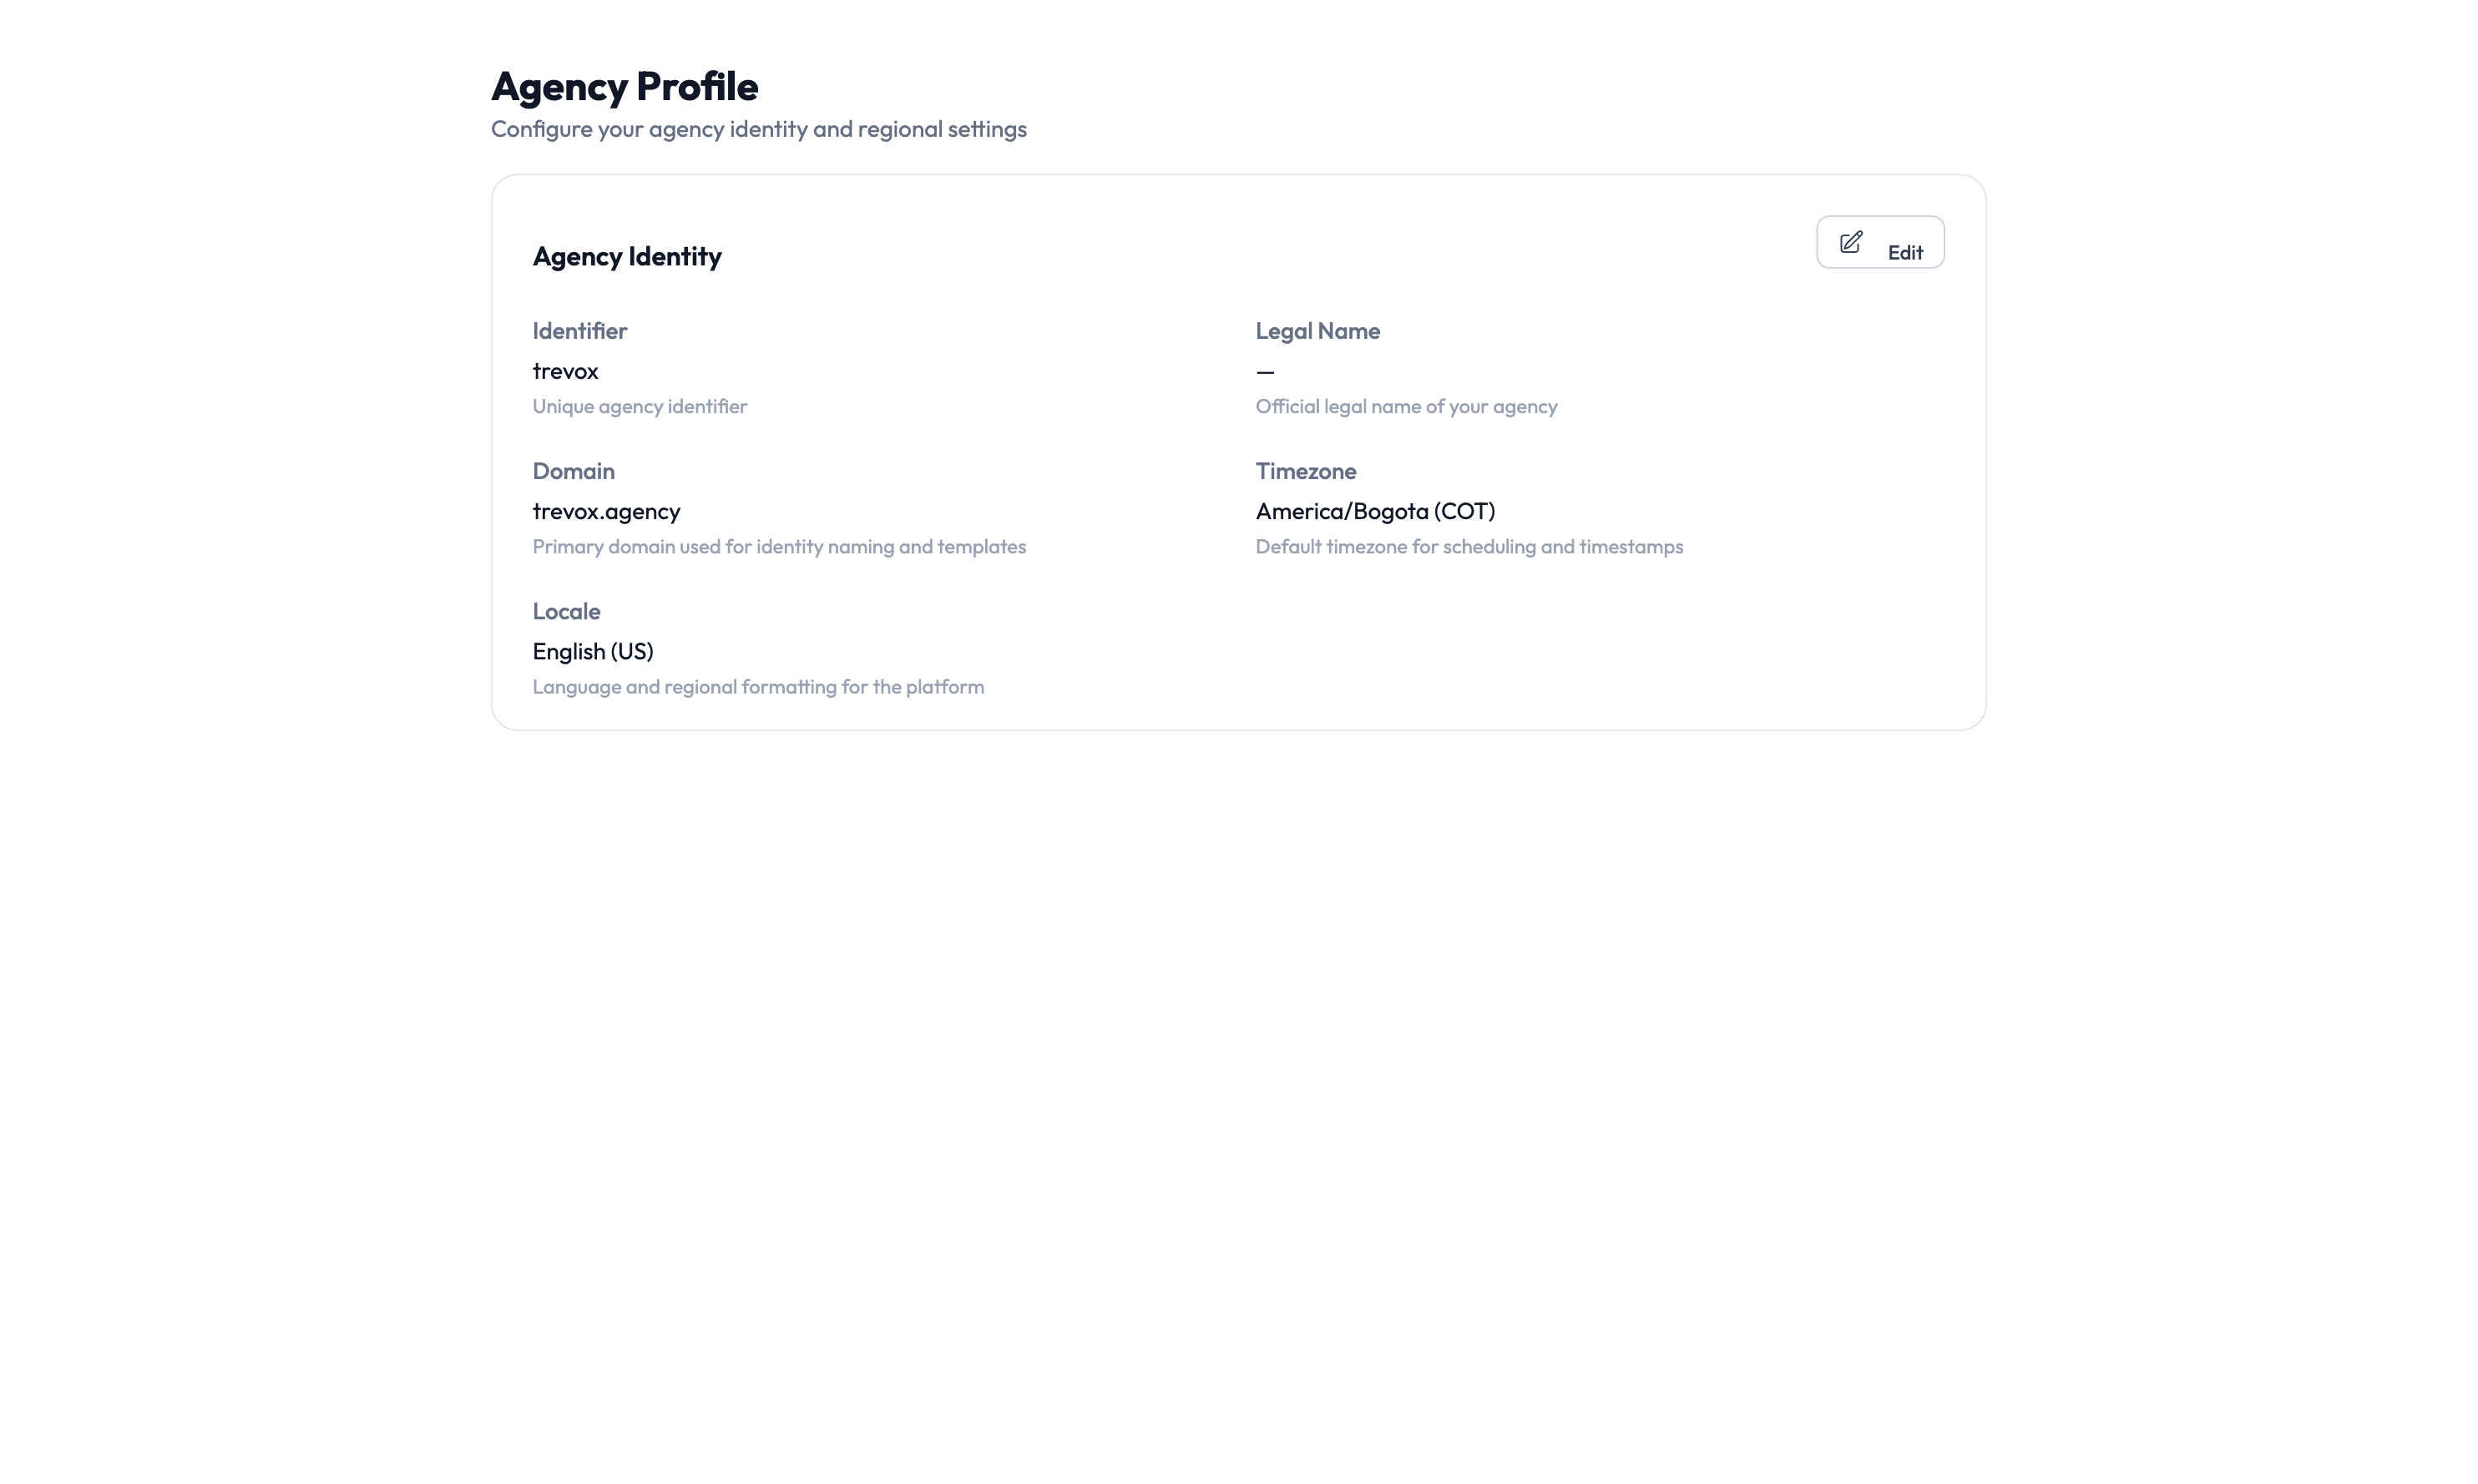
Step 2 – Configure the naming template
Go to Settings > Agency Profile > PAM Settings. Set the naming template that AccessHive uses when creating new domain users. A common pattern is {platform_key}@{agency_domain}, which generates usernames like meta@youragency.com or ga4@youragency.com.
While you are here, set the default identity type for new identities.
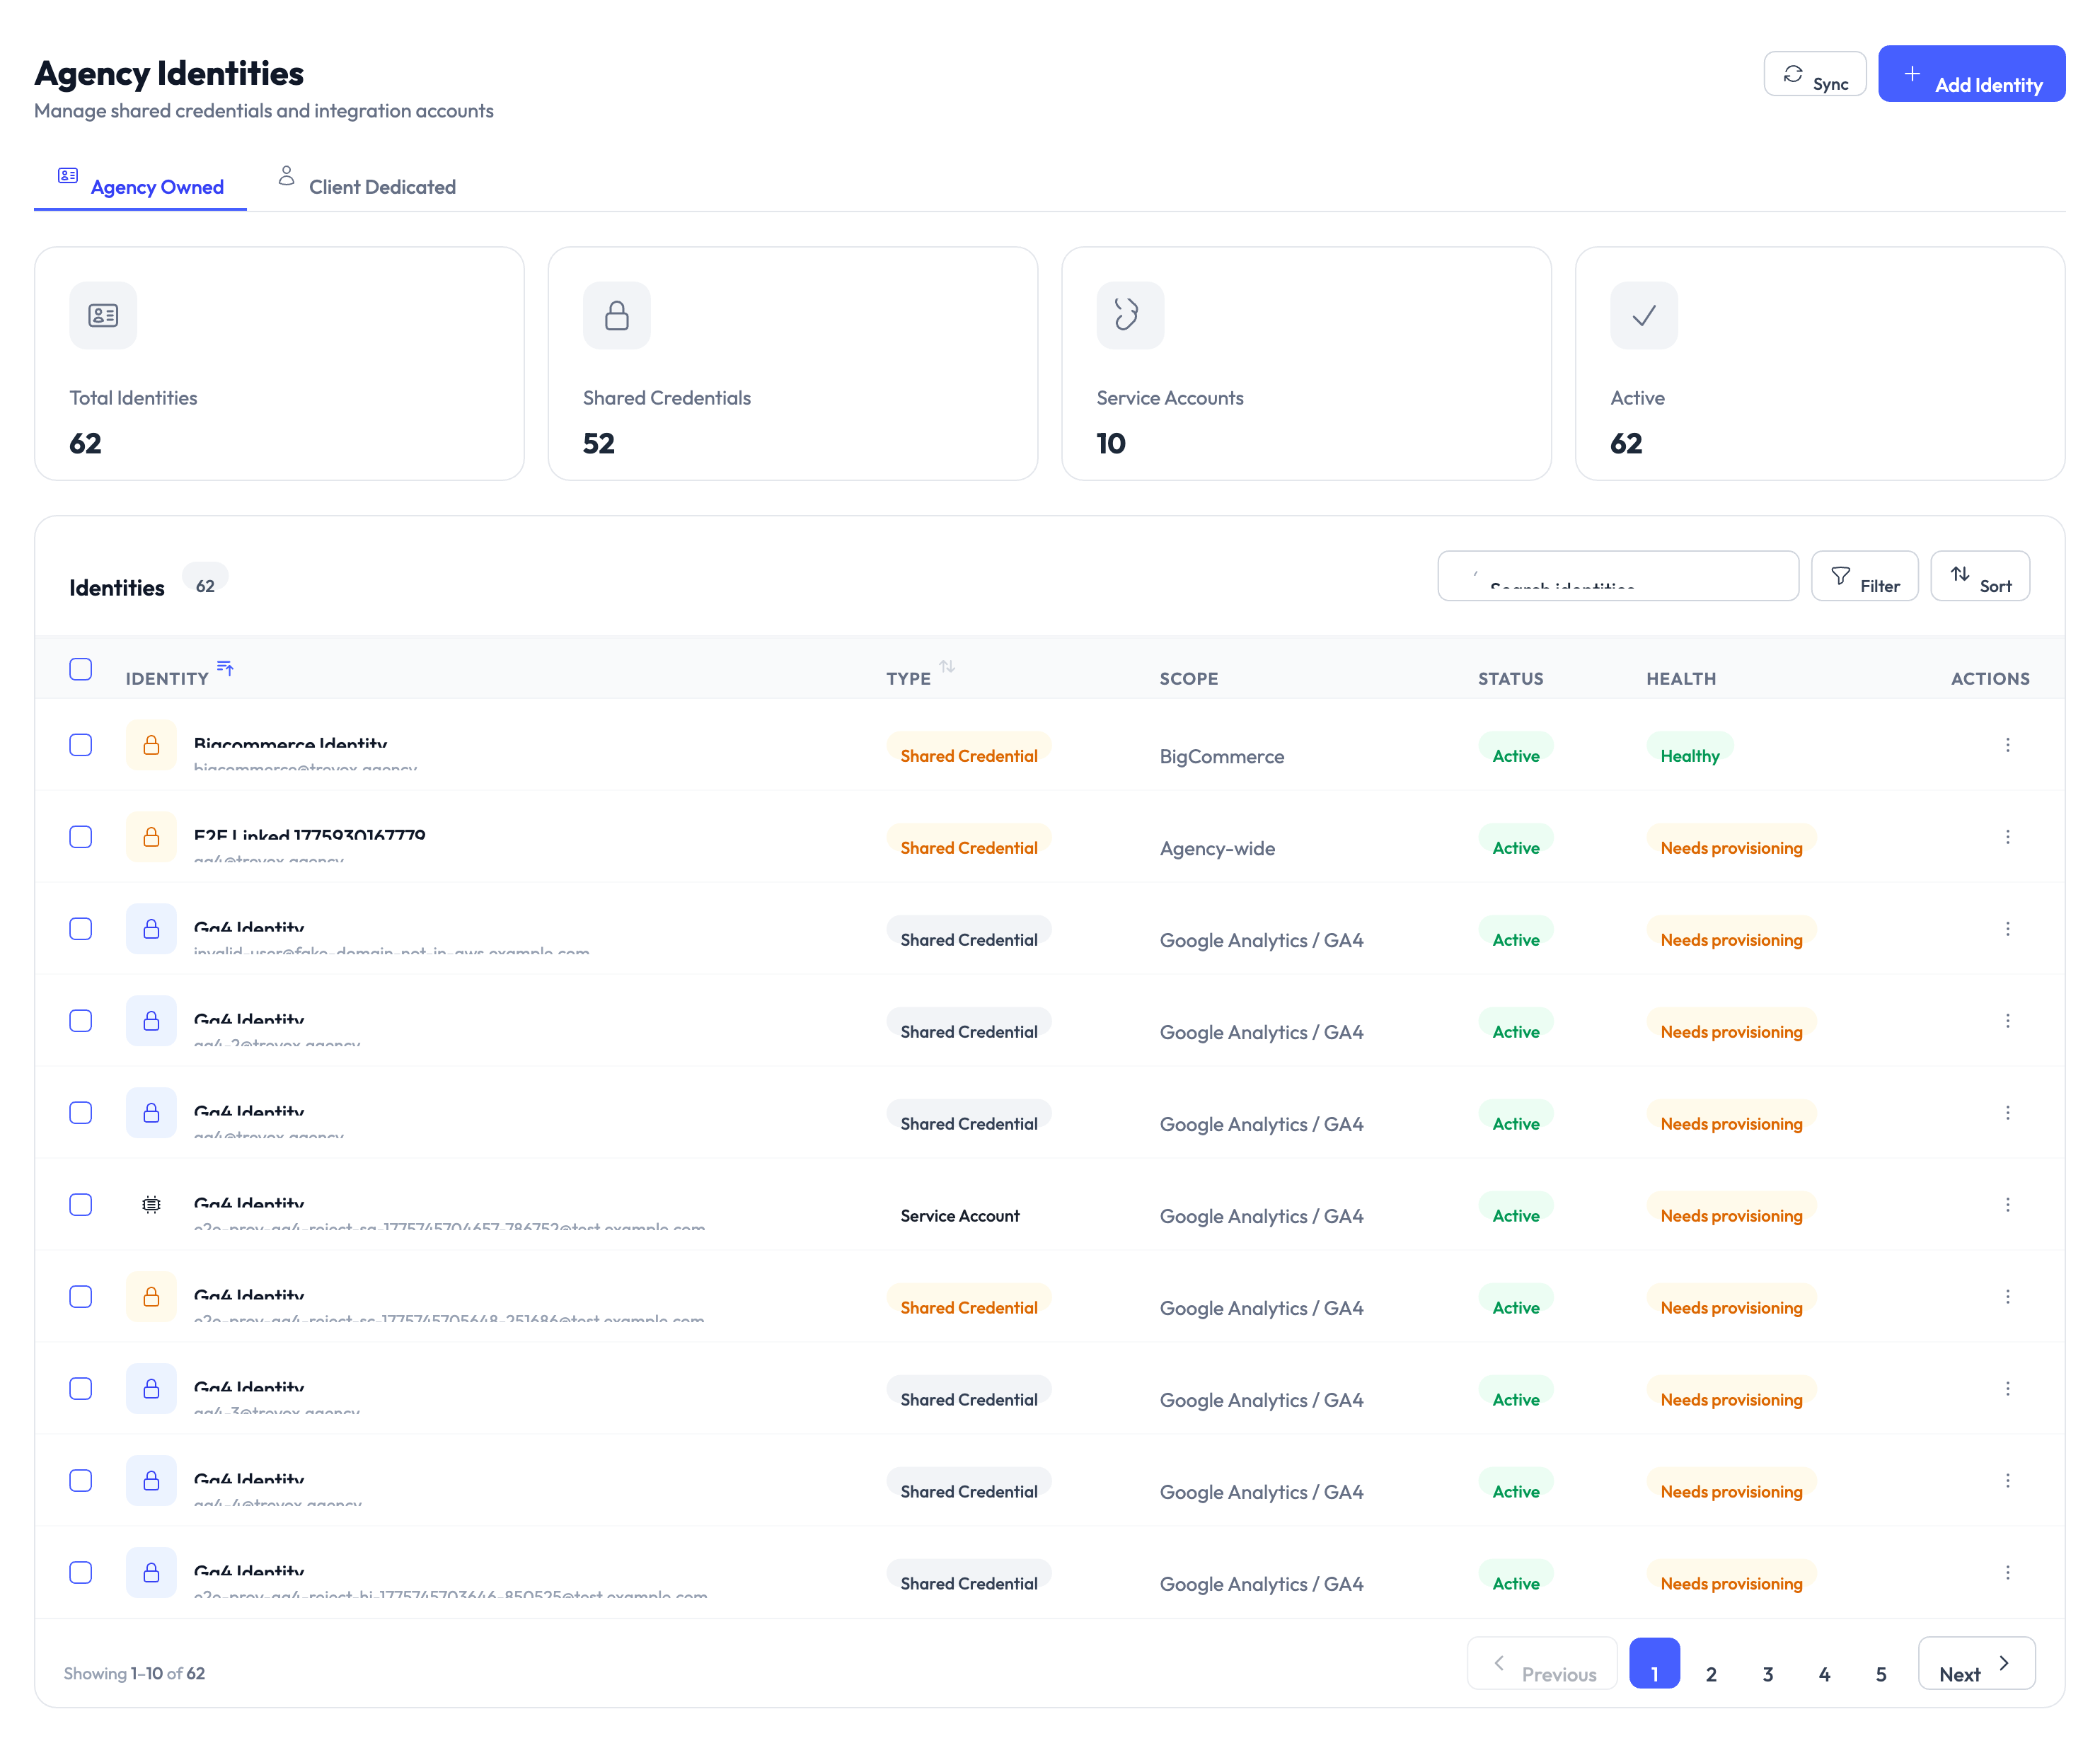
Step 3 – Create your first identity
Navigate to Identities > New Identity. Select Shared Credential as the identity type, choose a platform (for example, Meta), and pick External mode. Enter a username and password, then click Create.
For details on which fields are required for each identity type, see Identity Field Requirements.
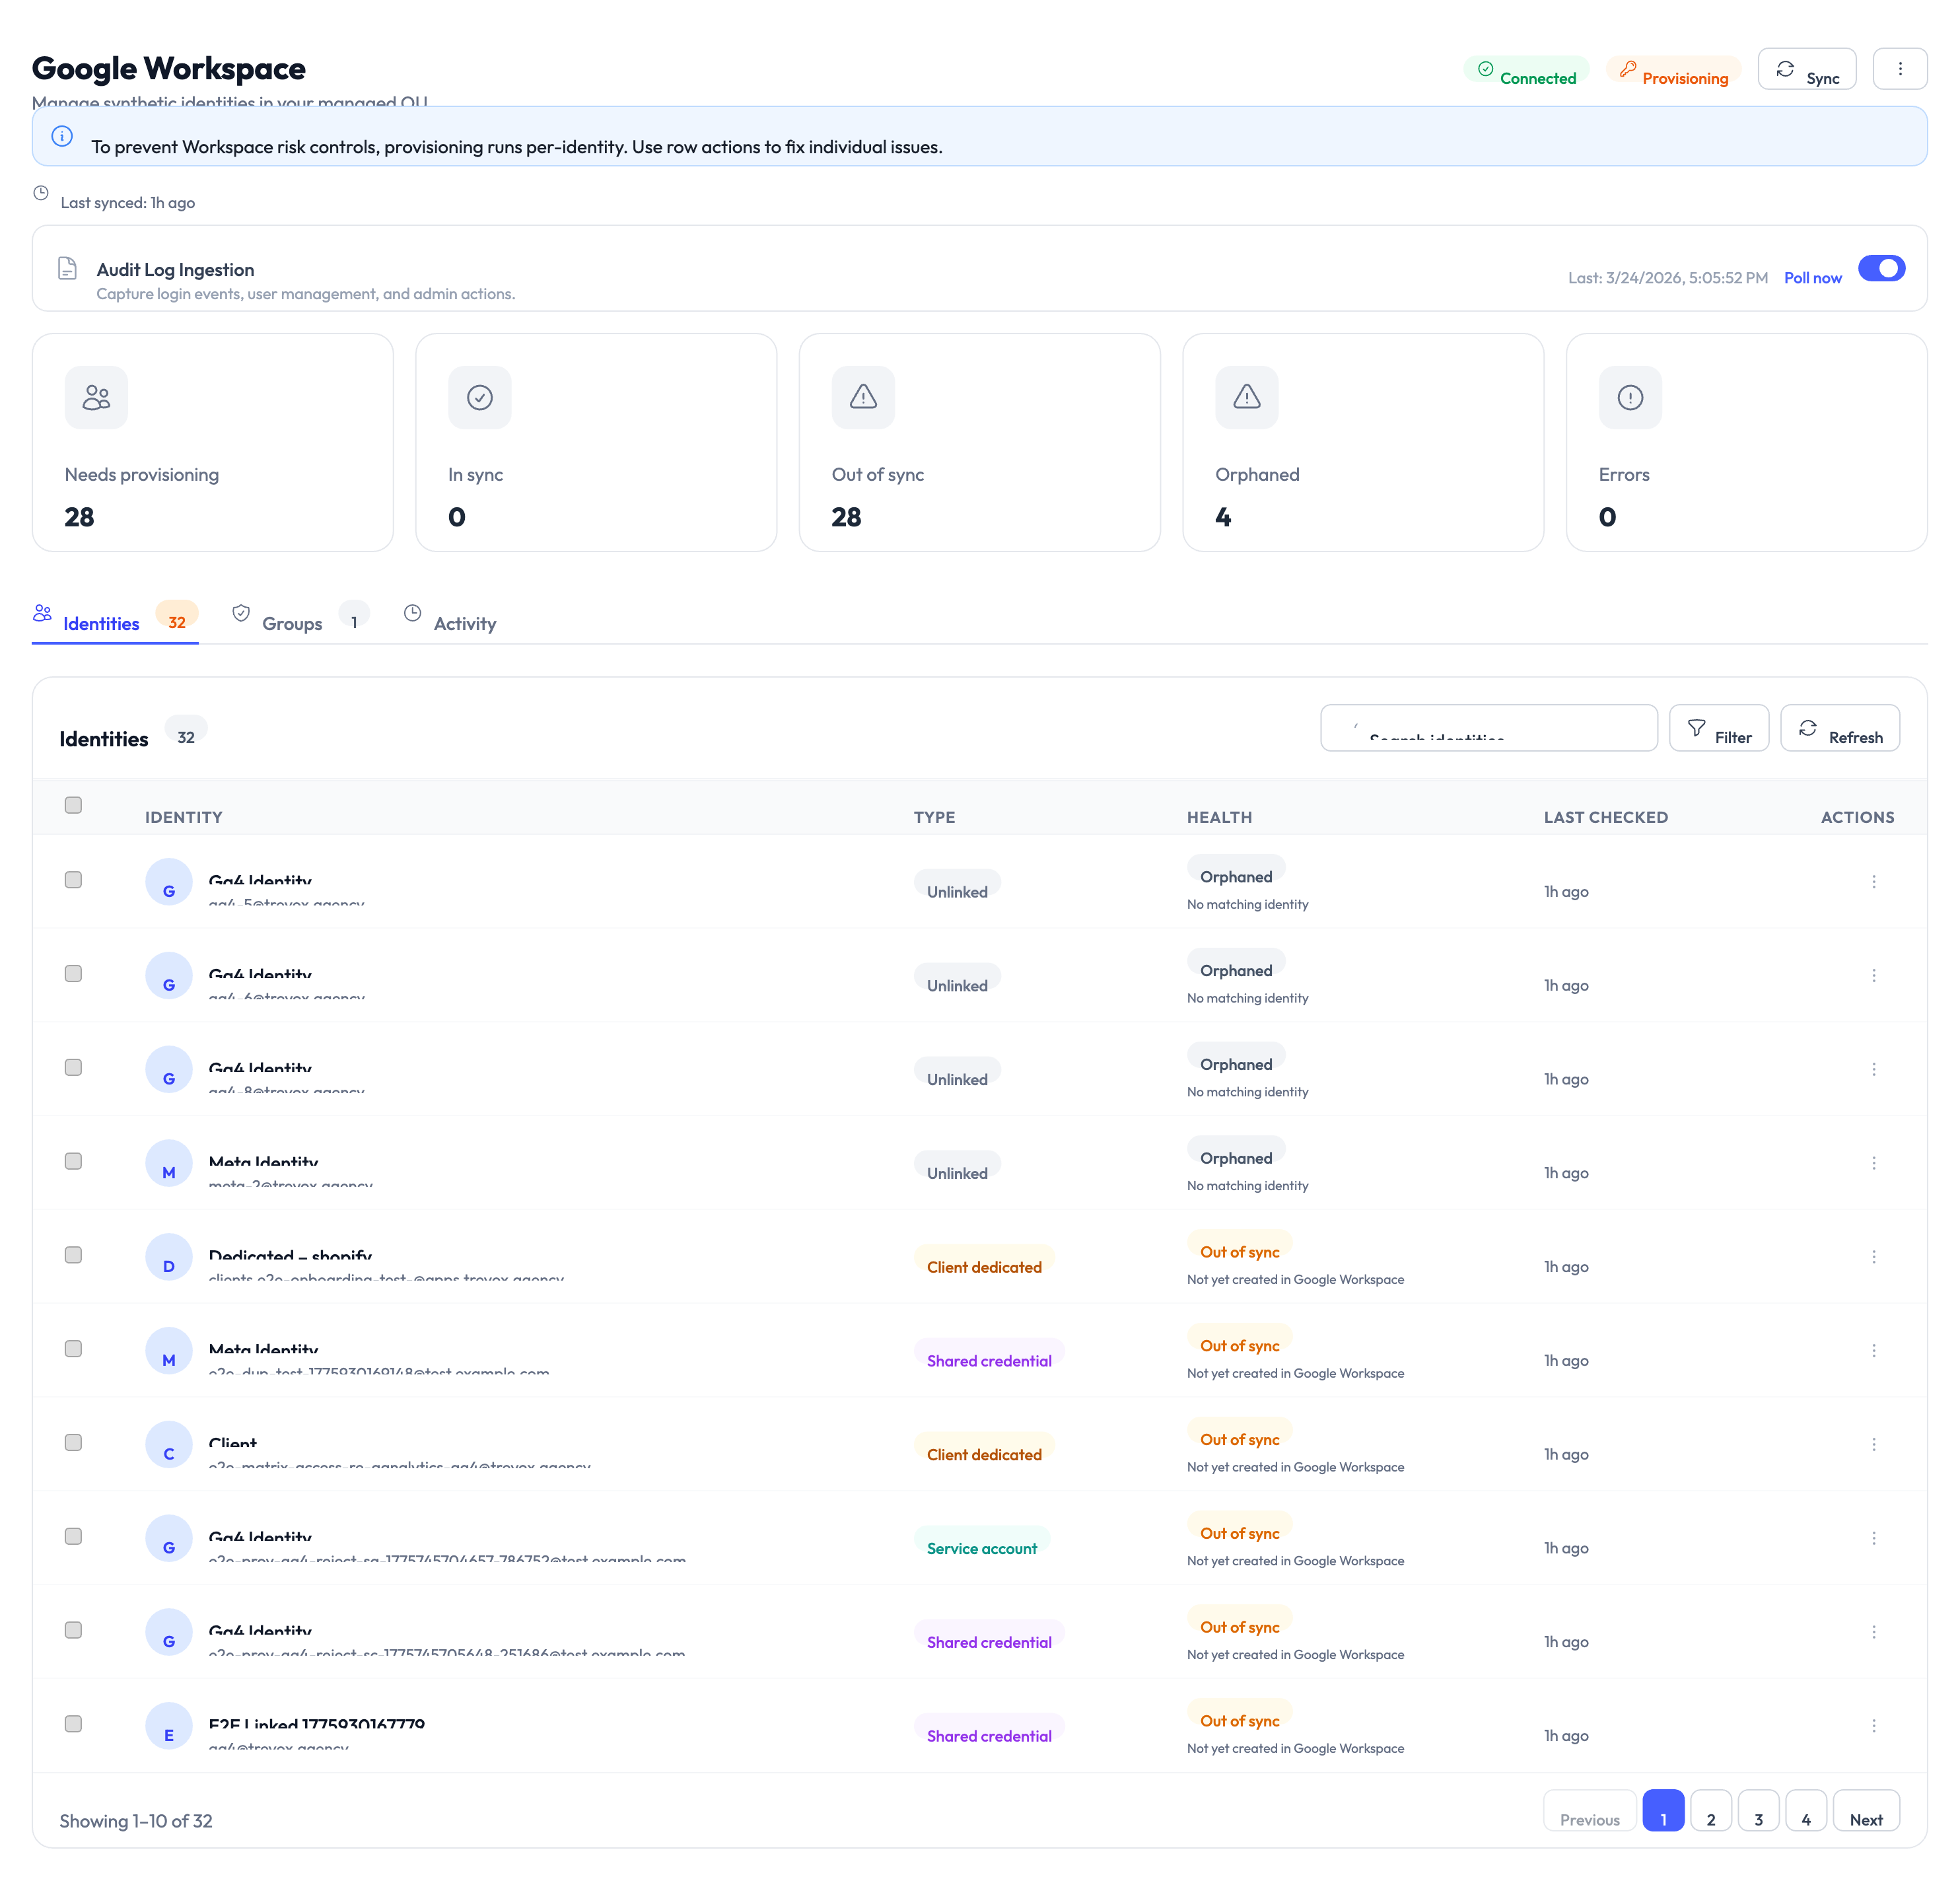
Step 4 – Verify provisioning
For credentials-only platforms like Meta and Shopify, the identity status shows Provisioned immediately after creation. For platforms that require Google Workspace (such as GA4), provisioning takes 5-15 seconds while AccessHive creates the domain user.
To understand all provisioning statuses, see Provisioning States.
Step 5 – Reveal credentials
Open the identity detail page and click Reveal. Credentials are displayed for 30 seconds before the reveal window expires. After expiry, click Reveal again to view them.
For more on credential management, see Managing Credentials.
Something went wrong?
Google Workspace connection failed during OAuth
Cause: The Google account used does not have sufficient admin permissions, or the required API scopes were not granted.
Resolution: Retry the connection using a super-admin Google account and make sure to approve all requested scopes. See the Google Workspace Guide for detailed setup instructions.
Identity is stuck at Pending
Cause: The background job that provisions the identity has not completed. This can happen if the worker is busy or if there is a connection issue with Google Workspace.
Resolution: Wait 30 seconds and refresh the page. If the identity is still Pending, navigate to Settings > Jobs to check the job status. See Troubleshooting for more help.
Credential reveal shows nothing
Cause: The identity may not have finished provisioning, or there may be a vault access issue.
Resolution: Confirm the identity status is Provisioned before attempting a reveal. If the status is Provisioned and the reveal is still empty, contact your agency administrator.
What’s next?
- Learn about identity types – Understand the differences between all five types. See Identity Types.
- Create identities for every platform – Walk through the full creation wizard. See Creating Identities.
- Set up your clients – Organize client accounts, assign identities, and manage team access. See Client Management.
- Configure privileged access – Set up credential checkout, session monitoring, and rotation policies. See PAM Sessions.
- Complete the full onboarding – Cover all ten setup steps including teams, policies, and compliance. See Full Onboarding Guide.