Agency Onboarding
This guide walks you through setting up a new AccessHive agency from scratch. By the end, your agency will have platforms connected, team members invited, and everything ready to start managing client access.
Time to complete: About 30 minutes for the full setup.
- You need an AccessHive account with the Admin role.
- Have your marketing platform credentials ready (Google Ads, Meta, Shopify, etc.).
- If you plan to use Google Workspace for identity provisioning, have your super-admin credentials available.
The onboarding checklist
When you first sign in, the dashboard shows a guided checklist. Complete each step in order – later steps depend on earlier ones.
Step 1 – Configure your agency profile
Go to Settings > Agency Profile. Set your agency name, logo, domain, and regional settings. These appear throughout the platform and in client-facing communications.
Step 2 – Connect an identity source
Navigate to Settings > Identity Sources. Connect Google Workspace or Microsoft Entra ID to enable single sign-on (SSO) and user directory sync. This step is required if you want the system to automatically create and manage user accounts.
See Google Workspace Setup for detailed instructions.
Step 3 – Add your first platform
Browse the platform catalog at Platforms > Catalog. Find your first marketing platform, click Add, and complete the connection flow. The platform needs to reach Operational state before you can assign access.
See Platform Connections for the full walkthrough.
Step 4 – Create access items
Define what roles and permissions are available on your connected platform. These become the items that clients can request. Go to the platform detail page and open the Access Items tab.
Step 5 – Invite your team
Add team members in Settings > Users & Roles. Assign each person an appropriate role:
- Admin – Full access to all settings and operations.
- Approver – Can approve or deny access requests.
- Client Manager – Manages client accounts and their platform access.
Step 6 – Create your first client
Add a client account with their details, contacts, and team assignments. This is where you manage all of their platform access going forward.
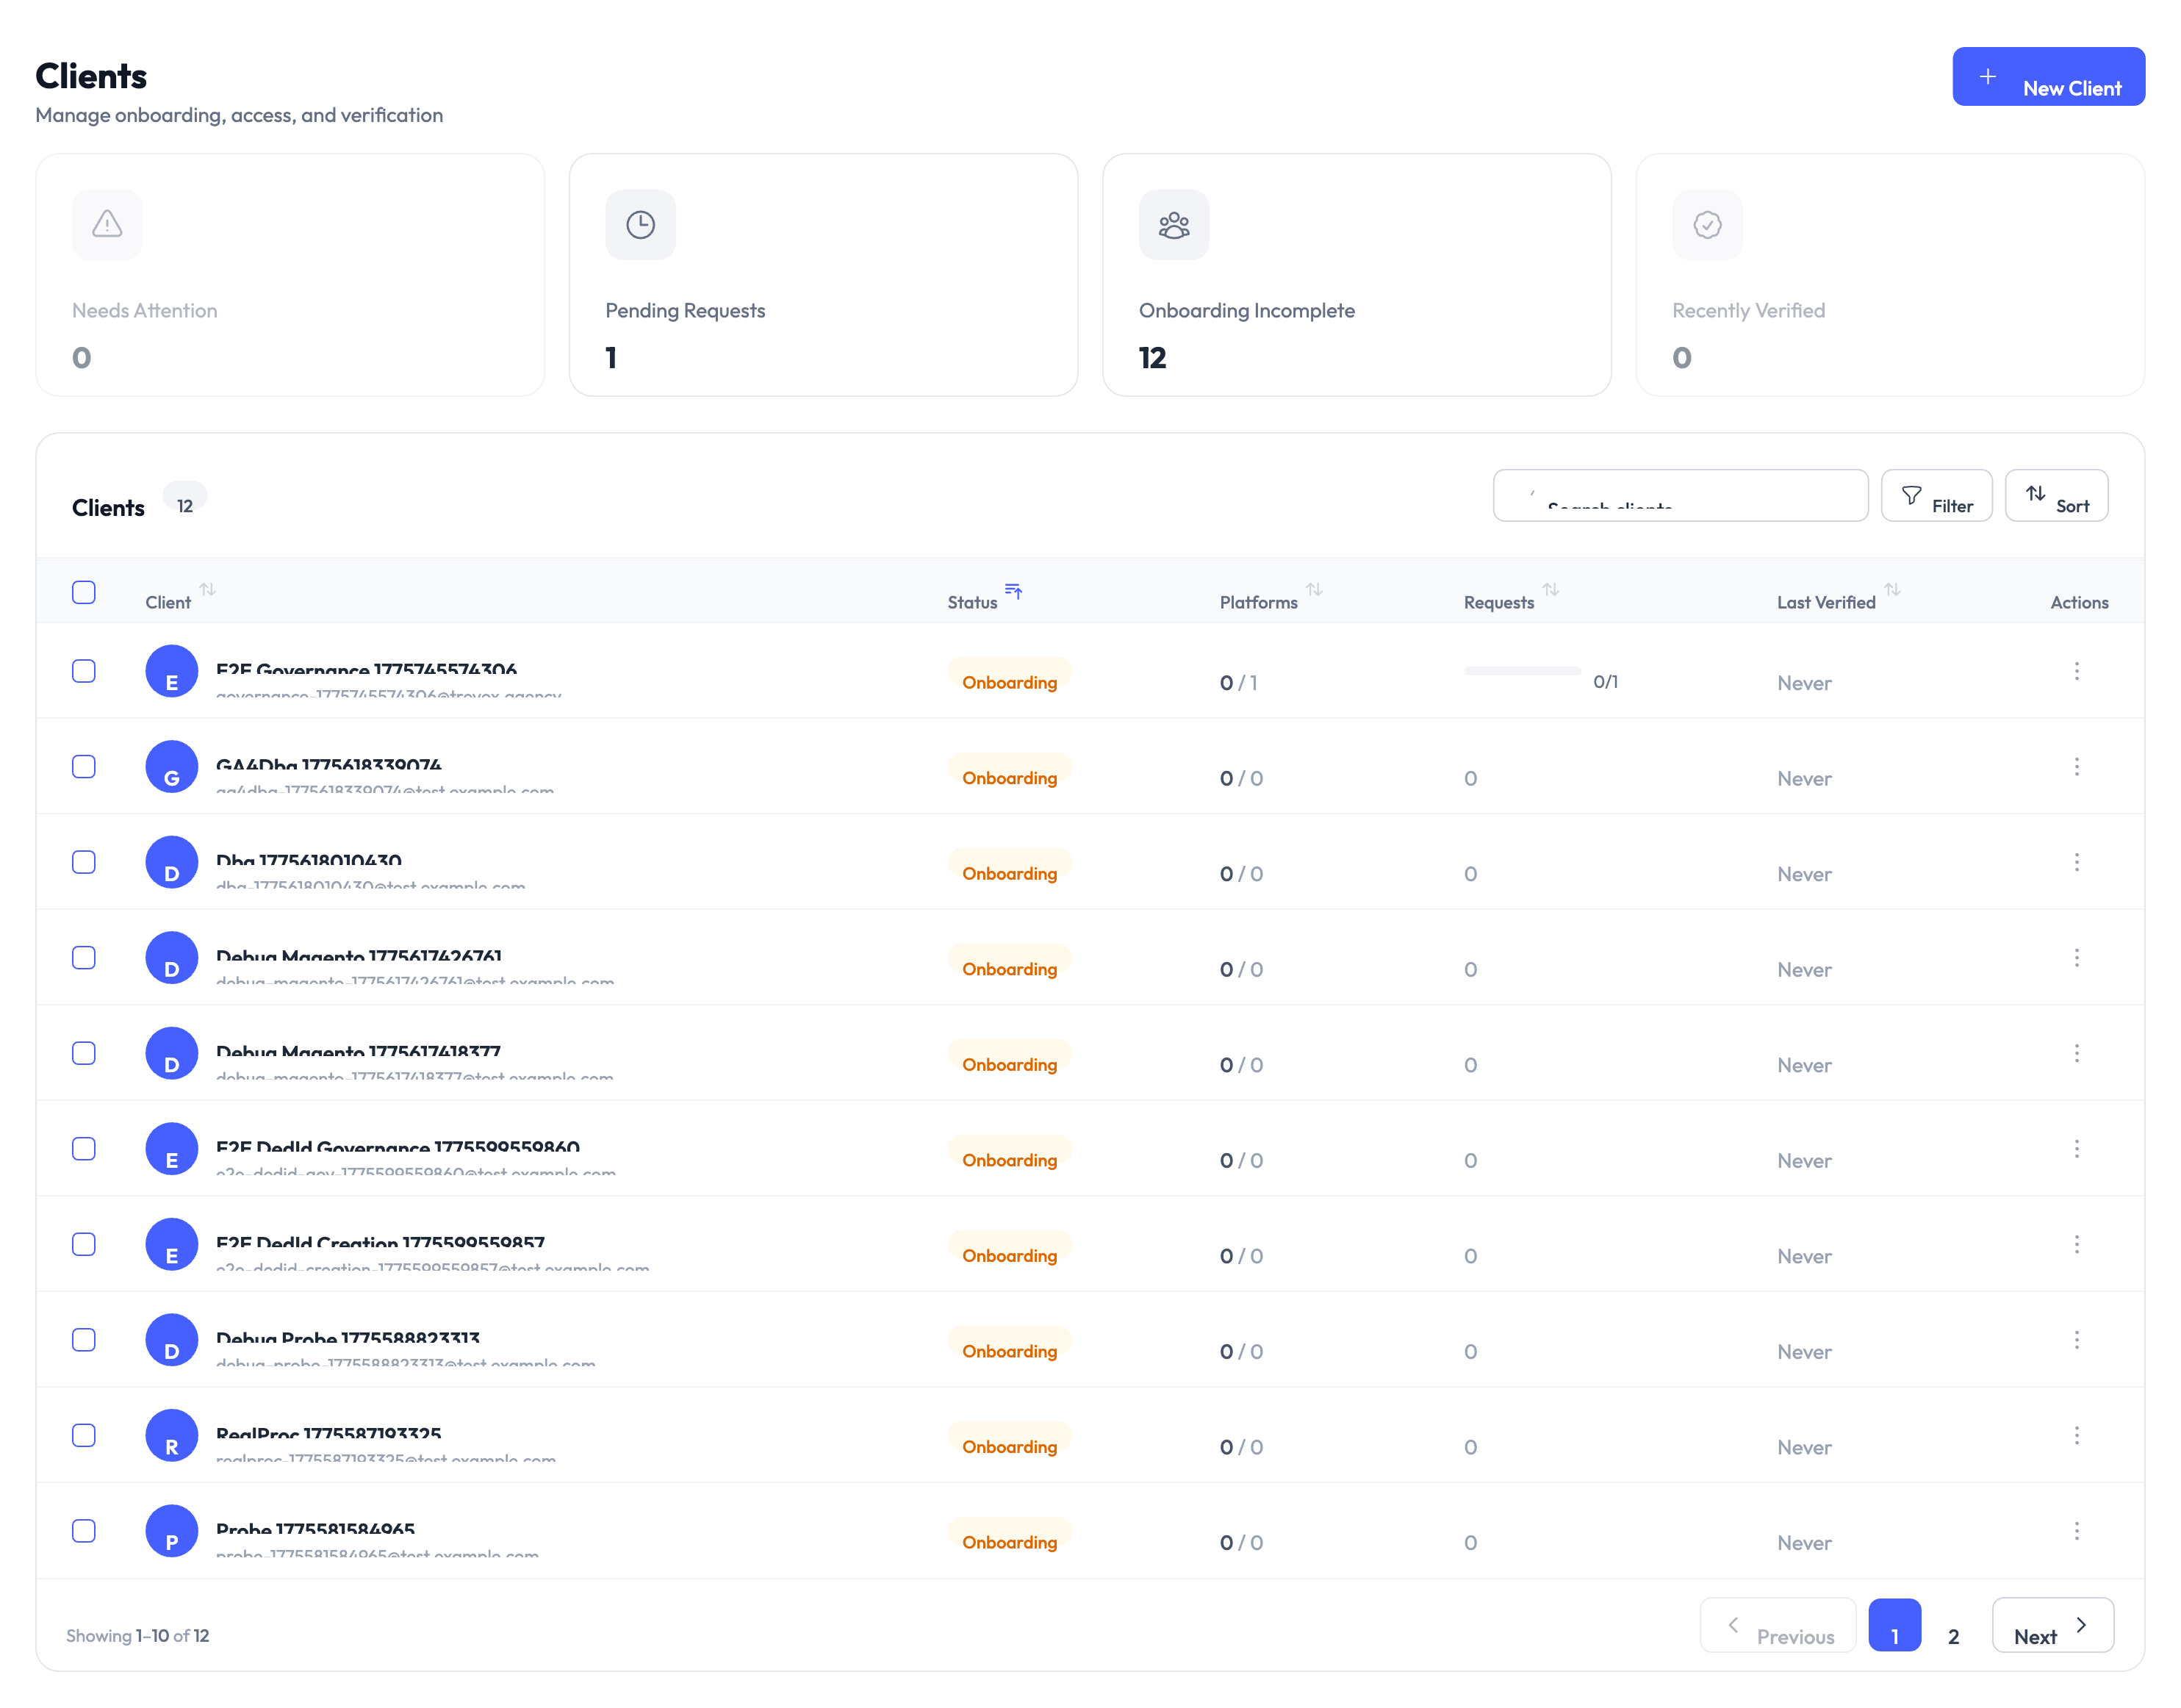
See Client Management for the full walkthrough.
Step 7 – Configure approval policies
Set up approval workflows for access requests. Define risk levels, auto-approval rules, and escalation policies. These control how quickly team members get access and how much oversight is required.

See Governance for details on policy options.
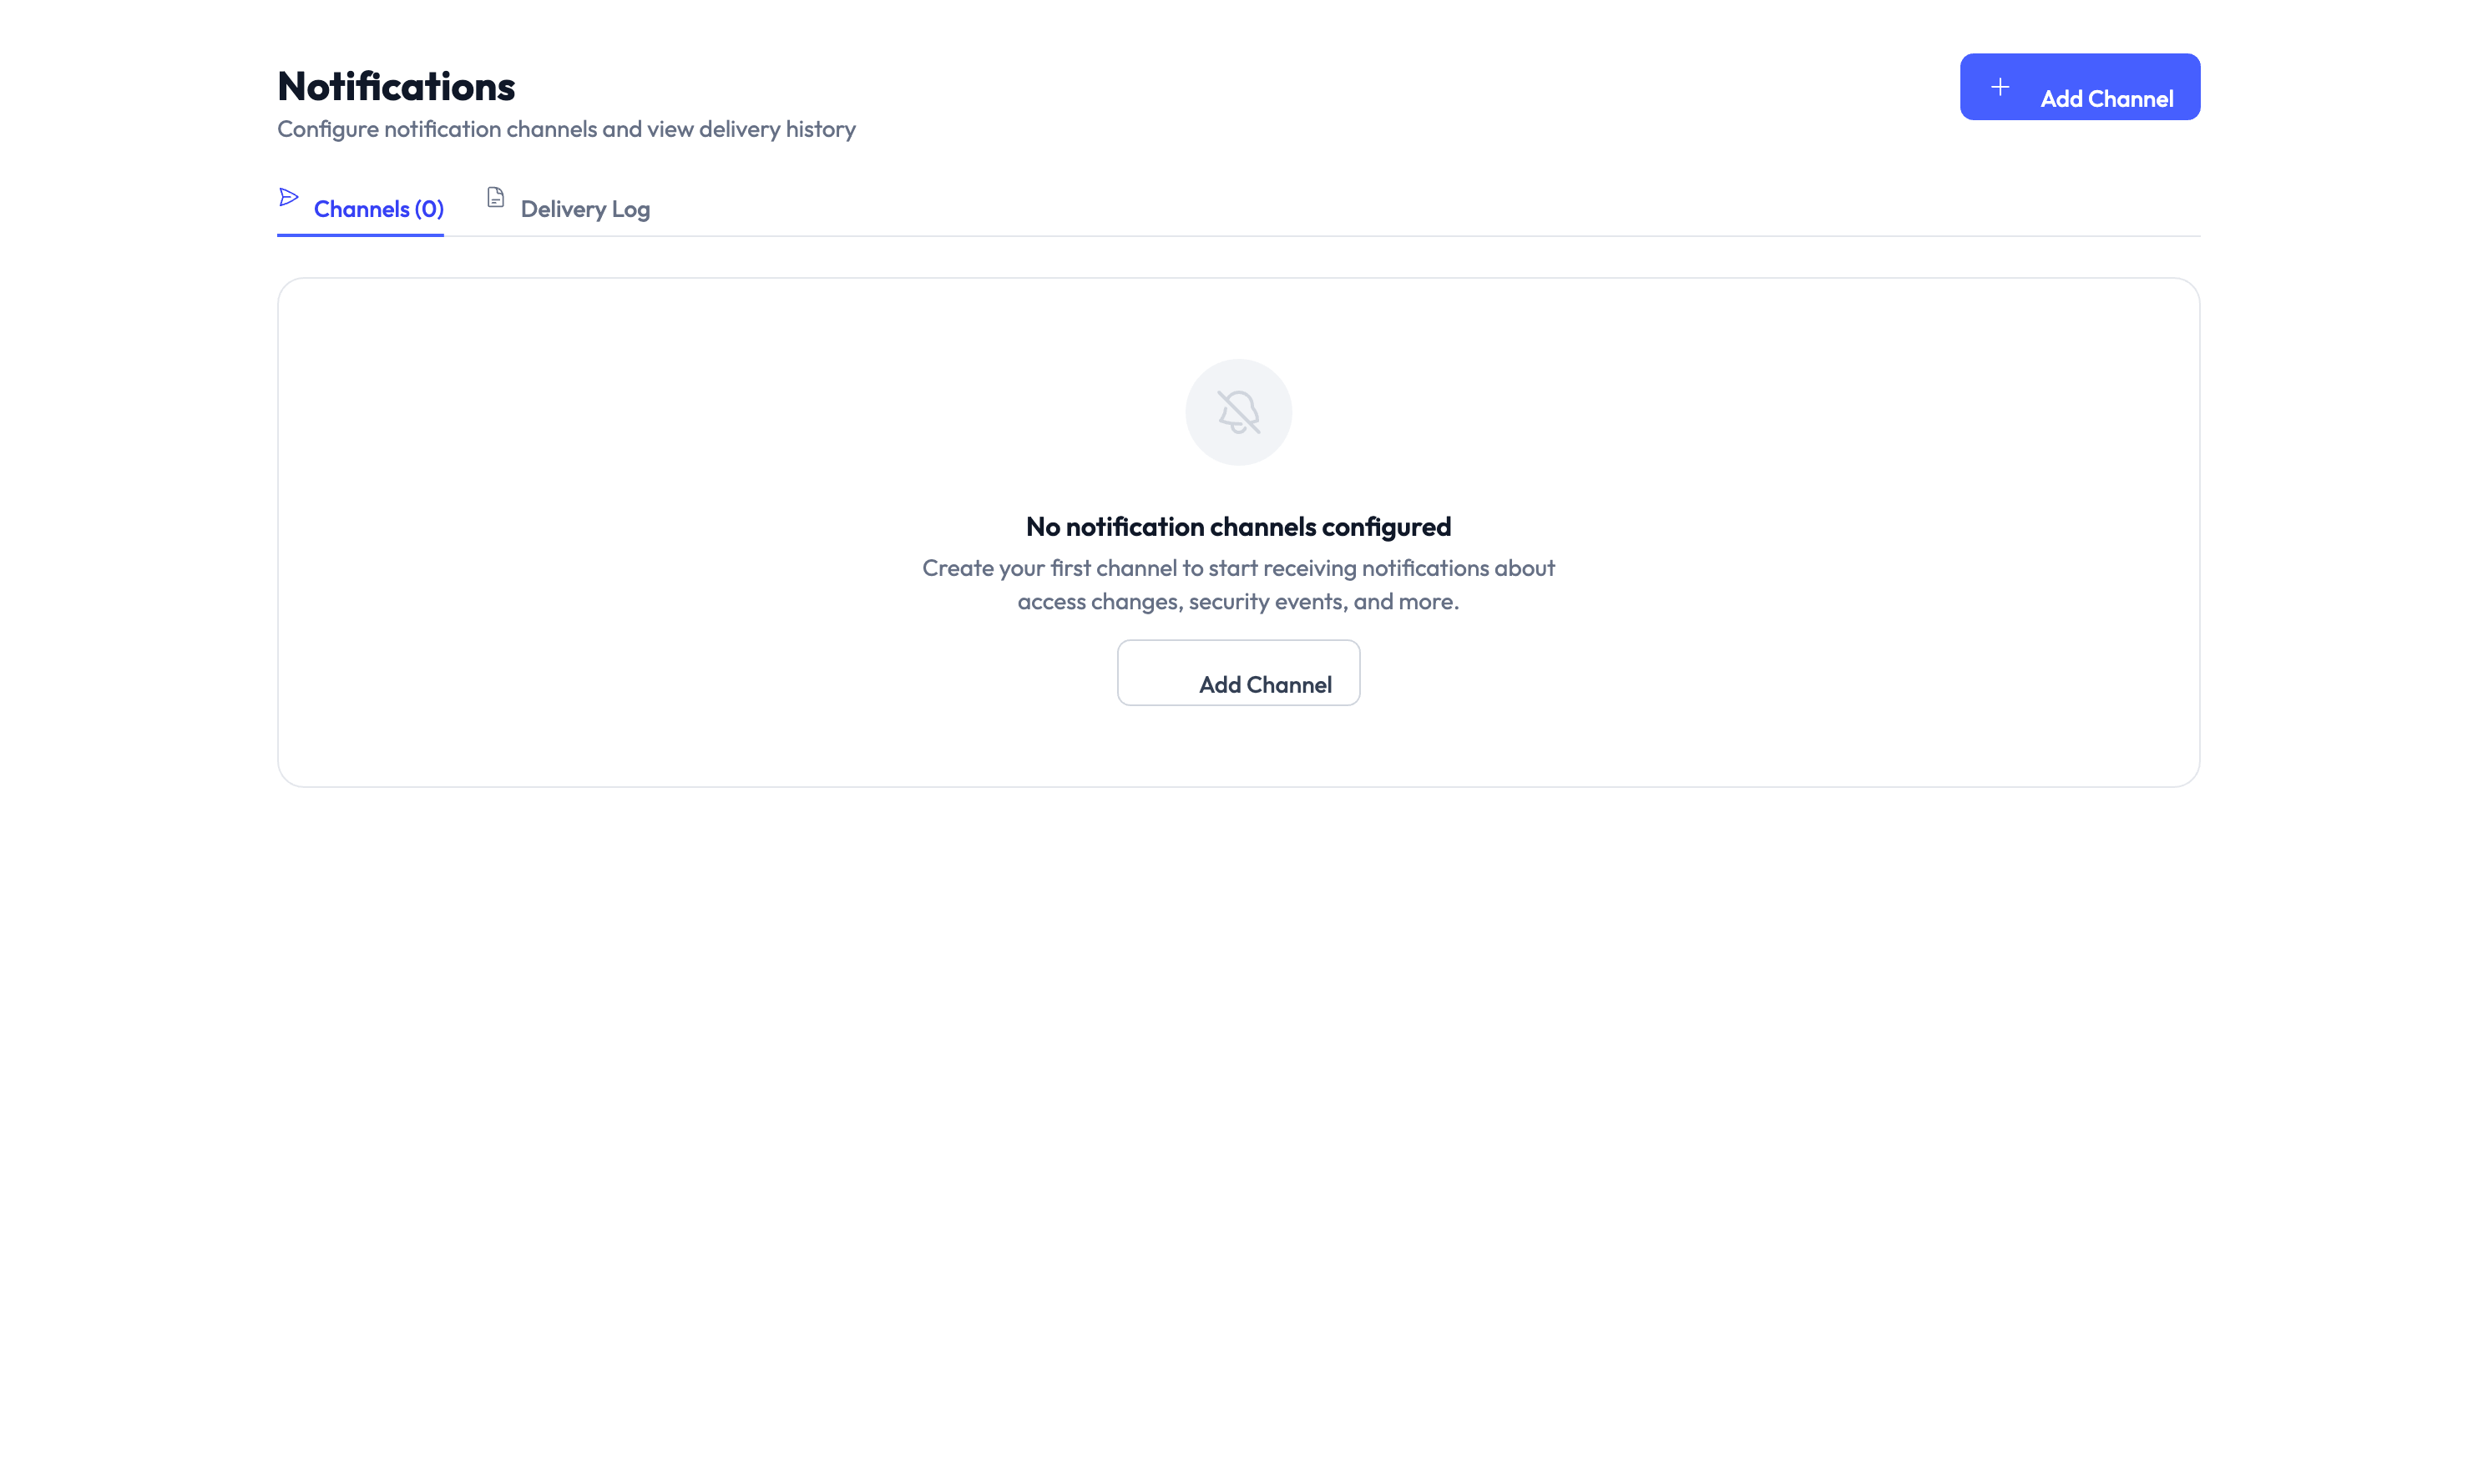
Step 8 – Set up notifications
Configure email, Slack, or Teams notifications for key events: access requests, approvals, credential rotations, and policy violations. Go to Settings > Notifications.
Step 9 – Create role templates
Define reusable access patterns for common job functions. Templates speed up client onboarding because you can apply a standard set of permissions in one step instead of configuring each item individually.

See Role Templates for setup instructions.
Step 10 – Configure Privileged Access Management settings
Set default checkout durations, approval requirements, and credential rotation policies for shared credentials. These defaults apply to all new identities unless overridden at the client or identity level.
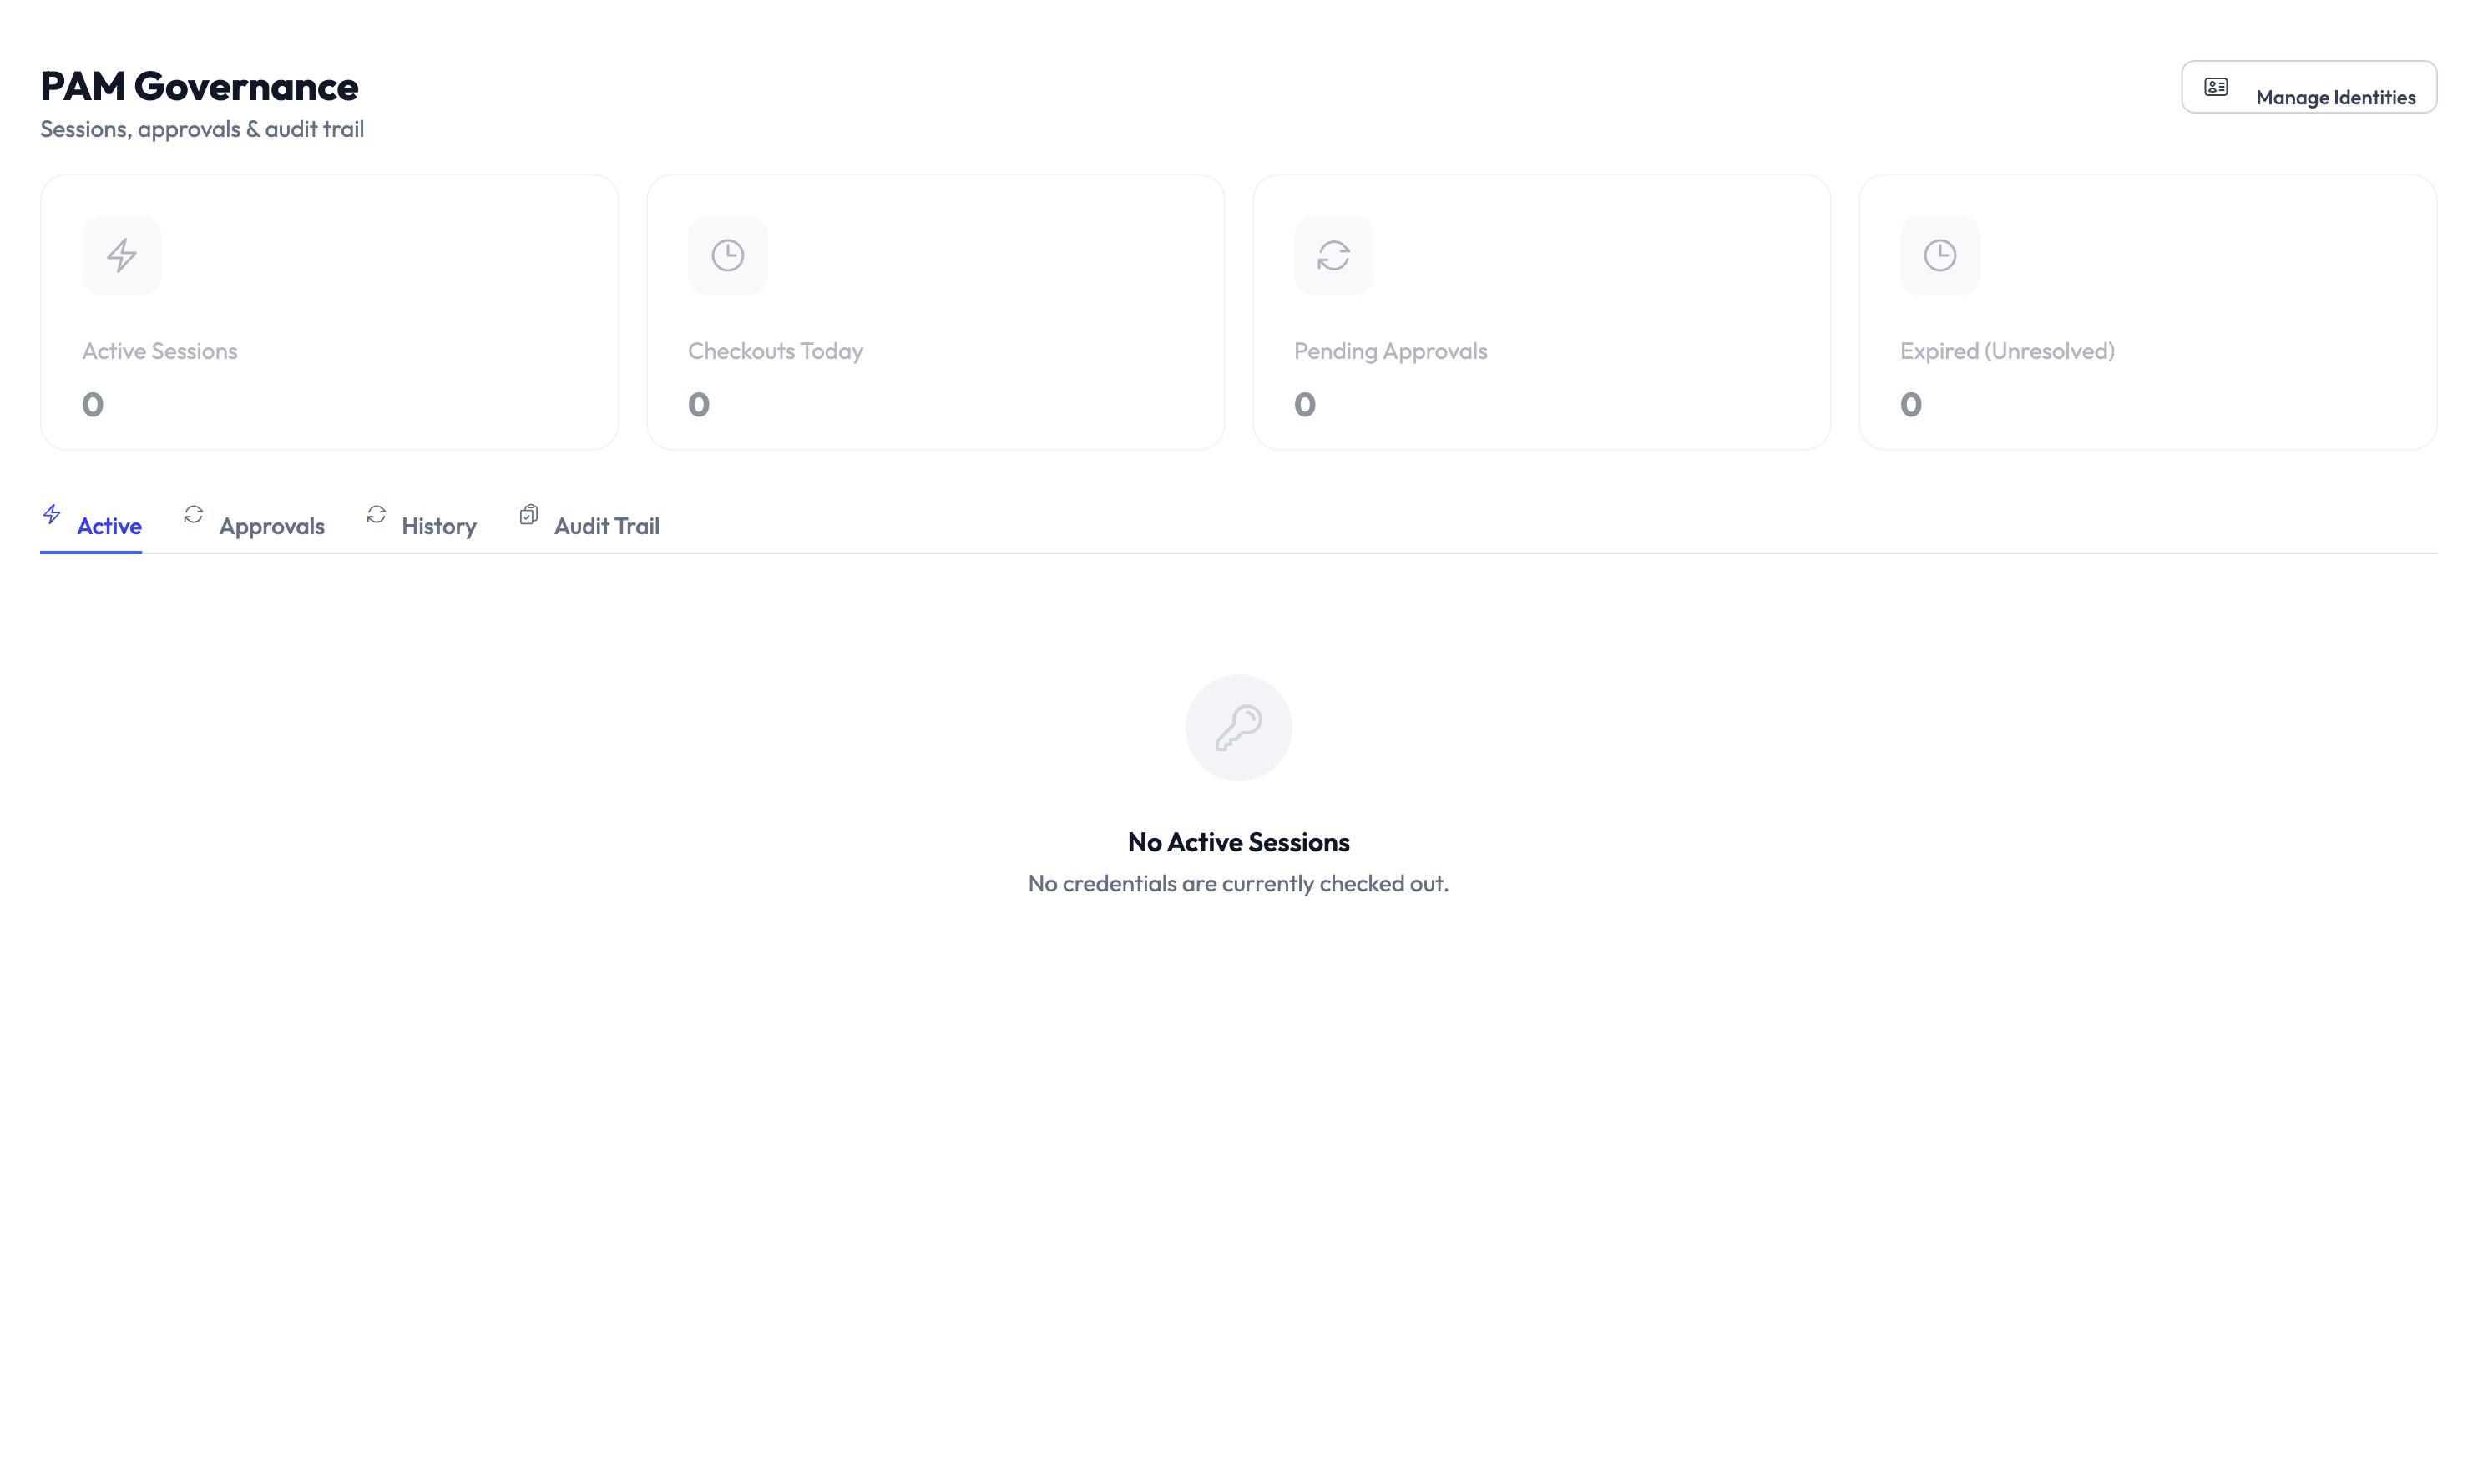
See PAM Sessions for configuration details.
Having platforms connected, access items defined, and templates ready ensures a smooth experience when you start adding clients.
Client self-onboarding
You can generate an onboarding link so clients complete their own setup.
Step 1 – Generate the link
Navigate to Clients > New Client > Generate Onboarding Link. Copy the link.
Step 2 – Share with the client
Send the onboarding link to your client. They follow a multi-step wizard to:
- Submit their business information
- Select the platforms they need
- Provide credentials (if applicable)
- Acknowledge policies
- Confirm their setup
Step 3 – Review and approve
Once the client completes the wizard, you receive a notification. Review their submission and approve it. Access is provisioned automatically after approval.
After initial setup
Once onboarding is complete, consider these ongoing activities:
- Schedule access reviews – Quarterly reviews help catch stale permissions. See Reports.
- Enable auto-remediation – Automatically enforce policies when violations are detected. See Governance.
- Set up the executive dashboard – Give leadership visibility into access and compliance metrics. See Reports.
- Configure session recording – Record high-risk Privileged Access Management (PAM) sessions for audit purposes. See PAM Sessions.
Something went wrong?
The onboarding checklist shows a step as incomplete even though I finished it
Some steps require a verification check. For example, connecting a platform only counts as complete once the platform reaches Operational state. Revisit the step and confirm the final status. See Troubleshooting.
Cannot connect Google Workspace as an identity source
Make sure you are signing in with a Google Workspace super-admin account and that the Admin SDK is enabled in your Google Cloud Console. See Google Workspace Setup.
Team member did not receive their invitation
Check that the email address is correct in Settings > Users & Roles. Invitations are sent immediately – ask the team member to check their spam folder. See Troubleshooting.
What’s next?
- Connect more platforms – Add all the marketing platforms your agency uses. See Platform Connections.
- Create identities – Set up credentials for your team to access client platforms. See Creating Identities.
- Add clients – Start managing client access and governance. See Client Management.
- Explore the self-service portal – Let clients request and manage their own access. See Self-Service Portal.