Agency Profile
This guide shows you how to configure your agency’s profile settings, including your agency name, legal name, domain, locale, and timezone. These settings appear throughout AccessHive and affect how dates, languages, and regional formats are displayed.
Time to complete: About 2 minutes.
- You need the Admin role to edit agency profile settings.
- Changes to the agency name and domain affect how your agency appears across the entire system, including team member invitations and reports.
Navigate to Settings > Agency Profile in the left sidebar.
Viewing your agency profile
The Agency Profile page displays your current settings in a read-only view. The Agency Identity section shows:
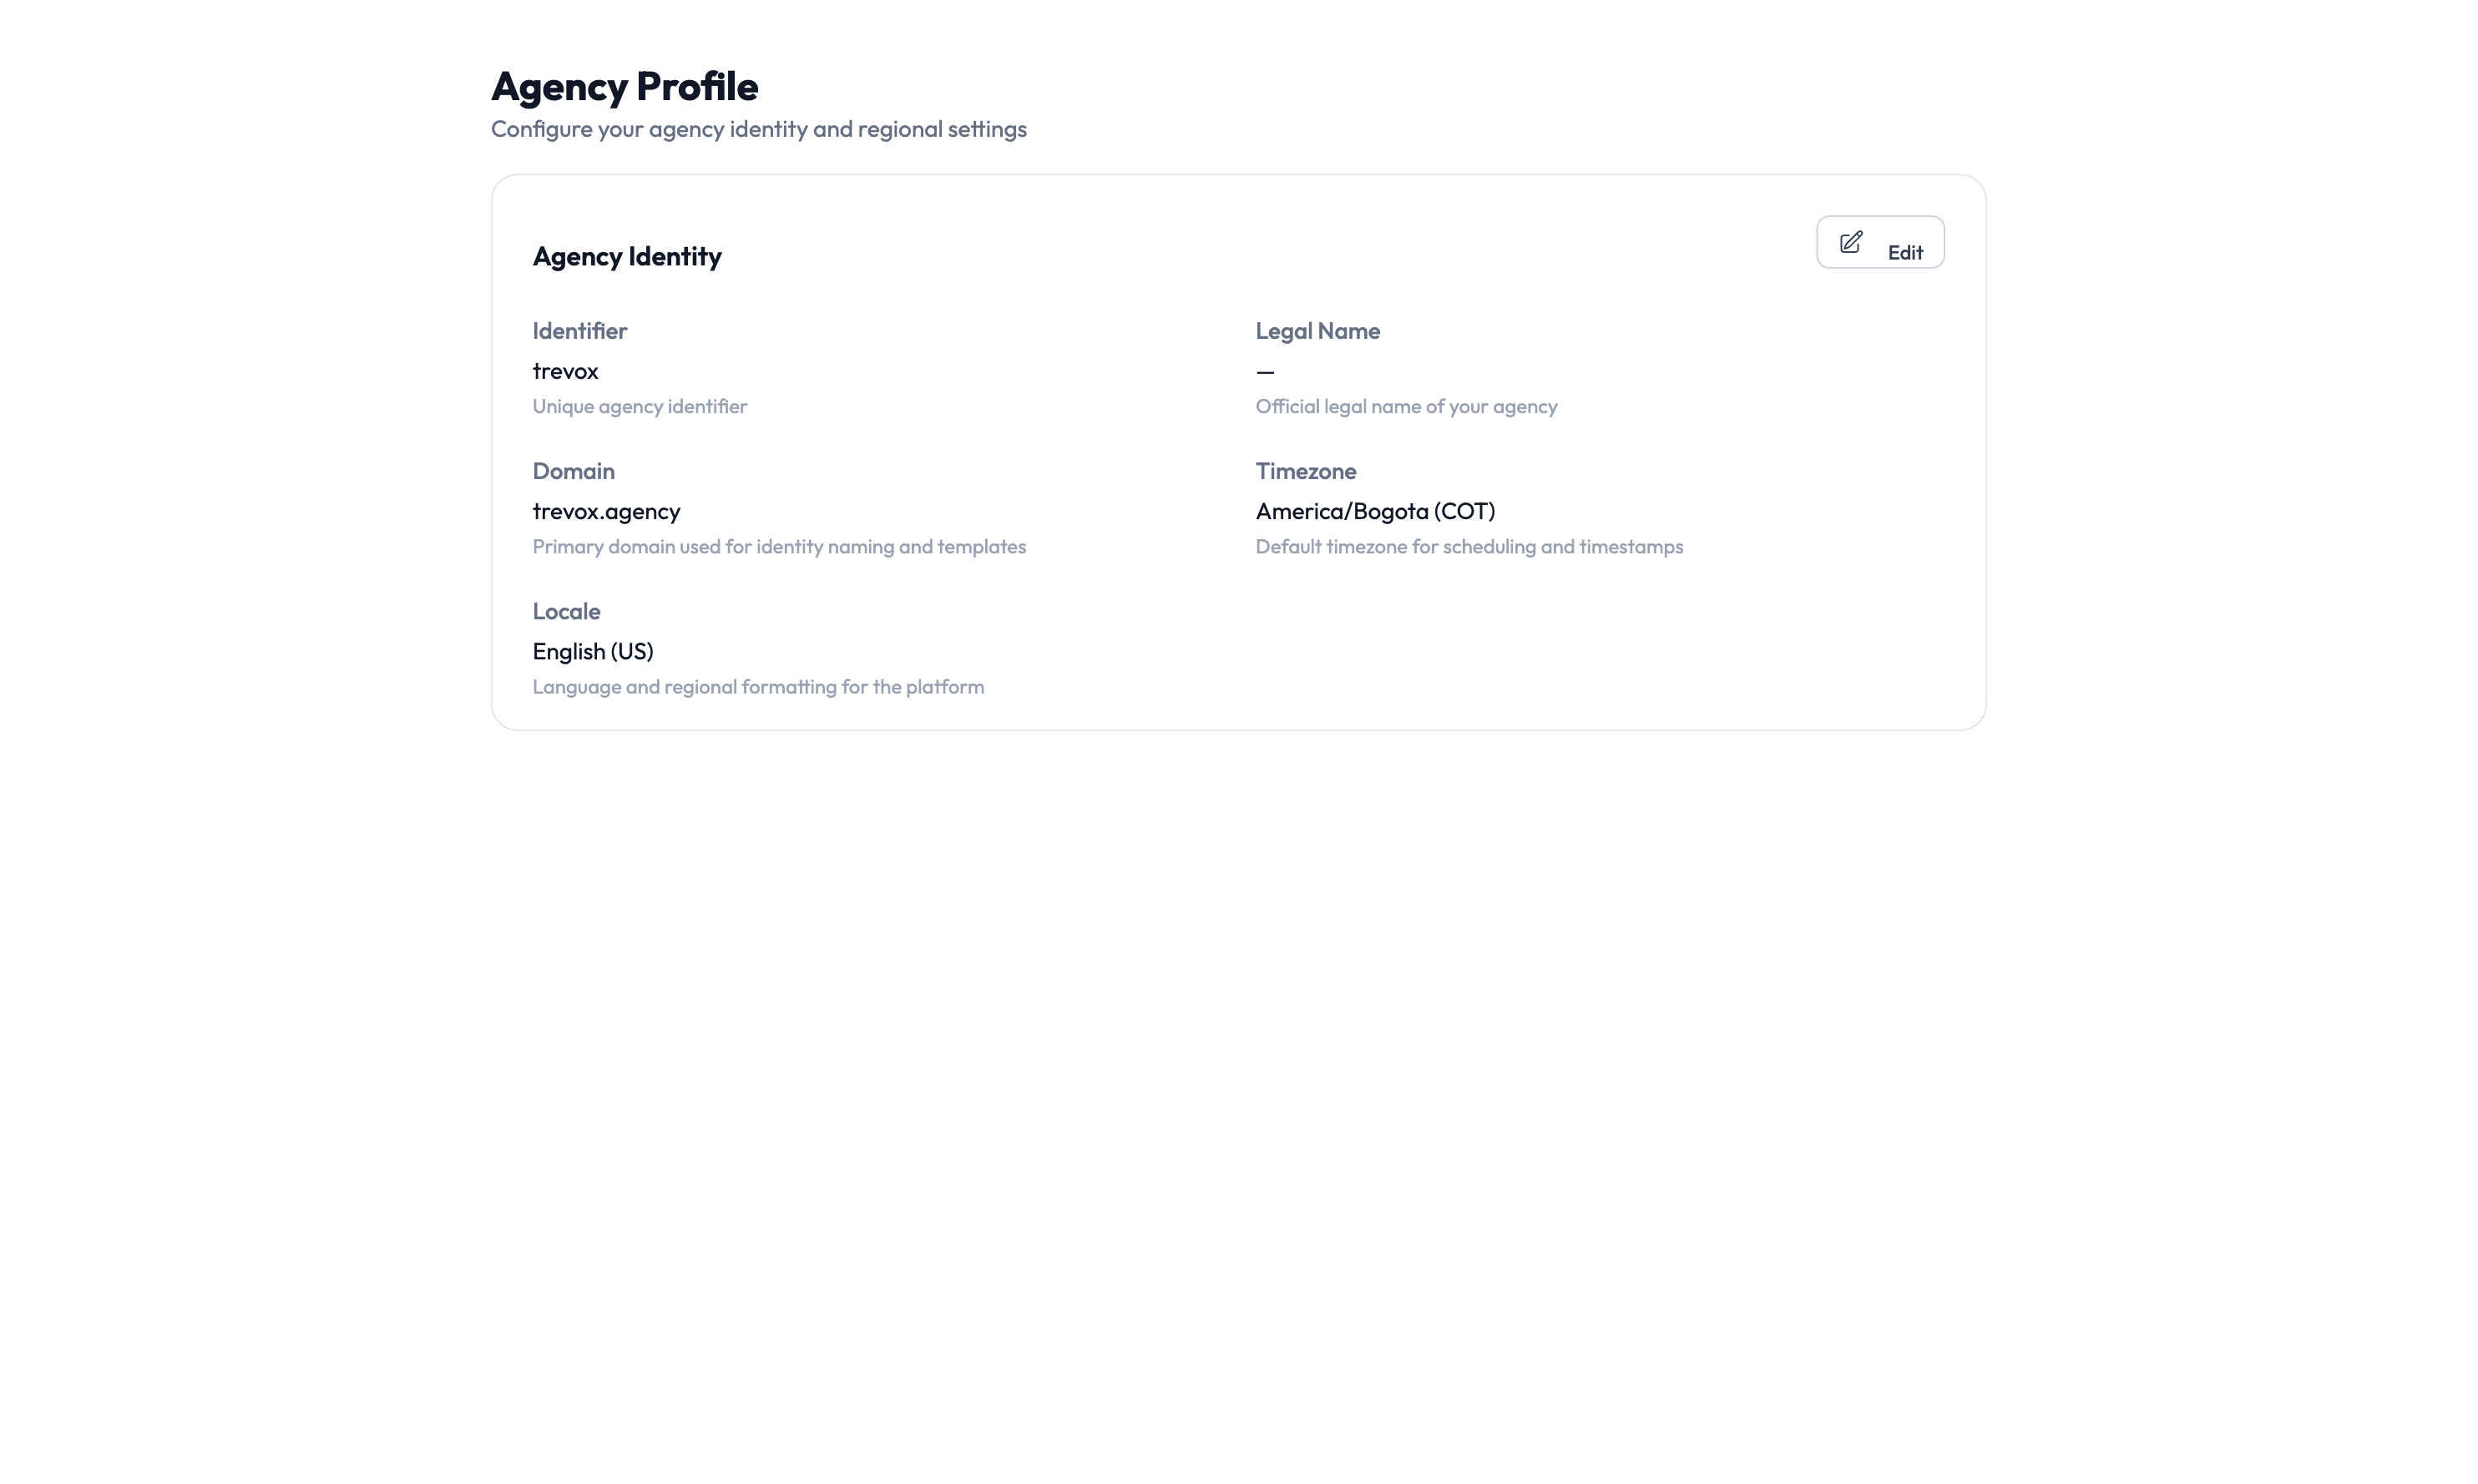
| Field | Description |
|---|---|
| Identifier | Your unique agency identifier in the system. This is set during onboarding and cannot be changed. |
| Name | The display name for your agency, shown in the sidebar and reports. |
| Domain | Your agency’s primary domain, used for identity naming and email routing. |
| Locale | The language and regional format for your agency (e.g., English (US)). |
| Legal Name | Your agency’s registered legal name, used in compliance reports and exports. |
| Industry | Your agency’s industry classification, used for benchmark comparisons. |
Editing your agency profile
Step 1 – Open the editor
Click the Edit button (pencil icon) in the top-right corner of the Agency Identity section. The fields become editable.
Step 2 – Update your settings
Change any of the editable fields:
- Name – Update your agency’s display name. This appears in the sidebar, reports, and team member invitations.
- Legal Name – Enter or correct your registered legal name for compliance documentation.
- Domain – Update your primary domain. This affects how managed identities are named (e.g.,
user@yourdomain.com). - Industry – Select your industry from the dropdown. This helps AccessHive provide relevant benchmarks.
- Locale – Choose the language and regional format. This affects date formats, number formatting, and system language.
Changing your agency domain affects how new managed identities are created. Existing identities keep their current domain. If you have a Google Workspace identity source connected, make sure the new domain is verified there first. See Google Workspace Setup.
Step 3 – Save your changes
Click Save to apply your changes. The updates take effect immediately across the system.
Something went wrong?
I can’t edit the Identifier field
The agency identifier is set during initial onboarding and cannot be changed. If you need a different identifier, contact your AccessHive account representative. See Troubleshooting.
Locale change didn’t update date formats
After changing the locale, refresh your browser to see the new formatting applied. Some cached pages may show the previous format until reloaded. See Troubleshooting.
Domain change shows a warning about Google Workspace
If your agency has a Google Workspace identity source connected, the system validates that your new domain is a verified domain in Google Workspace. Add the domain in your Google Workspace admin console first, then update it in AccessHive. See Google Workspace Setup.
What’s next?
- Set up proxy identities – Configure defaults for how identities are named and governed. See Proxy Identity.
- Connect Google Workspace – Link your domain to enable managed identity provisioning. See Google Workspace Setup.
- Review agency settings – Explore other configuration options for your agency. See Settings.
- Start onboarding – If you’re setting up a new agency, continue with the onboarding guide. See Onboarding.