Bulk Import
This guide walks you through importing clients, team members, or template assignments in bulk using a CSV file. Instead of creating records one at a time, you upload a spreadsheet and AccessHive creates them all at once.
Time to complete: About 3 minutes (plus preparation time for your CSV file).
- You need the Admin role.
- Prepare a CSV file with the required columns for your chosen import type.
- Download the template from the import page to see the expected format.
Navigate to Settings > Bulk Import to open the import page.
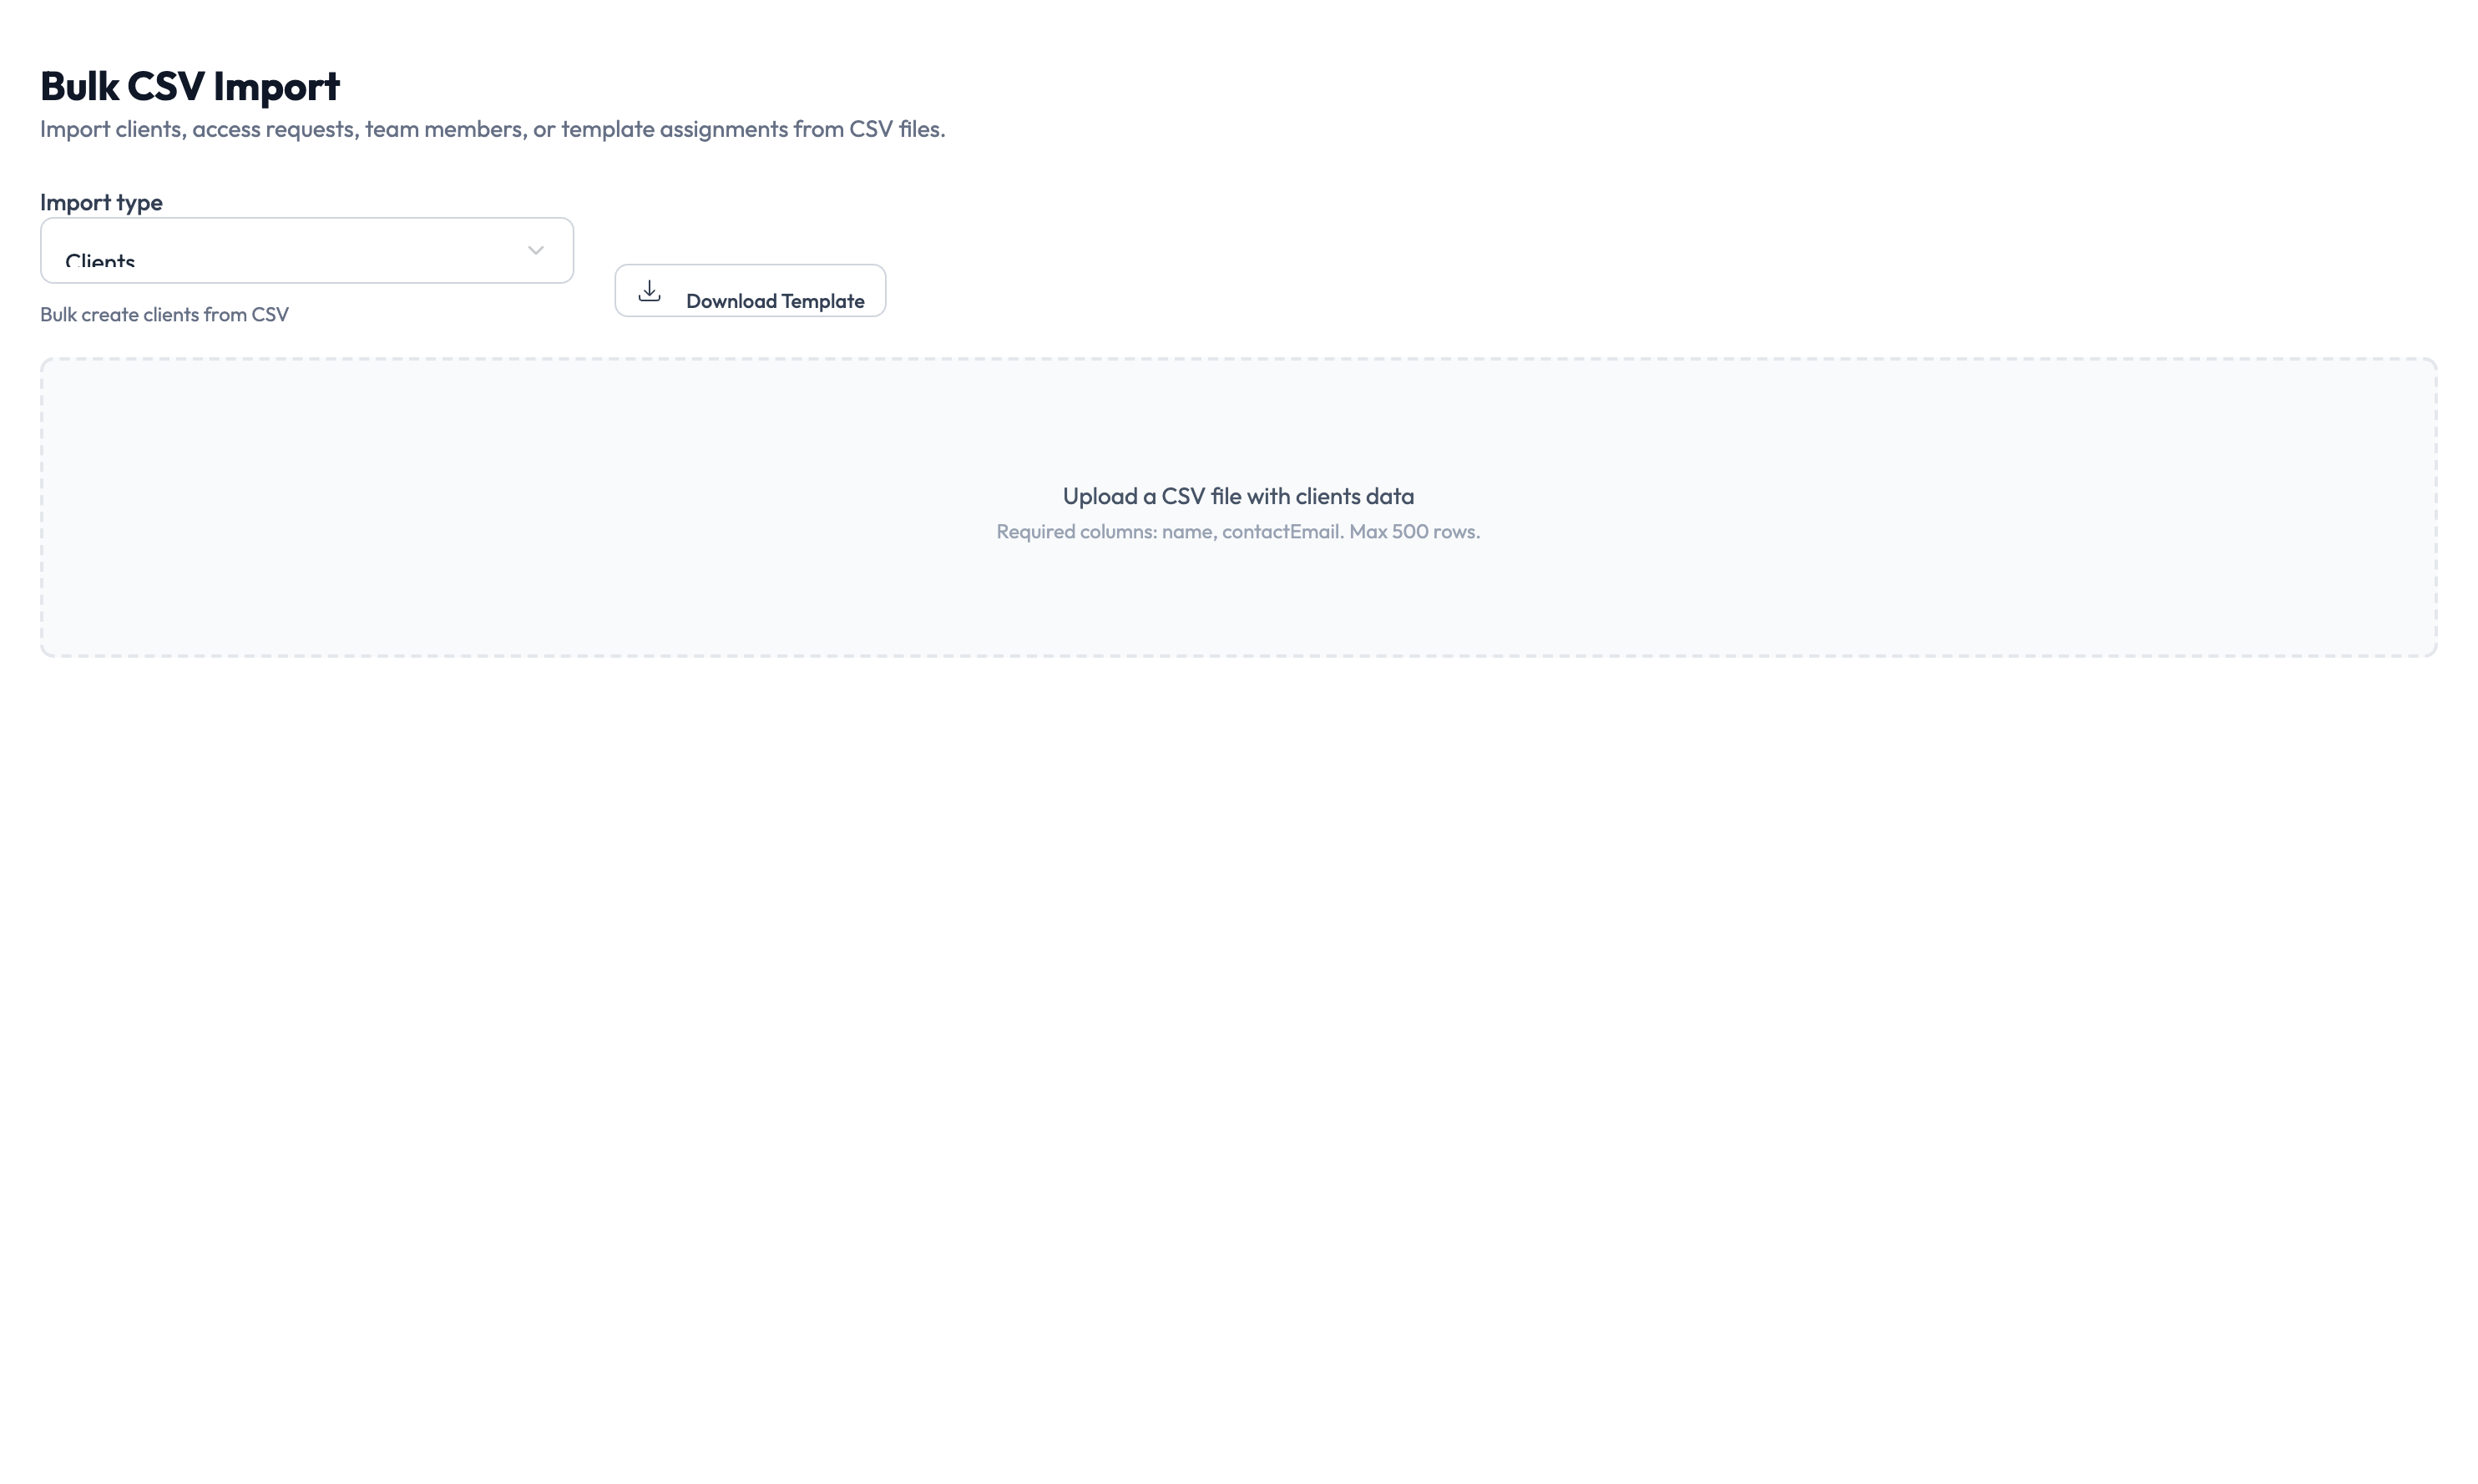
Choose an import type
Step 1 — Select the import type
Use the Import Type dropdown at the top of the page to choose what you want to import. Each type has its own CSV format and required columns.
| Import type | What it creates | Example use case |
|---|---|---|
| Clients | Client records in your agency | Onboarding 50 new clients from a spreadsheet |
| Team Members | User accounts for your team | Adding 20 team members during initial setup |
| Template Assignments | Links role templates to users or clients | Assigning access templates across your organization in bulk |
Prepare your CSV file
Step 2 — Download the template
Click Download Template to get a pre-formatted CSV file for your selected import type. The template includes all required column headers and an example row.
Open the template in any spreadsheet application (Excel, Google Sheets, Numbers) and fill in your data. Keep the header row exactly as it appears in the template.
The system matches data to fields using the header names from the template. Renaming, reordering, or removing headers causes the import to fail.
The upload area shows the maximum accepted file size. For large imports, split your data into multiple files and upload them one at a time.
Upload and import
Step 3 — Upload your CSV file
Drag your CSV file into the upload area, or click the upload area to browse for the file. The system accepts .csv files with comma-separated values.
Step 4 — Review and confirm
After uploading, the system validates your file and shows a summary of the records it will create. Review the count and check for any validation errors.
- If errors are found, the system highlights the rows and columns with problems. Fix them in your spreadsheet and re-upload.
- If the file is valid, click Import to start creating records.
The import runs in the background. You can navigate away from the page and check back later. The system shows the import status and result count when it finishes.
Something went wrong?
Import failed with validation errors
Download the error report to see which rows have problems. Common issues include missing required fields, duplicate entries, and invalid email formats. Fix the flagged rows in your spreadsheet and re-upload. See Troubleshooting.
Some records were created but others were skipped
The system processes each row independently. Rows that pass validation are created; rows that fail are skipped. Download the error report to see which rows were skipped and why.
CSV file is not accepted
Make sure the file has a .csv extension and uses comma separators (not semicolons or tabs). Open the file in a text editor to verify the format. If you exported from Excel, use “Save as CSV (Comma delimited)” to get the correct format.
What’s next?
- Manage clients — Review and organize the clients you imported. See Client Management.
- Assign role templates — Set up governance templates for imported team members. See Role Templates.
- Create identities — Now that clients and team members exist, create identities for platform access. See Creating Identities.
- Review the audit trail — Verify all imported records appear in the activity log. See Audit Trail.