Users and Roles
This guide walks you through managing the admin users who operate your AccessHive agency. You can invite team members, assign roles that control what they can see and do, and review role permissions.
Time to complete: About 2 minutes per user.
- You need the Admin or Owner role to manage users.
- If you use an external identity source (Google Workspace or Microsoft Entra ID), users may sync automatically. See Identity Sources.
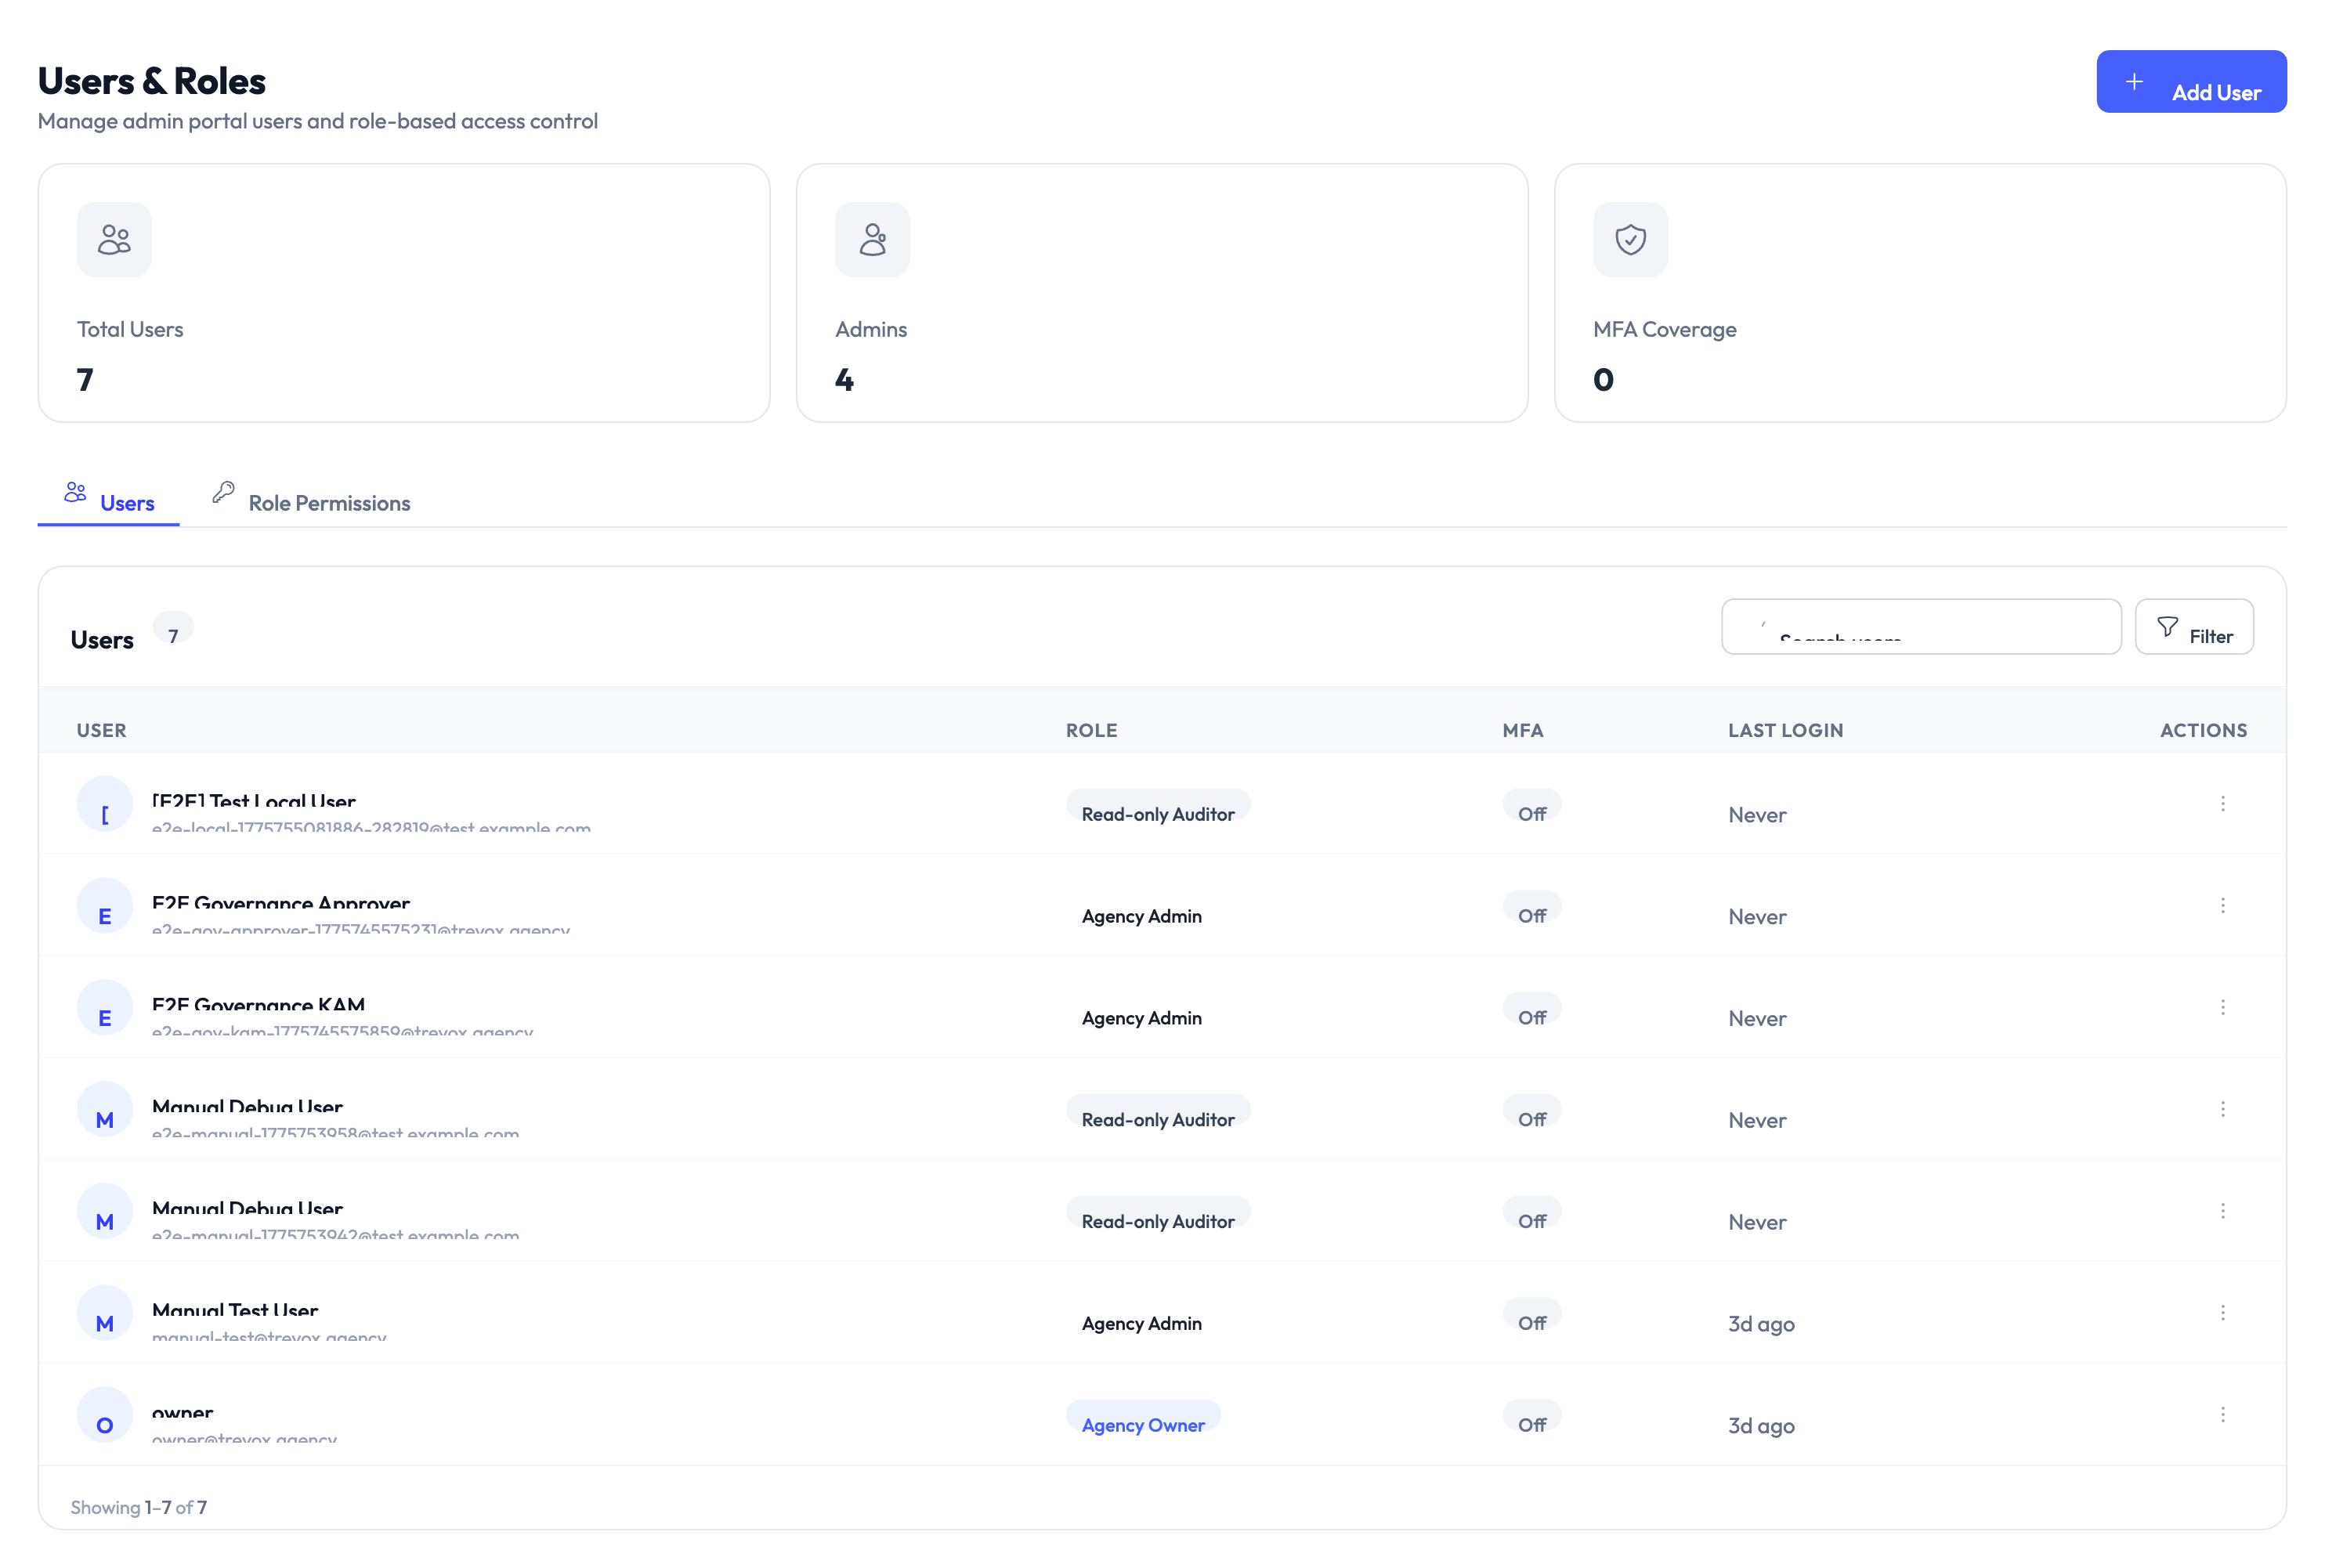
Navigate to Settings > Users & Roles to get started.
Understanding the dashboard
The Users & Roles page shows three summary cards at the top:
| Metric | What it shows |
|---|---|
| Total Users | The number of user accounts in your agency |
| Admins | How many users have an admin-level role |
| MFA Coverage | The percentage of users with multi-factor authentication (MFA) enabled |
Below the cards, two tabs organize the page: Users and Role Permissions.
Inviting a new user
Step 1 – Click Add User
Click the Add User button in the top-right corner. A form appears.
Step 2 – Enter user details
Provide the user’s name and email address. If your agency uses an identity source, the email must match a user in that directory.
Step 3 – Assign a role
Select a role from the dropdown. AccessHive includes these built-in roles:
| Role | What they can do |
|---|---|
| Owner | Full access to everything, including billing and agency deletion |
| Agency Admin | Manage identities, users, platforms, and settings (except billing) |
| Identity Manager | Create and manage identities, credentials, and governance policies |
| Read-only Auditor | View identities, audit logs, and reports without making changes |
| Agency Owner | Same as Owner, used when multiple ownership tiers exist |
Assign the narrowest role that lets the user do their job. You can always upgrade permissions later.
Step 4 – Send the invitation
Click Invite. The user receives an email with a link to set up their account. The invitation appears in the user list with a pending status until they accept.
Managing existing users
The Users tab lists every user in your agency. Each row shows:
- User – Name and email address.
- Role – Their current assigned role.
- MFA – Whether multi-factor authentication is enabled (On or Off).
- Last Login – When they last signed in.
- Actions – Options to edit, deactivate, or remove the user.
Changing a user’s role
Click the actions menu on the user’s row and select Edit. Change the role in the dropdown and save. The new permissions take effect immediately.
Deactivating a user
Click the actions menu and select Deactivate. A deactivated user cannot sign in, but their history and audit records are preserved. You can reactivate them later without losing data.
Unlike deactivation, removing a user deletes their account from your agency. Use deactivation when you might need to restore access later.
Reviewing role permissions
Switch to the Role Permissions tab to see a breakdown of what each role can access. The table shows every permission grouped by feature area (identities, platforms, settings, billing, etc.) with checkmarks for each role.
Use this tab to answer questions like “Can a Read-only Auditor export reports?” or “Does an Identity Manager have access to platform settings?”
Something went wrong?
Invited user did not receive the email
Cause: The invitation email may have been caught by a spam filter, or the email address was entered incorrectly.
Resolution: Check the user’s spam folder. If the address is correct, click Resend Invitation from the actions menu on their row. See Troubleshooting.
User cannot access a feature despite having the right role
Cause: The user’s role may not include the specific permission needed, or a recent role change has not taken effect yet.
Resolution: Ask the user to sign out and back in. Check the Role Permissions tab to confirm the role includes the required permission. See Troubleshooting.
MFA coverage is lower than expected
Cause: Some users have not set up multi-factor authentication after accepting their invitation.
Resolution: Filter the user list by MFA status (Off) to identify users who need to enable it. Send them a reminder or enforce MFA through your identity source. See Troubleshooting.
What’s next?
- Set up notifications – Configure where your team receives alerts about identity events. See Notifications.
- Map groups to roles – Automatically assign AccessHive roles based on identity provider groups. See RBAC Mappings.
- Review the audit trail – See who made changes and when. See Audit Trail.
- Connect an identity source – Sync users automatically from Google Workspace or Microsoft Entra ID. See Identity Sources.