Self-Service Portal
This guide shows you how to use the self-service portal to request access, view your current permissions, track request status, and extend expiring access. The self-service portal (also called Delivery mode) is designed for team members and client users who do not have admin access.
Time to complete: About 3 minutes.
- You need an active AccessHive account with at least a basic team member role.
- At least one platform and client must be set up by an admin before access items are available to request. See Platform Connections.
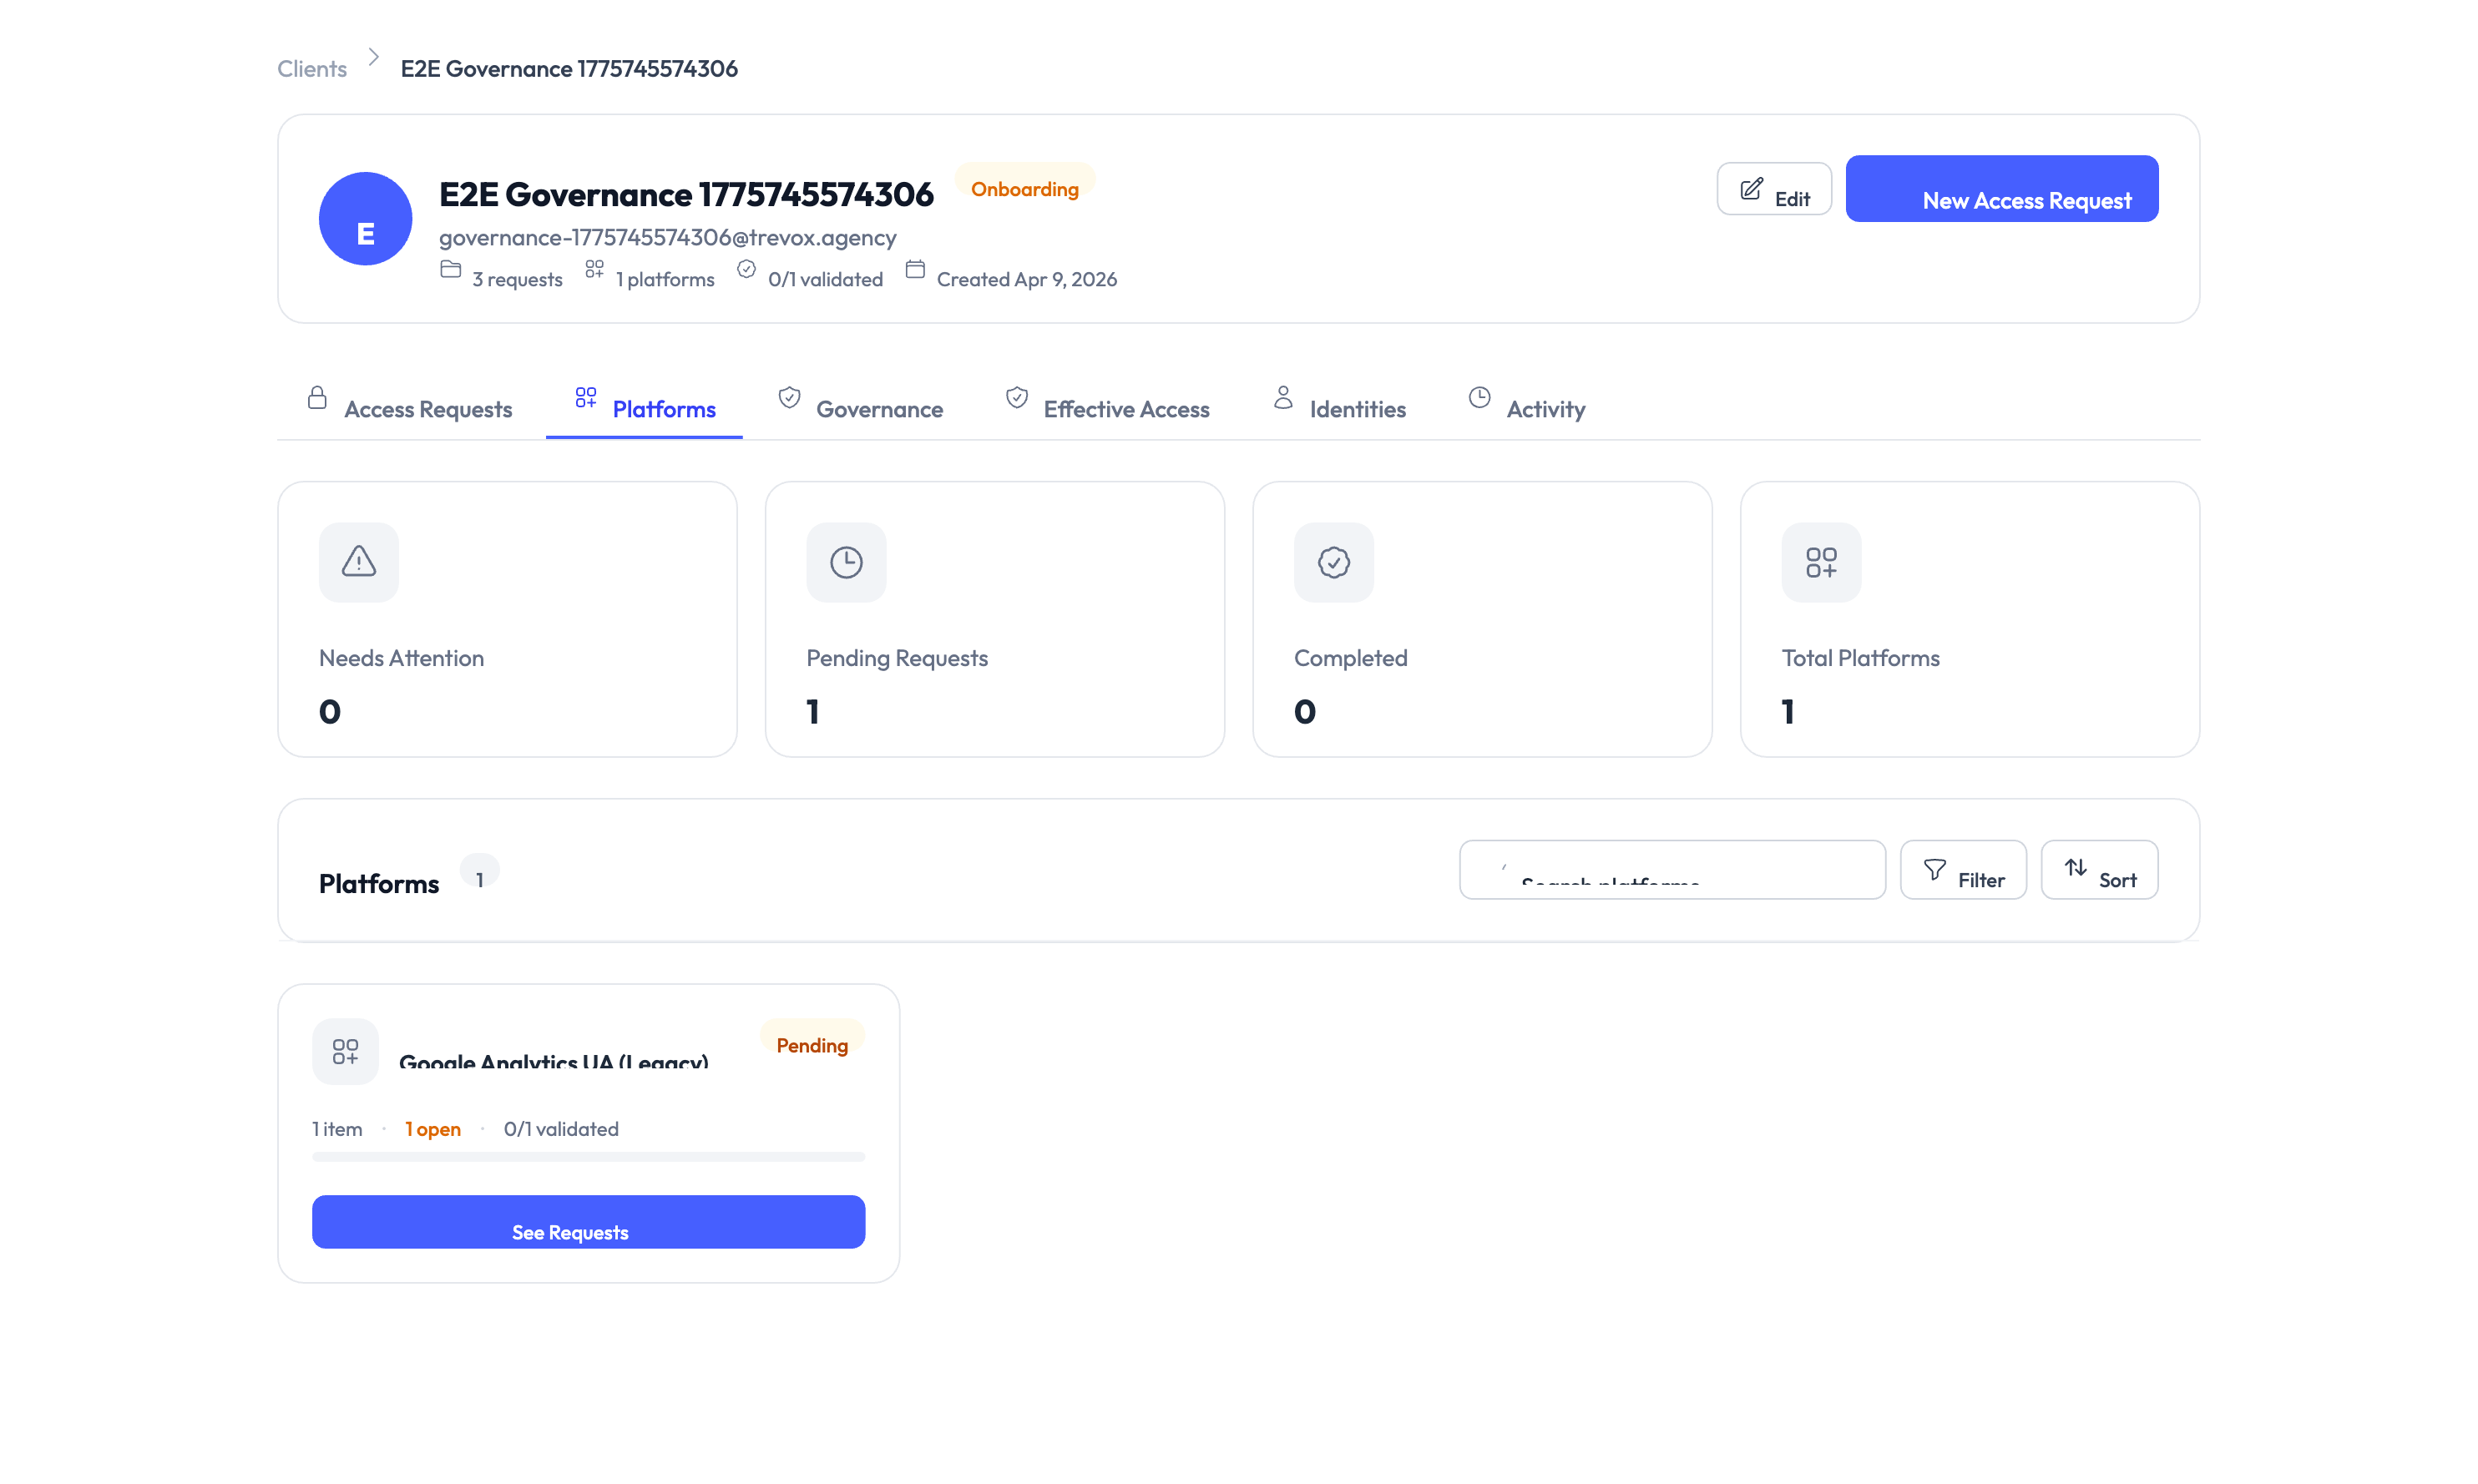
View your current access
Navigate to My Access to see everything you can currently use:
- Active access items — Grouped by platform, showing what you have access to right now.
- Expiration dates — For time-bound access, the date and time your access ends.
- Status indicators — Each item shows whether it is active, expiring soon, or expired.
- Quick actions — Request an extension or renewal directly from this page.
Request new access
Step 1 — Open the self-service portal
Navigate to the self-service portal from the main navigation.
Step 2 — Browse available access
Browse the list of available platforms and access items. Items are grouped by platform so you can find what you need quickly.
Step 3 — Select what you need
Select one or more access items from the list.
Step 4 — Provide a business justification
Enter a short explanation of why you need this access. Approvers review this when deciding on your request.
Step 5 — Set the duration
If the access is time-bound, choose how long you need it. The available durations depend on your agency’s settings.
Step 6 — Submit the request
Click Submit. Your request enters the approval workflow.
Step 7 — Track your request
Navigate to My Requests to see the status of all your requests.
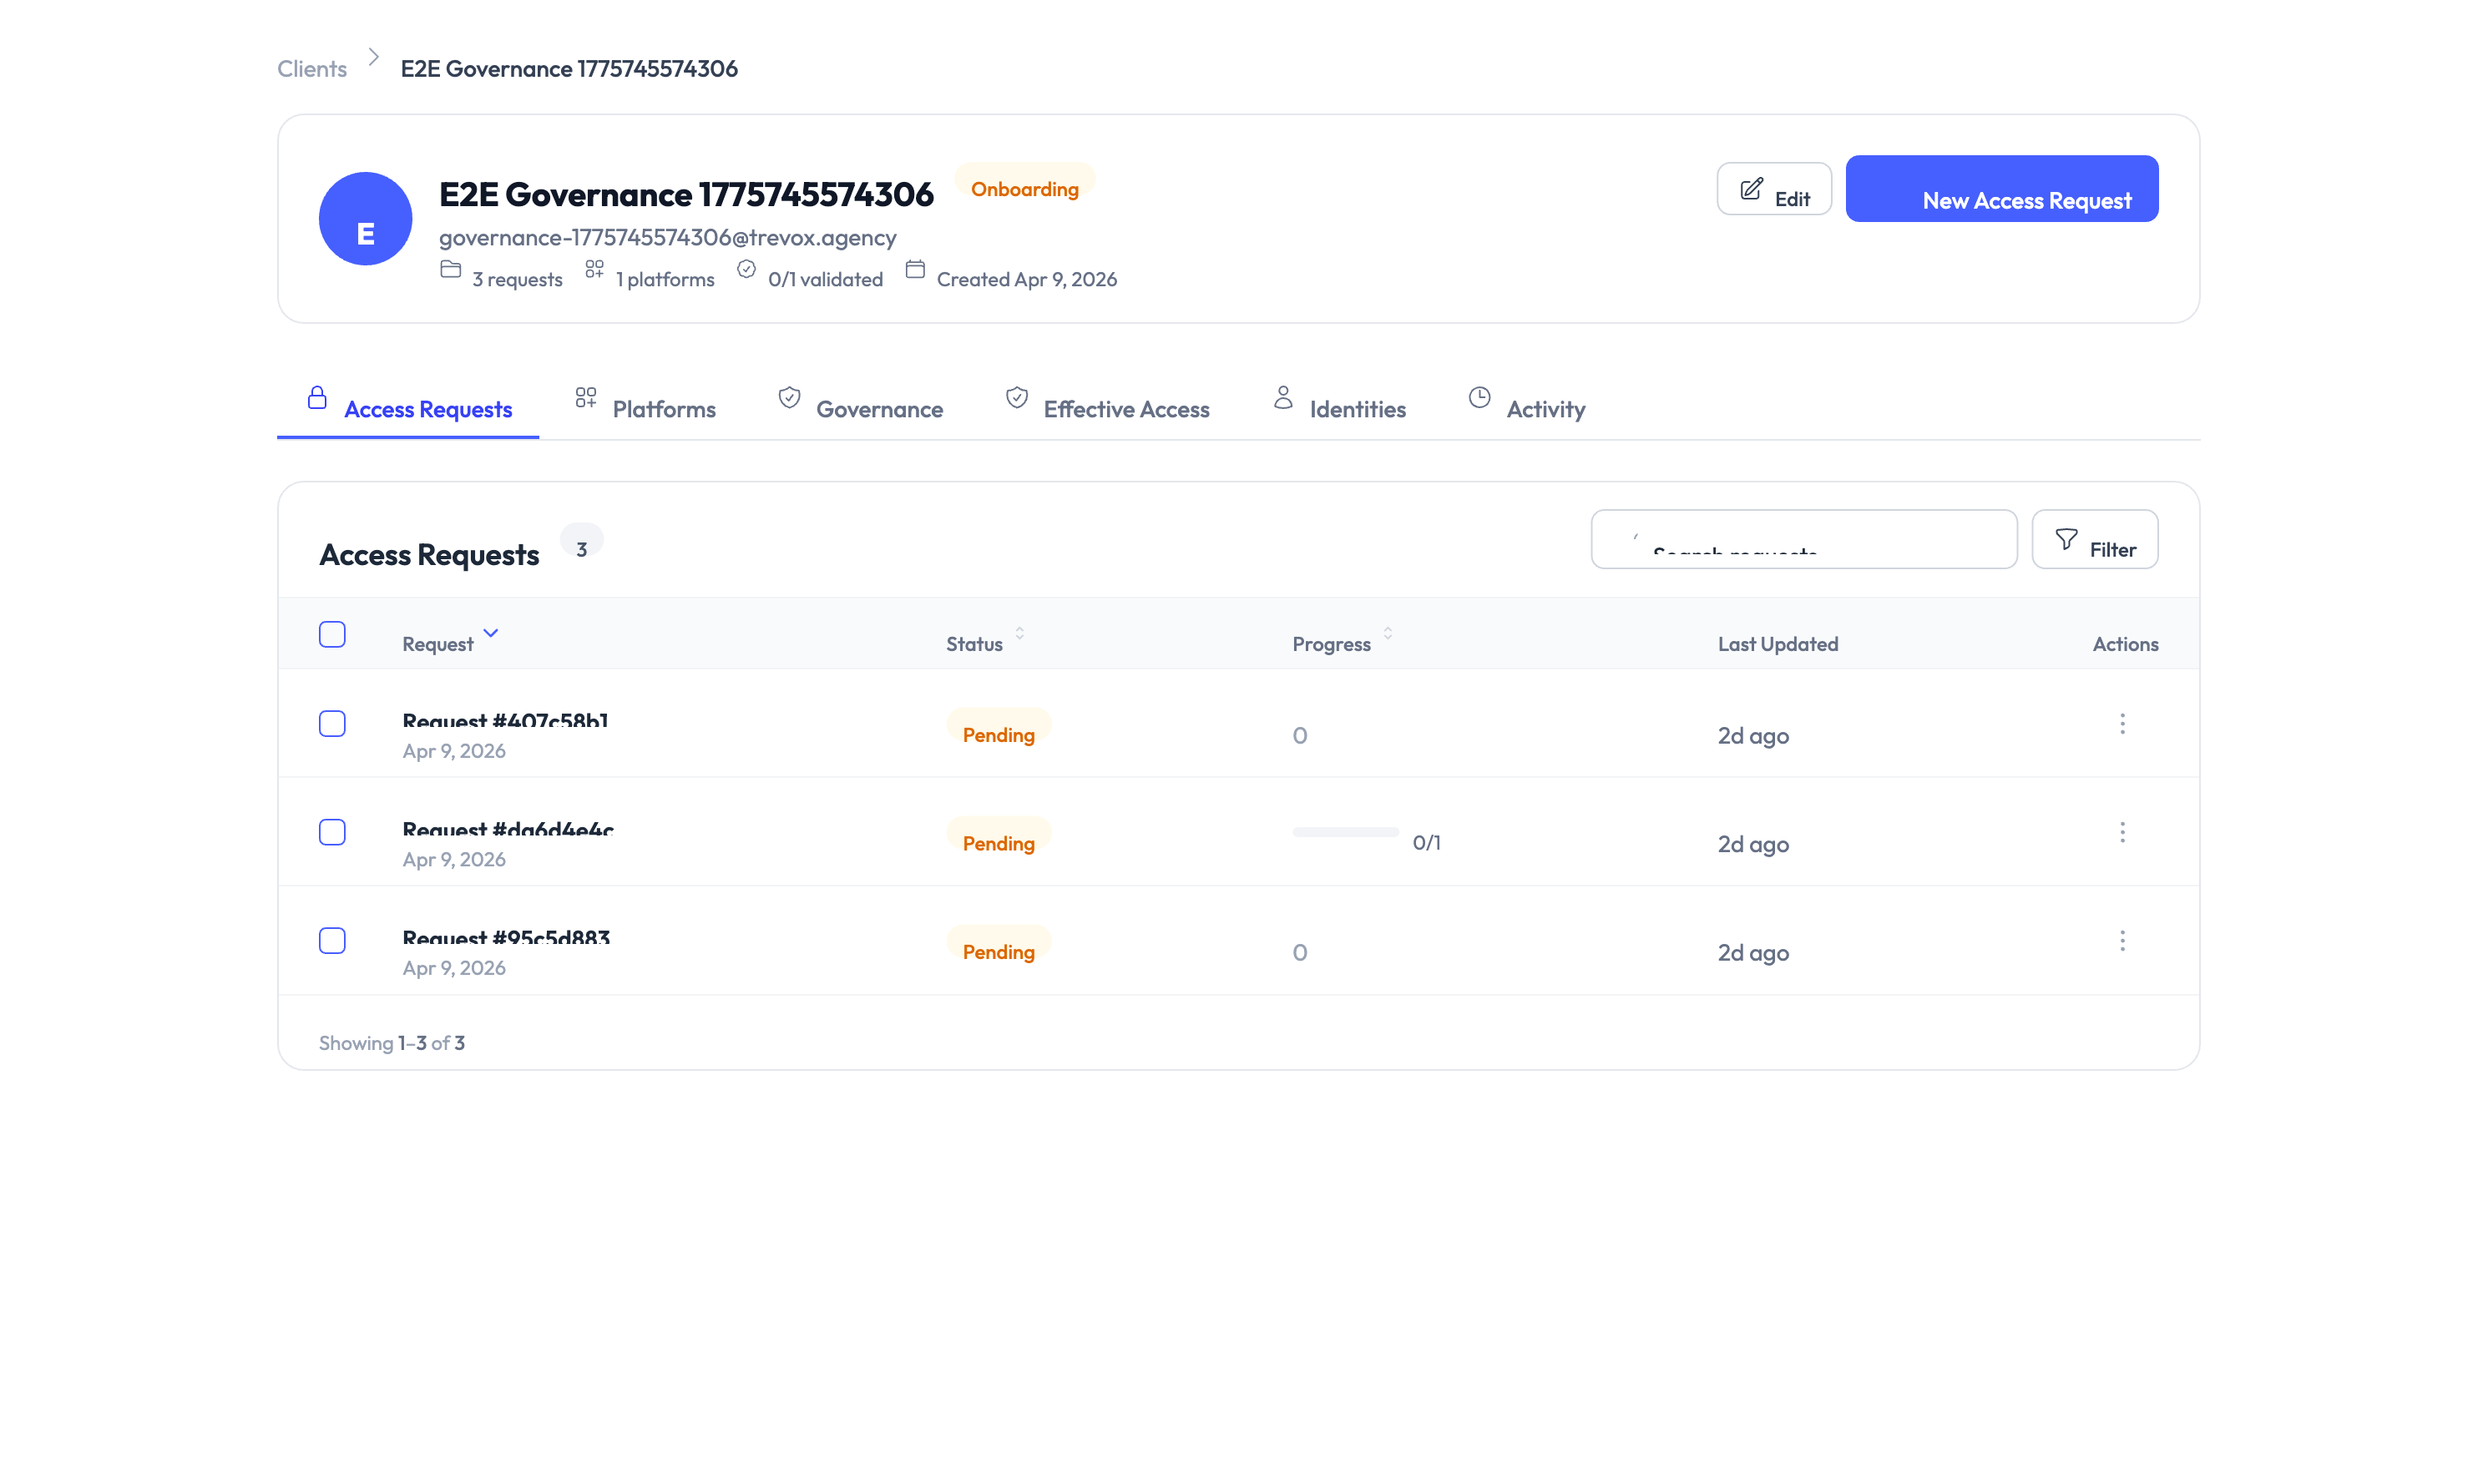
Track your requests
The My Requests page shows every request you have submitted:
| Column | What it shows |
|---|---|
| Request ID | A unique identifier for the request |
| Items requested | What you asked for |
| Status | Pending, Approved, Denied, or Expired |
| Submitted | When you submitted the request |
| Decided | When the approver made a decision (if applicable) |
| Expires | When the access ends (if approved) |
Extend expiring access
When access is about to expire, you can request an extension without submitting a new request.
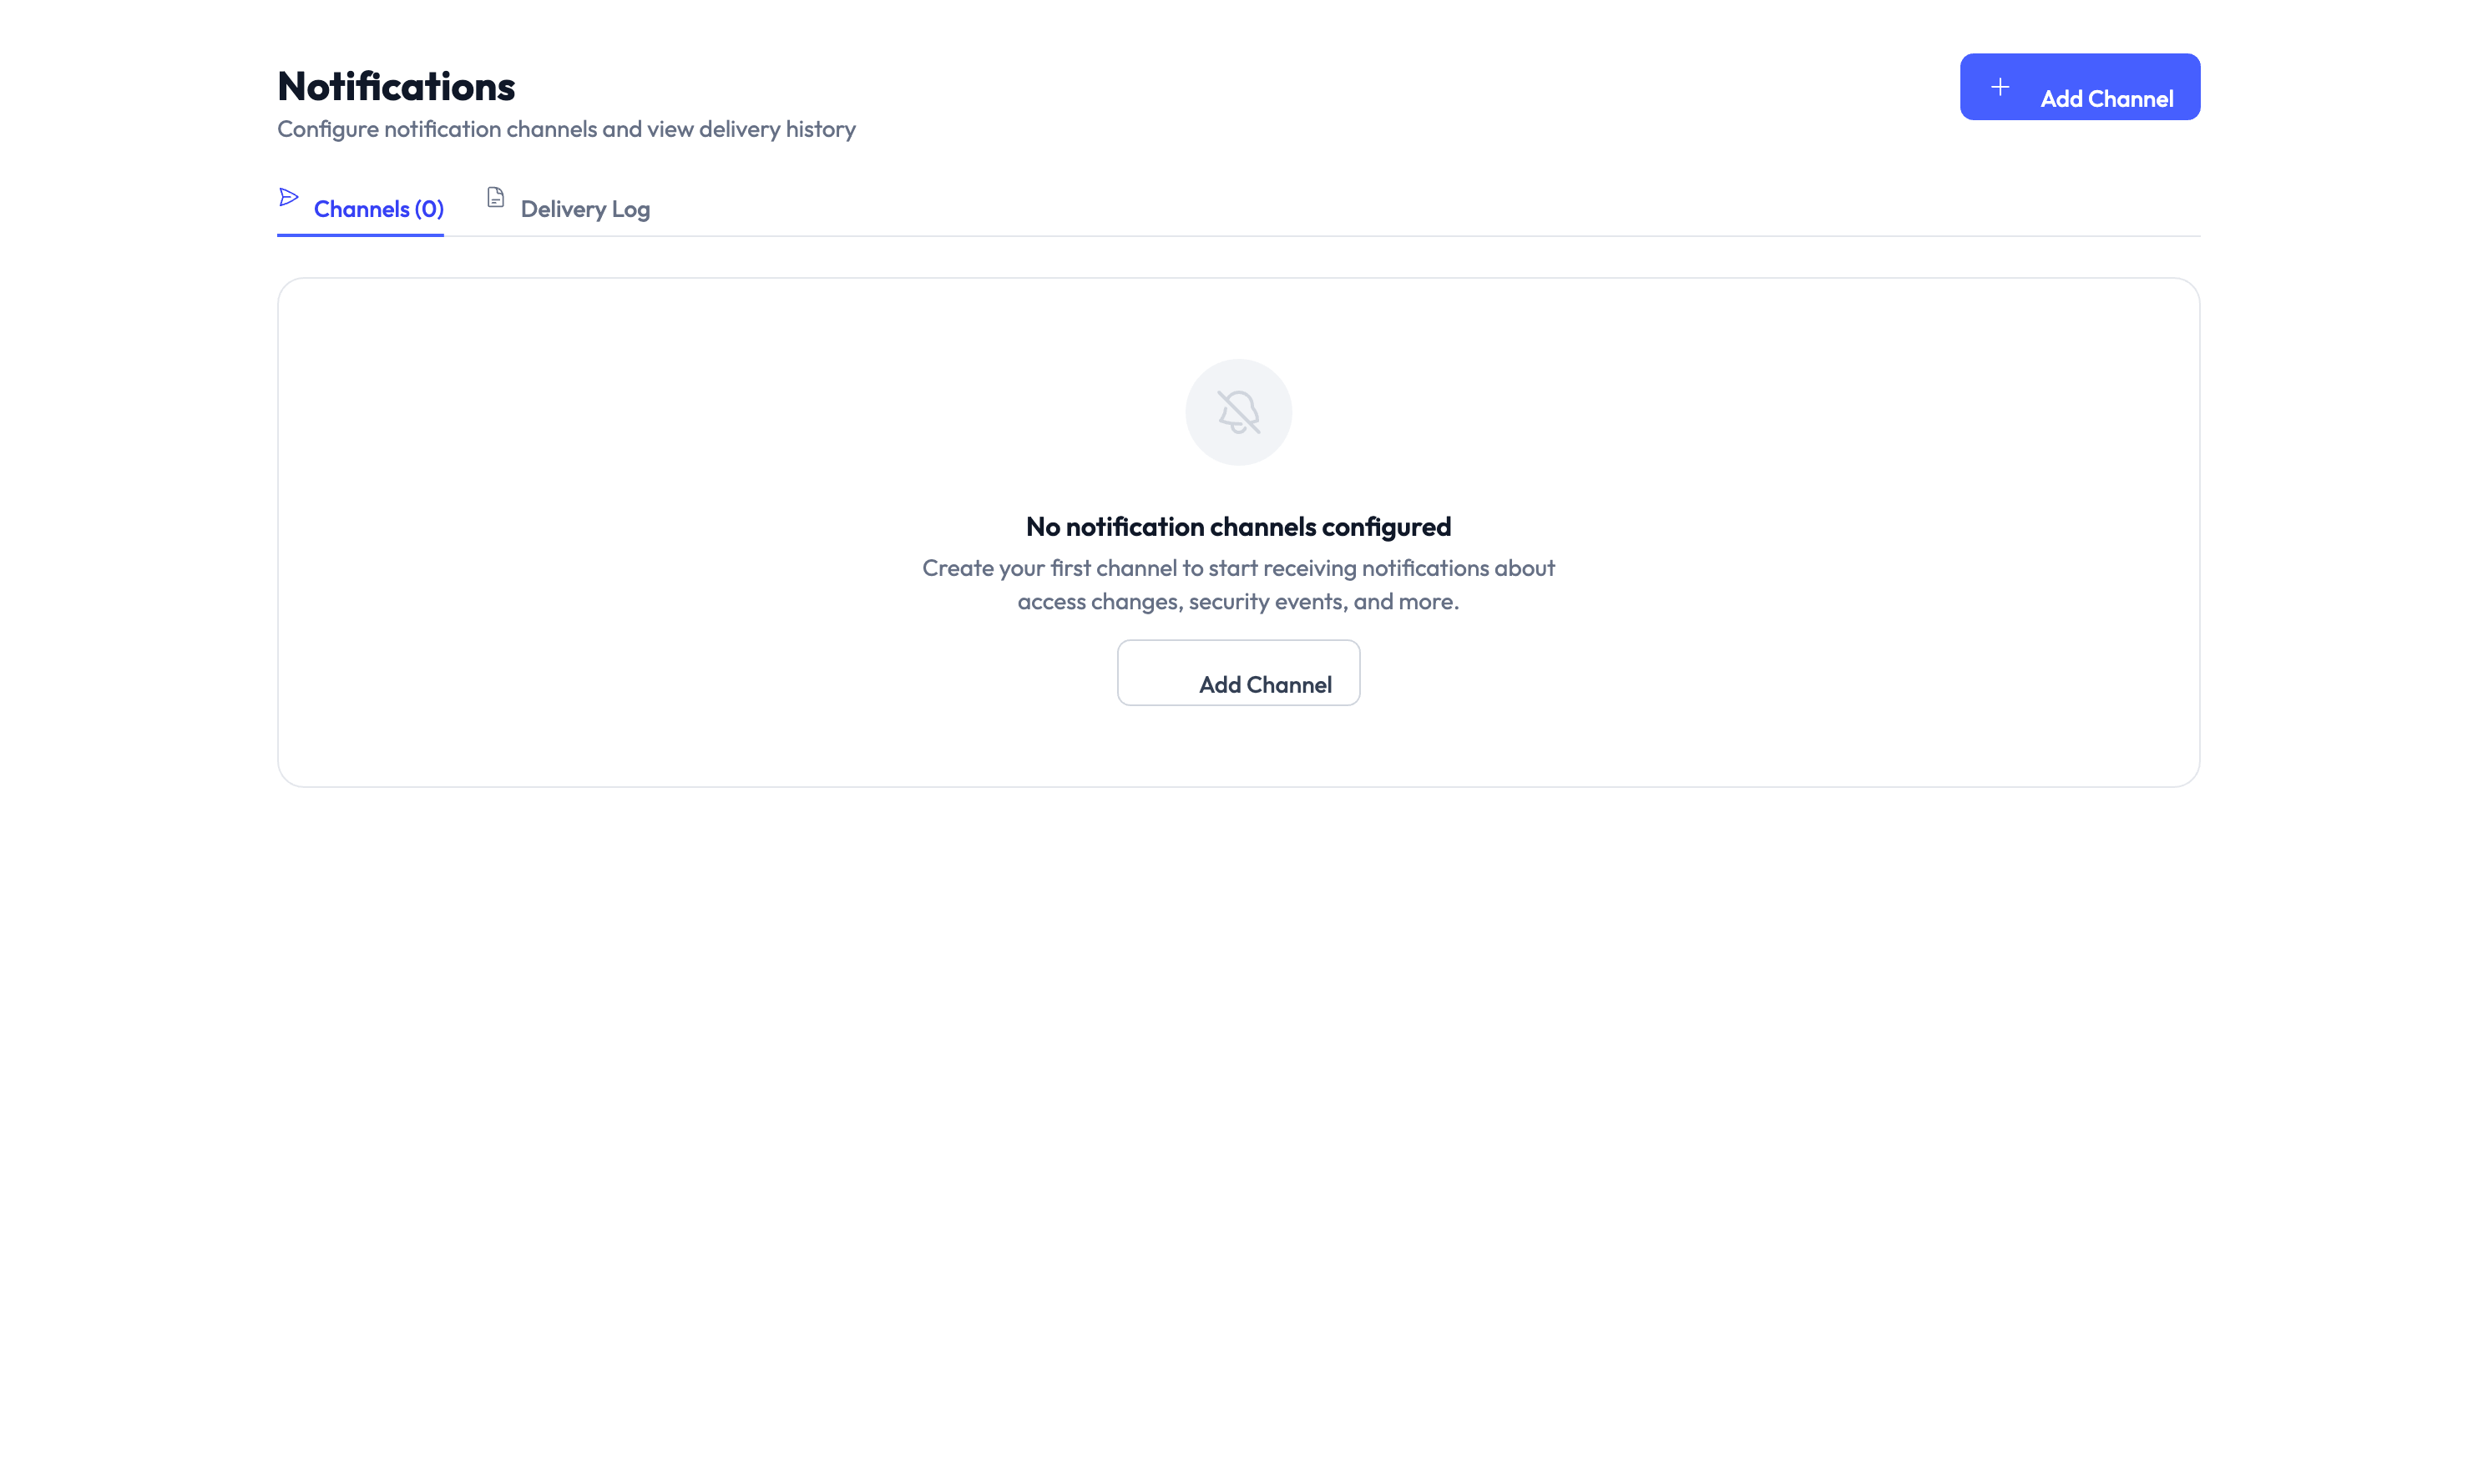
Step 1 — Check your notifications
You receive a notification before access expires. The lead time depends on your agency’s settings (see Settings > Time-Bound Access).
Step 2 — Open My Access
Navigate to My Access and find the item that is expiring soon. It will show an “expiring soon” indicator.
Step 3 — Request an extension
Click Request Extension on the expiring item. Enter a justification for continued access.
Step 4 — Wait for approval
The extension request goes through the same approval workflow as a new request. If approved, the expiration date is updated automatically.
Submit extension requests before your access expires. Once access has expired, you need to submit a new request instead of extending the existing one.
Something went wrong?
I do not see any access items to request
Your admin may not have set up platforms or access items yet, or you may not be assigned to a client that has available items. Contact your admin to check your client assignment. See Troubleshooting.
My request has been pending for a long time
Requests stay in Pending status until an approver acts on them. Check with your manager or the designated approver. If your agency uses notification channels, the approver should have received an alert. See Troubleshooting.
My access expired before I could extend it
Once access expires, the extension option is no longer available. Submit a new access request from the self-service portal. To avoid this in the future, submit extension requests as soon as you receive the expiration notification. See Troubleshooting.
For more troubleshooting scenarios, see the full Troubleshooting Guide.
What’s next?
- Understand access requests — Learn how the approval workflow operates behind the scenes. See Access Requests.
- Check out credentials — Once approved, learn how to check out and use credentials securely. See PAM Sessions.
- Review your audit trail — See a record of all your access activity. See Audit Trail.
- Contact your admin — If you need a role change or additional permissions, see Settings > Users and Roles.