RBAC Mappings
This guide walks you through mapping identity provider groups to AccessHive roles using Role-Based Access Control (RBAC) mappings. When configured, users who belong to a group in your identity source automatically receive the corresponding AccessHive role – no manual assignment needed.
Time to complete: About 5 minutes.
- You need the Admin or Owner role.
- At least one identity source must be connected with groups synced. See Identity Sources.
- If you use the Local Directory, set up groups first. See Local Directory.
Navigate to Settings > Identity Sources > RBAC Mappings to get started.
How RBAC mappings work
Without RBAC mappings, an admin must manually assign a role to every new user. As your agency grows, this becomes time-consuming and error-prone.
RBAC mappings automate this by linking a group from your identity source (Google Workspace organizational unit, Microsoft Entra ID group, or Local Directory group) to an AccessHive role. When a user is synced from that group, they automatically receive the mapped role.
| Without RBAC mappings | With RBAC mappings |
|---|---|
| Admin manually assigns a role to each new user | Users receive a role automatically based on group membership |
| Role changes require manual updates | Moving a user to a different group updates their role on the next sync |
| Risk of forgotten or incorrect role assignments | Consistent role assignment across all users |
Creating a mapping
Step 1 – Click Add Mapping
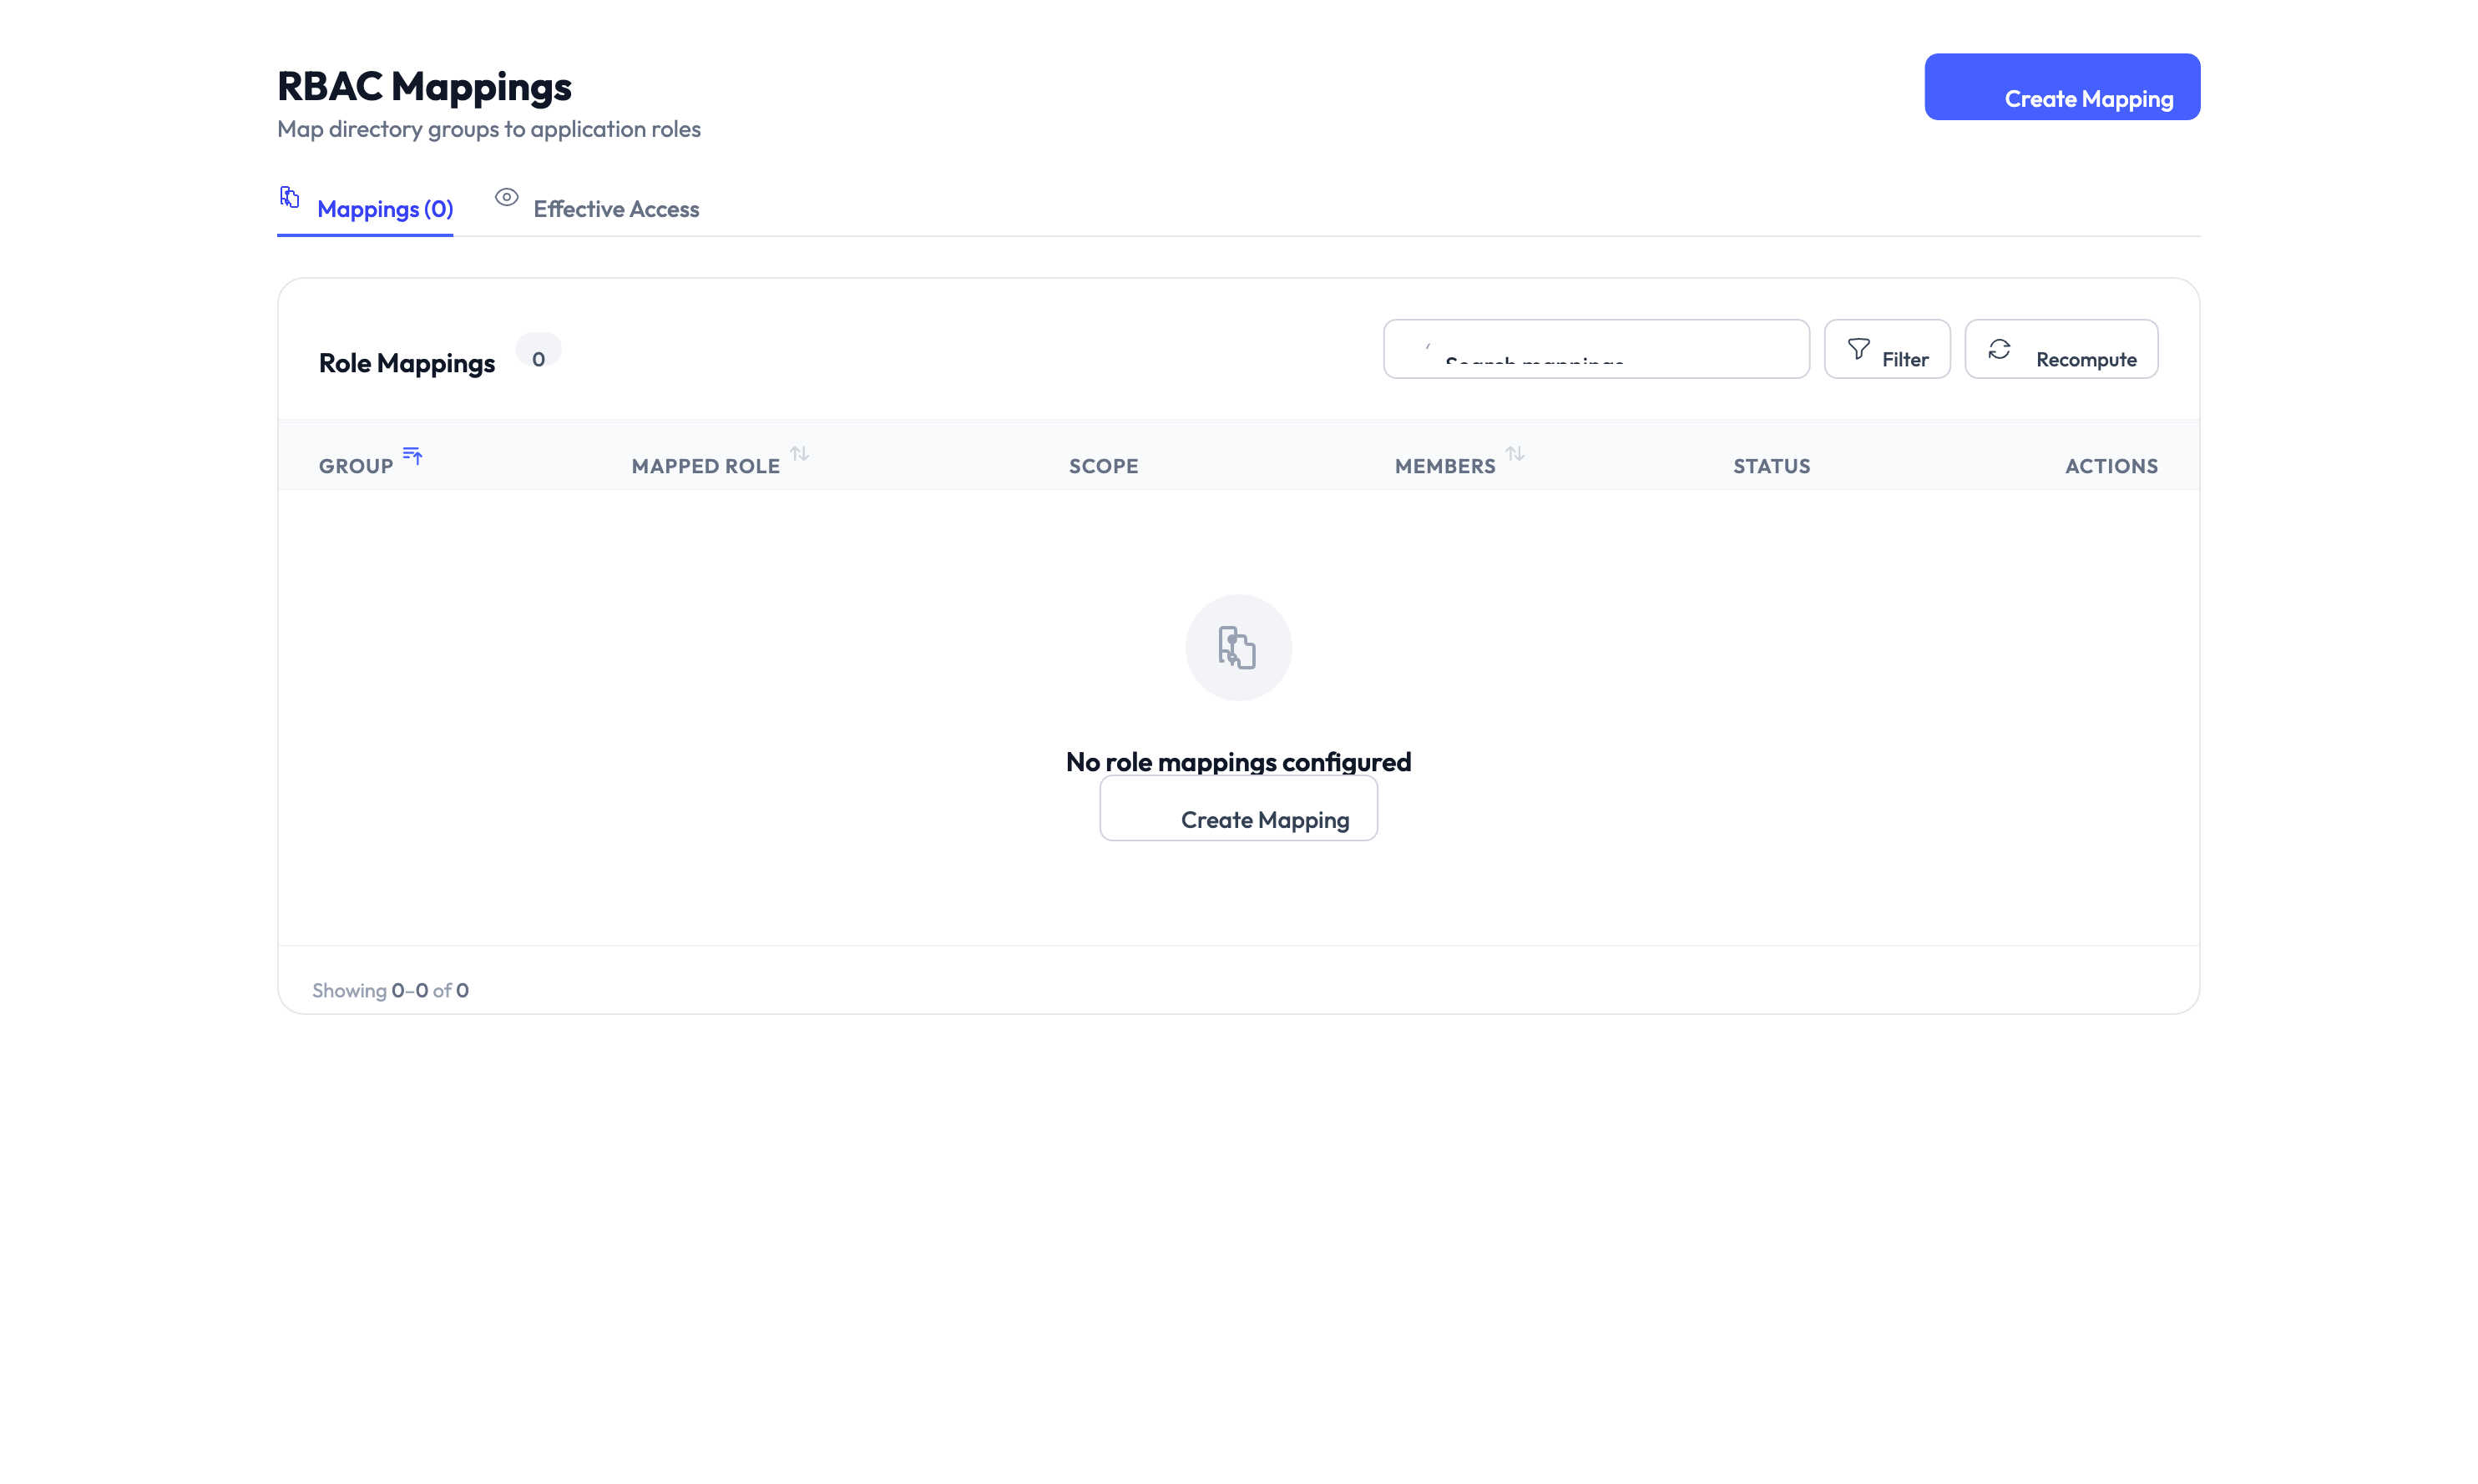
Click the Add Mapping button on the RBAC Mappings page.
Step 2 – Select the identity source group
Choose the identity source from the dropdown, then select the group you want to map. The list shows all synced groups from your connected identity sources.
Step 3 – Select the AccessHive role
Choose the AccessHive role that members of this group should receive. See Users and Roles for a description of each role.
Step 4 – Save the mapping
Click Save. The mapping takes effect on the next directory sync. Existing users who belong to the mapped group receive the new role automatically.
Start by mapping the group that contains the majority of your users (often a “Team Members” or “All Staff” group) to your default role. Then add more specific mappings for admin or manager groups.
Managing multiple mappings
You can create as many mappings as you need. The RBAC Mappings page shows a table of all active mappings with the source group, the mapped role, and the number of users affected.
Priority and conflicts
If a user belongs to multiple mapped groups, AccessHive applies the role with the highest level of access. For example, if a user is in both a group mapped to “Read-only Auditor” and a group mapped to “Agency Admin”, they receive the Agency Admin role.
When a user belongs to multiple mapped groups, they always receive the most permissive role. Keep this in mind when designing your group structure to avoid accidentally granting excessive access.
Editing a mapping
Click the mapping row to open the edit form. Change the group or role and save. The update applies on the next sync.
Deleting a mapping
Click the delete action on a mapping row. Users who received their role from this mapping keep their current role until the next sync, at which point the system re-evaluates their group memberships against the remaining mappings.
Triggering a sync
After creating or changing mappings, you can wait for the next automatic sync or trigger one manually. Go to the identity source page and click Sync, or use the sync button on the Local Directory page. See Local Directory for details.
Something went wrong?
Users are not receiving the mapped role
Cause: The directory sync may not have run since the mapping was created, or the user is not a member of the mapped group in the identity source.
Resolution: Trigger a manual sync from the identity source page. Verify the user’s group membership in your identity provider. See Troubleshooting.
A user has a higher role than expected
Cause: The user belongs to multiple groups, and one of those groups is mapped to a more permissive role.
Resolution: Check which groups the user belongs to in your identity source. Review the mappings table to identify which mapping grants the higher role. Adjust group membership or remove the mapping. See Troubleshooting.
Identity source groups are not showing in the dropdown
Cause: The identity source may not have synced groups yet, or the connection is in a degraded state.
Resolution: Go to Settings > Identity Sources and verify the connection status. Trigger a sync and wait for it to complete. If groups still do not appear, check the identity source configuration. See Troubleshooting.
What’s next?
- Manage users and roles – Review role assignments and adjust permissions. See Users and Roles.
- Set up the Local Directory – Create groups in the built-in directory for RBAC mappings. See Local Directory.
- Connect Google Workspace – Sync users and organizational units for automatic role mapping. See Google Workspace Setup.
- Review the audit trail – Track role changes made through RBAC mappings. See Audit Trail.