Local Directory
This guide walks you through managing AccessHive’s built-in identity directory. The Local Directory lets you create and organize users, groups, and invitations without connecting an external identity provider. It is ideal for small teams or agencies that do not use Google Workspace (GWS) or Microsoft Entra ID.
Time to complete: About 5 minutes for initial setup.
- You need the Admin or Owner role.
- If you already use Google Workspace or Microsoft Entra ID as your identity source, you may not need the Local Directory. See Identity Sources to decide which approach fits your agency.
Navigate to Settings > Identity Sources > Local to get started.
Understanding the dashboard
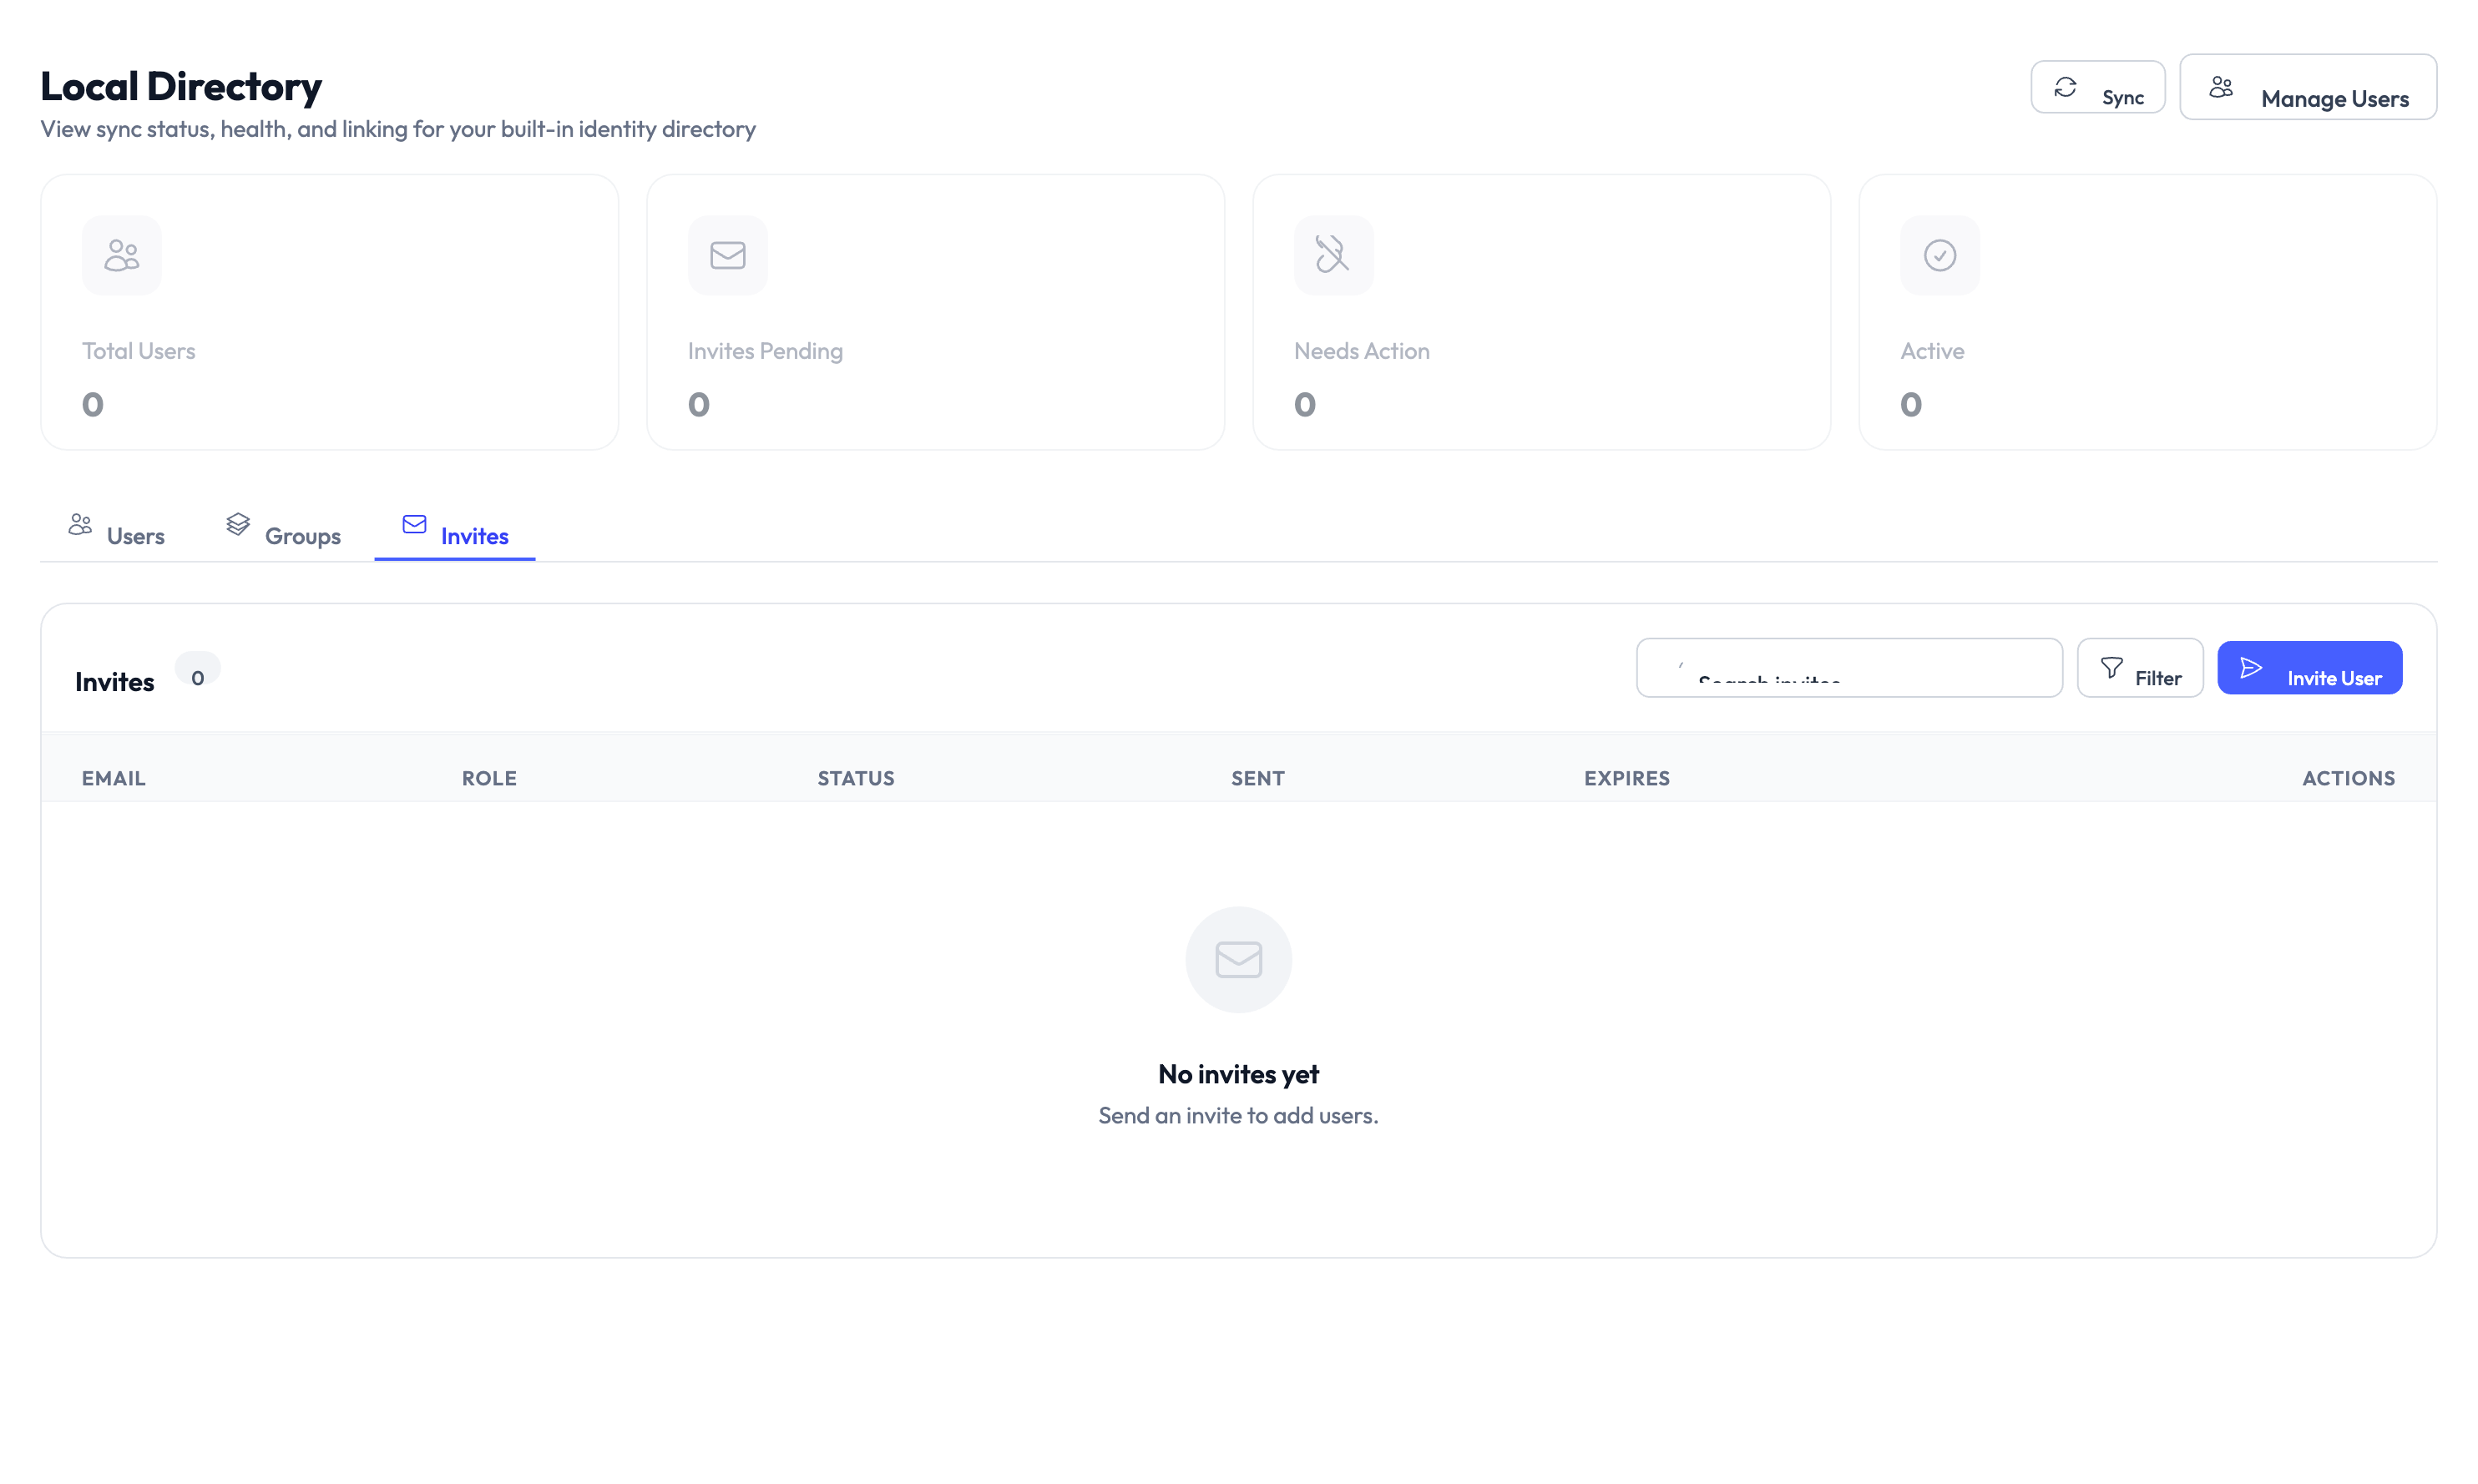
The Local Directory page shows four summary cards at the top:
| Metric | What it shows |
|---|---|
| Total Users | Number of users in the local directory |
| Invites Pending | Users who have been invited but have not accepted yet |
| Needs Action | Users requiring attention (expired invites, sync issues) |
| Active | Users who have accepted their invite and can sign in |
Below the cards, three tabs organize the directory: Users, Groups, and Invites.

Adding users
Step 1 – Open the Users tab
Click the Users tab if it is not already selected. The table shows all directory users with their status, invite state, health, and available actions.
Step 2 – Click Manage Users
Click the Manage Users button in the top-right corner to open the user management panel.
Step 3 – Enter user details
Provide the user’s name and email address. The email becomes their login credential for AccessHive.
Step 4 – Send the invitation
After adding the user, an email invitation is sent automatically. The user appears in the list with a Pending status until they accept and set up their account.
If you need to add many users at once, use the CSV import option in the Manage Users panel. Prepare a CSV file with columns for name and email, then upload it.
Managing groups
Switch to the Groups tab to organize users into groups. Groups make it easier to assign roles and permissions in bulk.

Creating a group
Click Add Group, enter a group name and optional description, then save. You can add users to the group immediately or later.
Adding users to a group
Open a group and click Add Members. Select users from the directory and confirm. A user can belong to multiple groups.
If you set up role-based access control (RBAC) mappings, group membership determines which AccessHive role a user receives automatically. See RBAC Mappings.
Tracking invitations
Switch to the Invites tab to see all pending and past invitations. Each entry shows the invited email, when the invite was sent, and the current status:
| Status | What it means |
|---|---|
| Pending | The invitation was sent but the user has not accepted yet |
| Accepted | The user accepted and set up their account |
| Expired | The invitation link expired before the user accepted |
For expired invitations, click Resend in the actions column to send a new link.
Syncing the directory
Click the Sync button in the top-right corner to manually trigger a directory sync. This refreshes user status, group membership, and health indicators. Syncs also run automatically on a regular schedule.
The health column in the Users tab shows the sync state for each user. A green indicator means the user is in good standing. An orange or red indicator means something needs attention, such as a failed sync or an expired credential.
Something went wrong?
User is stuck at Pending after accepting the invite
Cause: The invitation acceptance may not have synced yet, or the user clicked an expired link and then used a newer one.
Resolution: Click the Sync button to refresh the directory. If the status does not change, check the Invites tab to confirm which invitation link was used. See Troubleshooting.
Bulk CSV import fails
Cause: The CSV file may have incorrect column headers, duplicate email addresses, or invalid email formats.
Resolution: Verify the CSV follows the required format (name, email columns). Remove any duplicate rows and ensure all email addresses are valid. Try the import again. See Troubleshooting.
Health column shows a warning for a user
Cause: The user may have a stale session, a failed password reset, or a sync conflict with another identity source.
Resolution: Click the user to view details. Follow the suggested action in the health details panel. If the issue persists, try deactivating and reactivating the user. See Troubleshooting.
What’s next?
- Set up RBAC mappings – Automatically assign roles based on group membership. See RBAC Mappings.
- Connect an external identity source – Sync users from Google Workspace or Microsoft Entra ID instead. See Google Workspace Setup.
- Manage user roles – Control what each user can access. See Users and Roles.
- Learn about identity sources – Understand how directories and identity providers work in AccessHive. See Identity Sources.