Settings
This guide walks you through the key settings in AccessHive, organized by category. Use these settings to configure your agency profile, authentication, notifications, user roles, and automation rules.
Time to complete: Varies by section. Budget 5-10 minutes for initial setup.
- You need the Admin or Owner role to change most settings.
- Some settings (plan and billing) are restricted to the Owner role only.
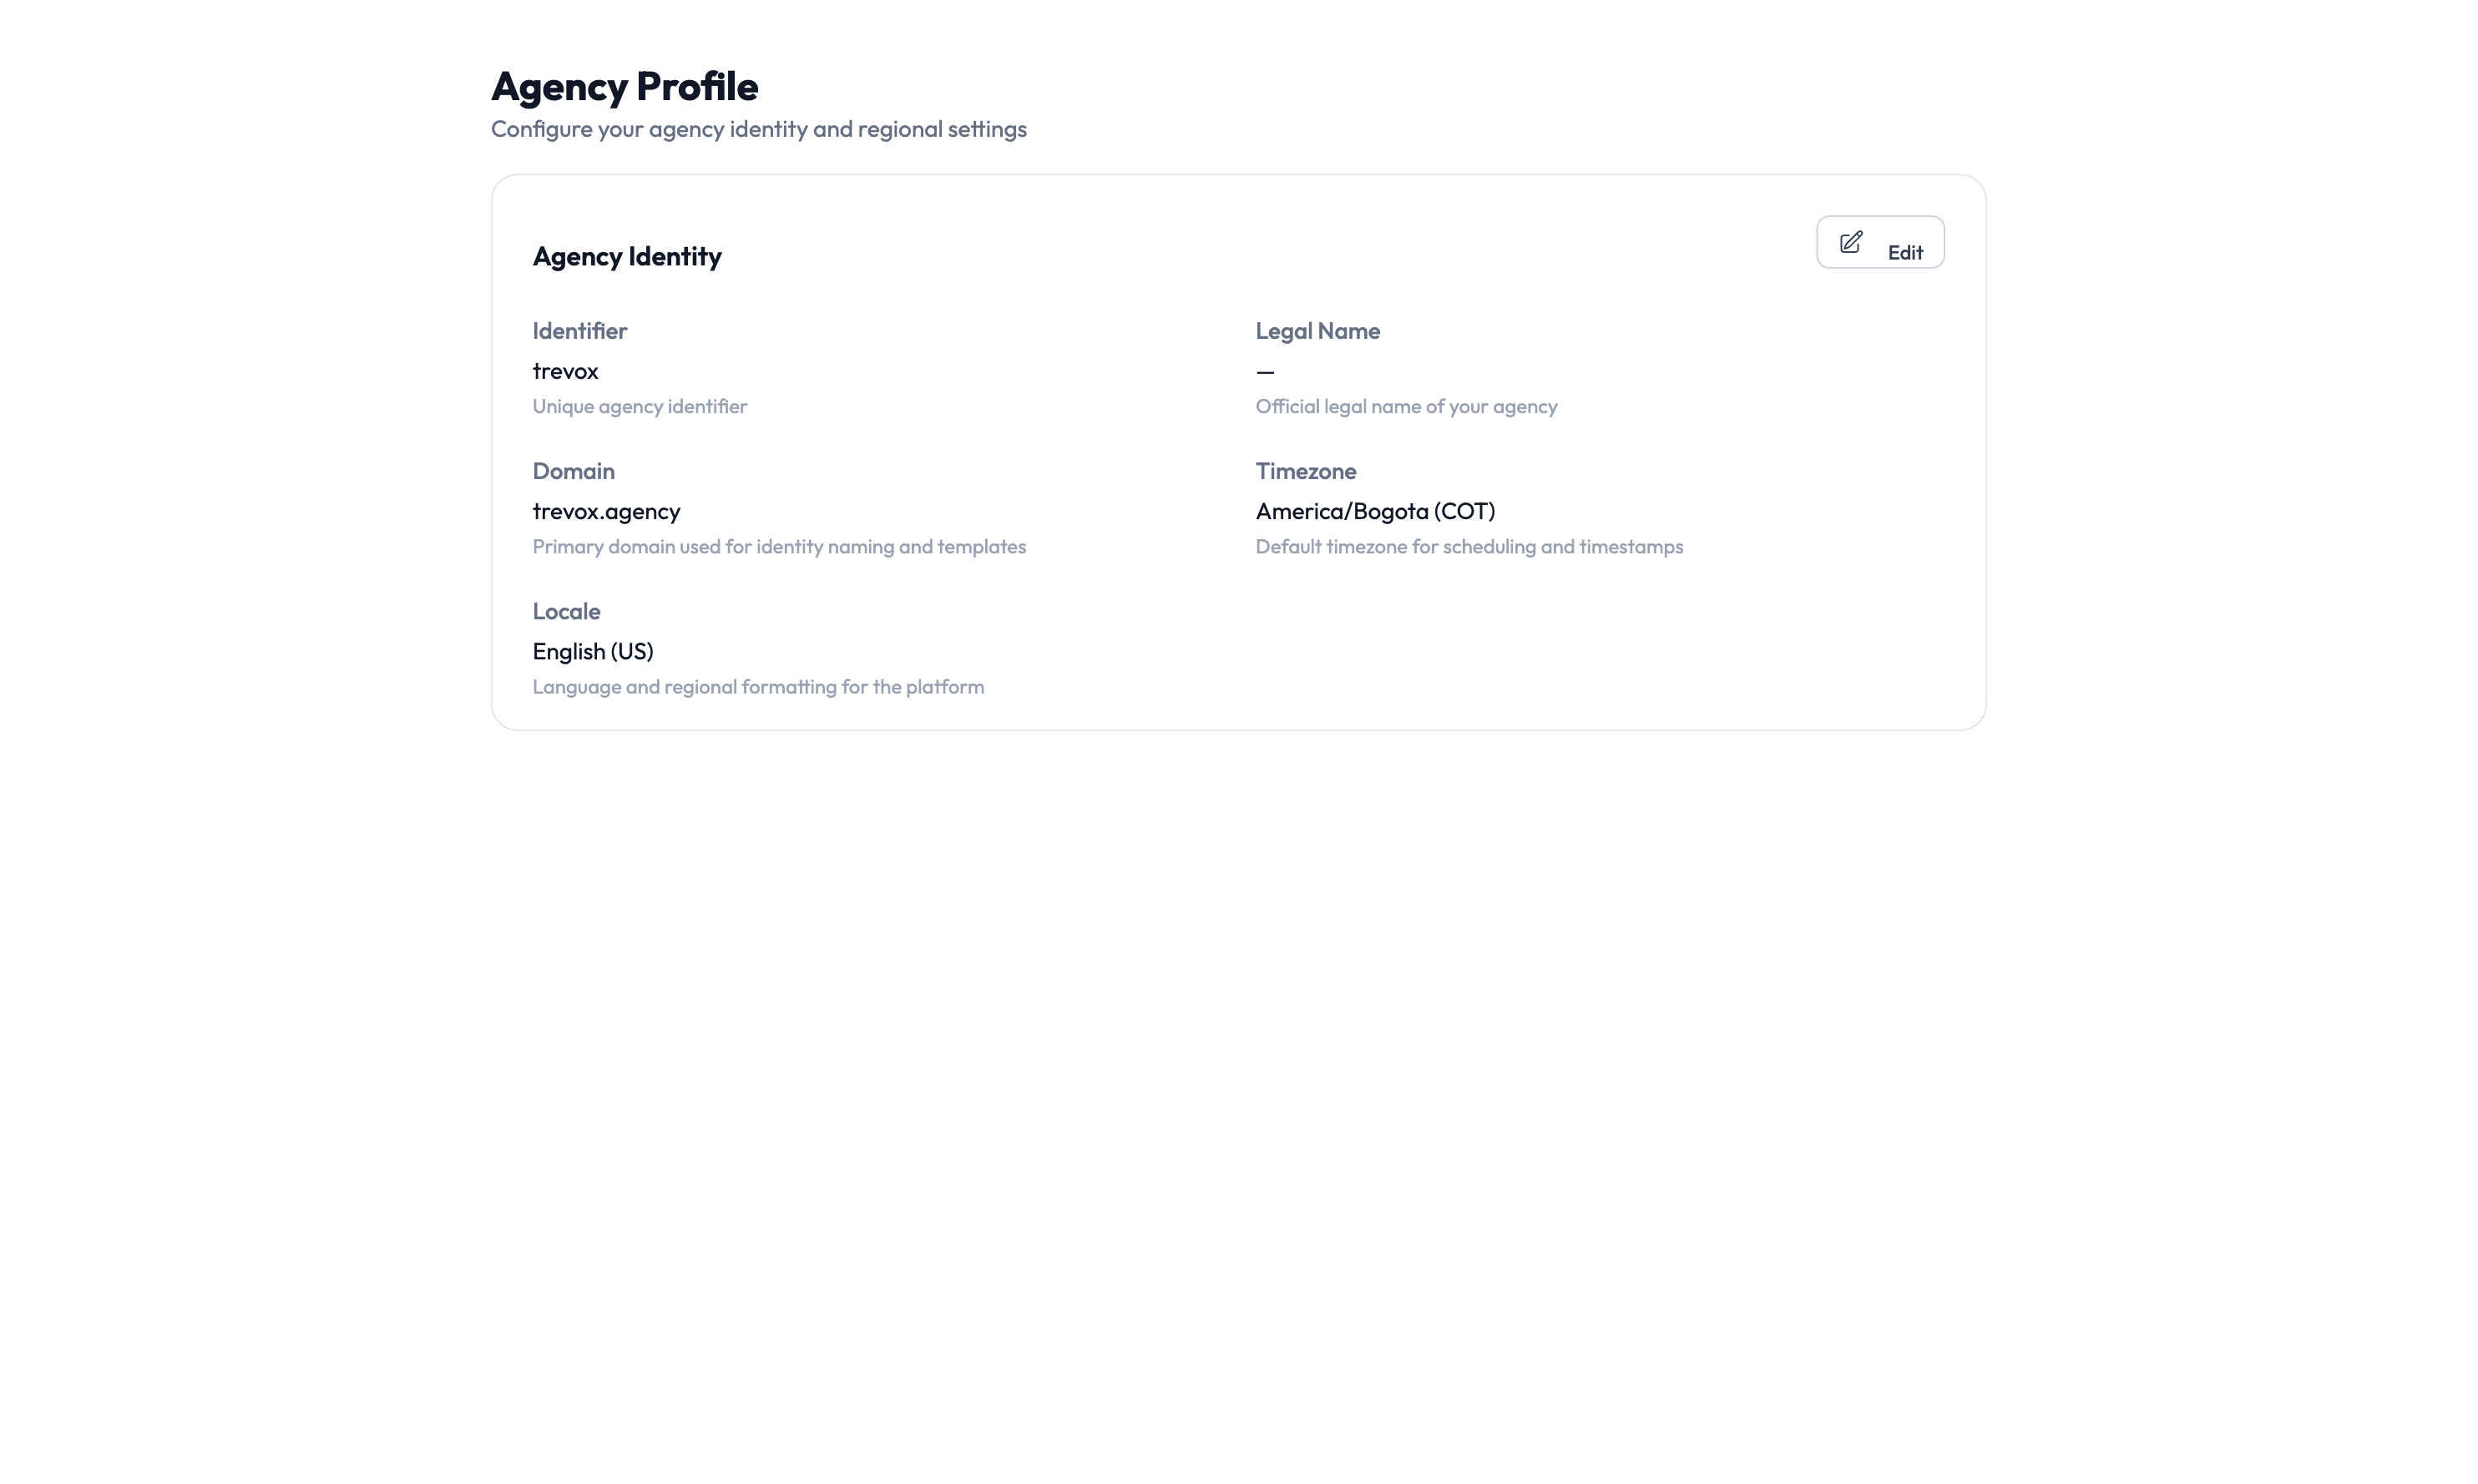
Agency profile
Navigate to Settings > Agency Profile to set up your agency’s basic information:
- Agency name and description — Shown across the application and in reports.
- Logo — Appears in navigation and exported reports.
- Primary contact — The main point of contact for your agency.
- Regional settings and timezone — Controls how dates and times display.
- Default governance policies — Sets the baseline for checkout time limits, approval requirements, and confirmation rules across all identities.
Proxy identity naming
Navigate to Settings > Proxy Identity to control how automatically created usernames are generated.
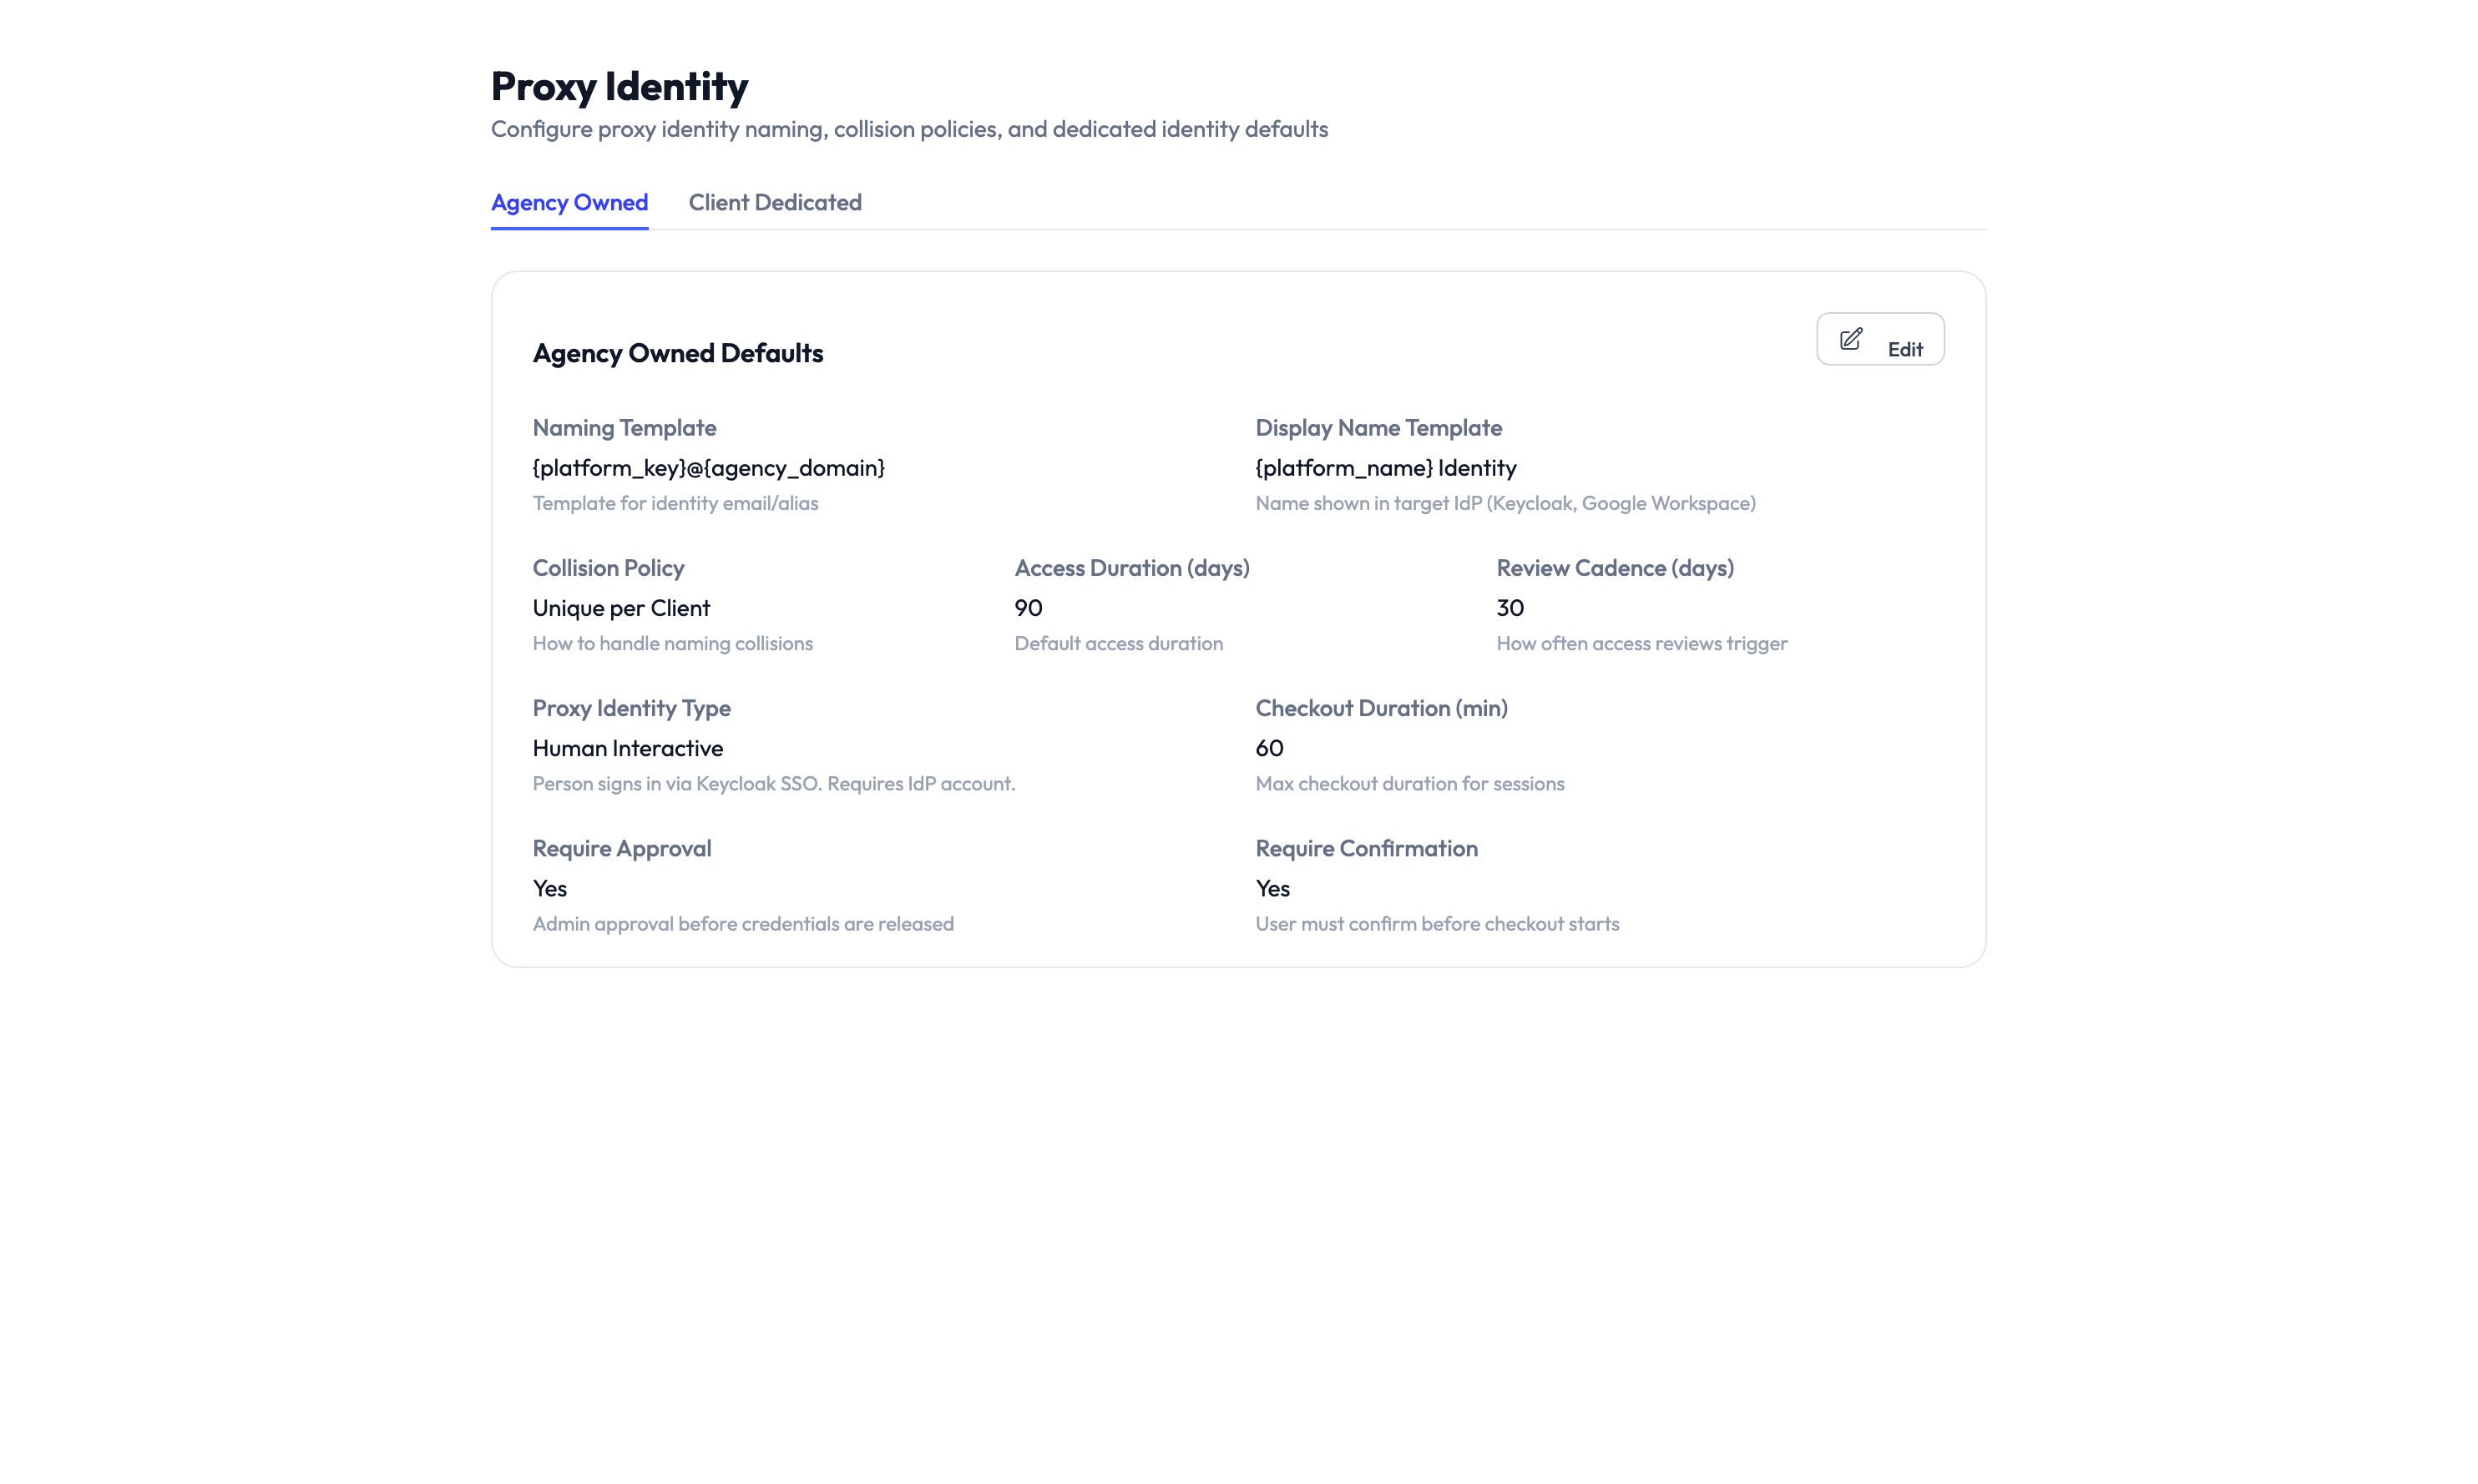
Naming template
The template uses variables to build usernames:
| Variable | Example value | What it produces |
|---|---|---|
{platform_key} |
ga4 |
The platform identifier |
{agency_domain} |
trevox.agency |
Your agency’s email domain |
The default template {platform_key}@{agency_domain} produces usernames like ga4@trevox.agency.
Collision handling
If a username already exists, the system adds a number — for example, ga4-2@trevox.agency.
Default identity type
Set which identity type the system uses when one is not specified. The default is Human Interactive.
Single Sign-On (SSO)
Navigate to Settings > Single Sign-On to configure how your team logs in:
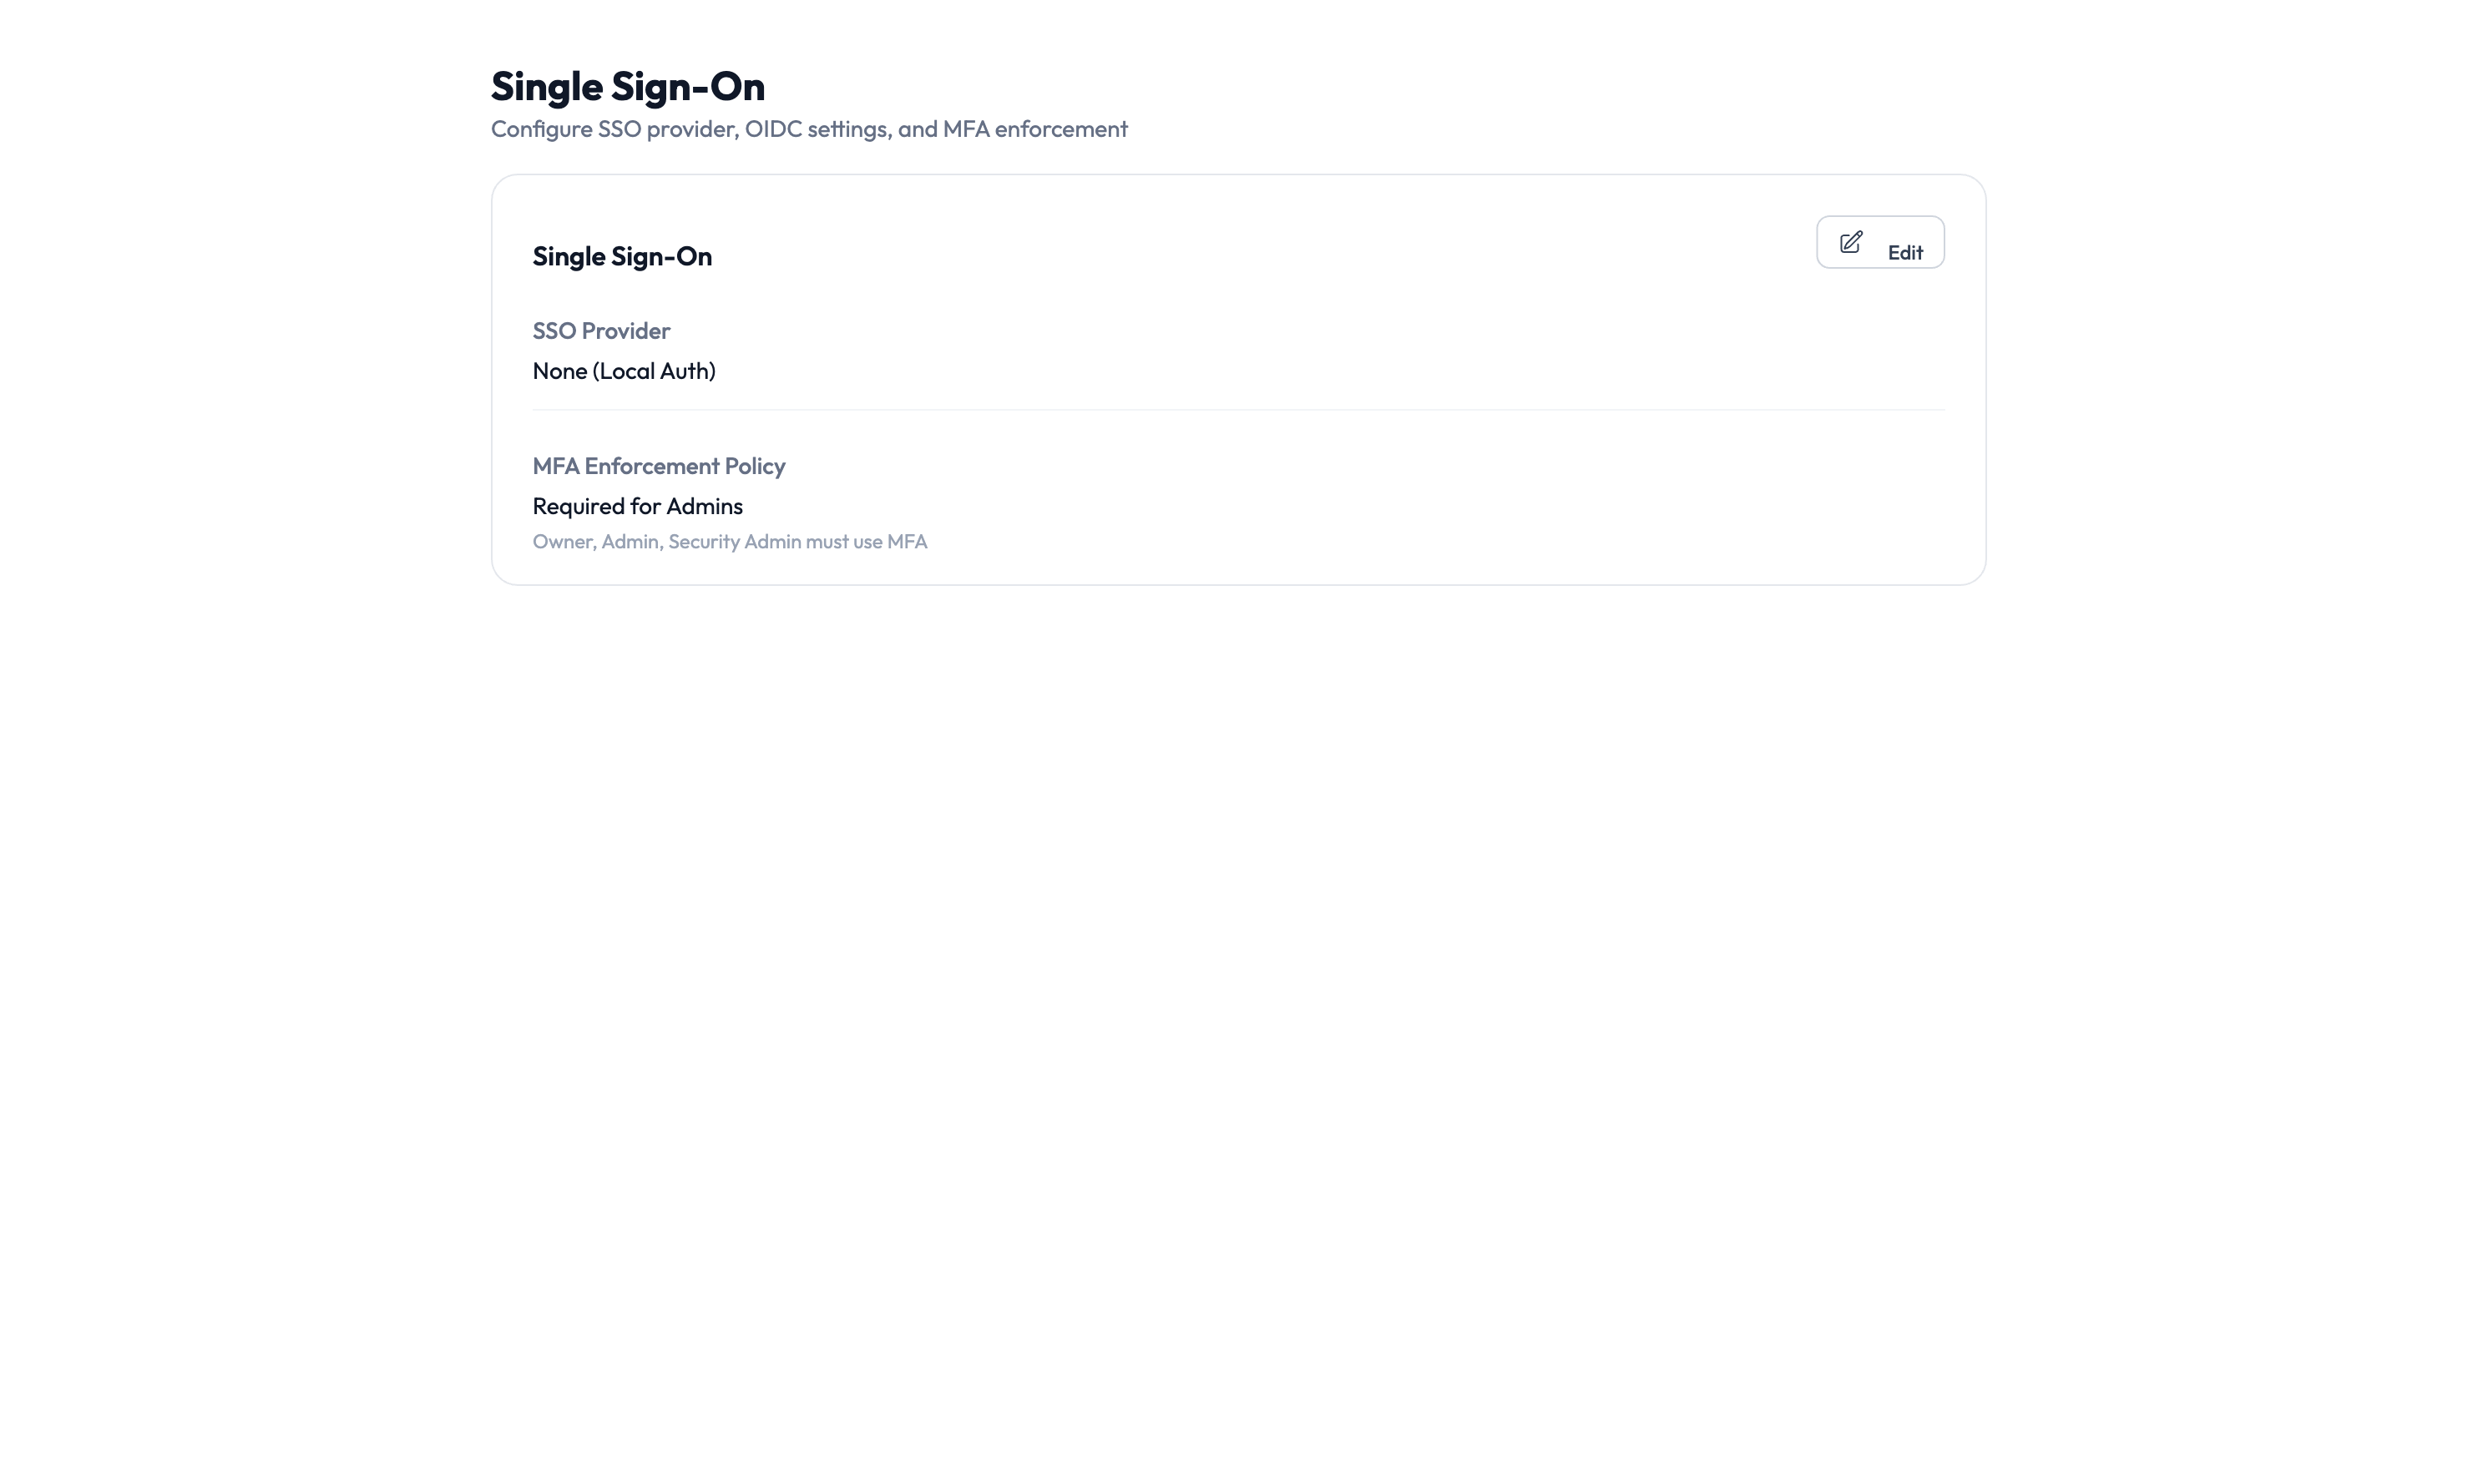
- SSO provider — Choose Google Workspace or your identity provider.
- Protocol settings — Configure Security Assertion Markup Language (SAML) or OpenID Connect (OIDC) settings.
- Multi-factor authentication (MFA) — Require MFA for all users or specific roles.
- Session timeout — Set how long a login session lasts before the user must sign in again.
Emergency access
Navigate to Settings > Emergency Access to set up break-glass policies for urgent situations:
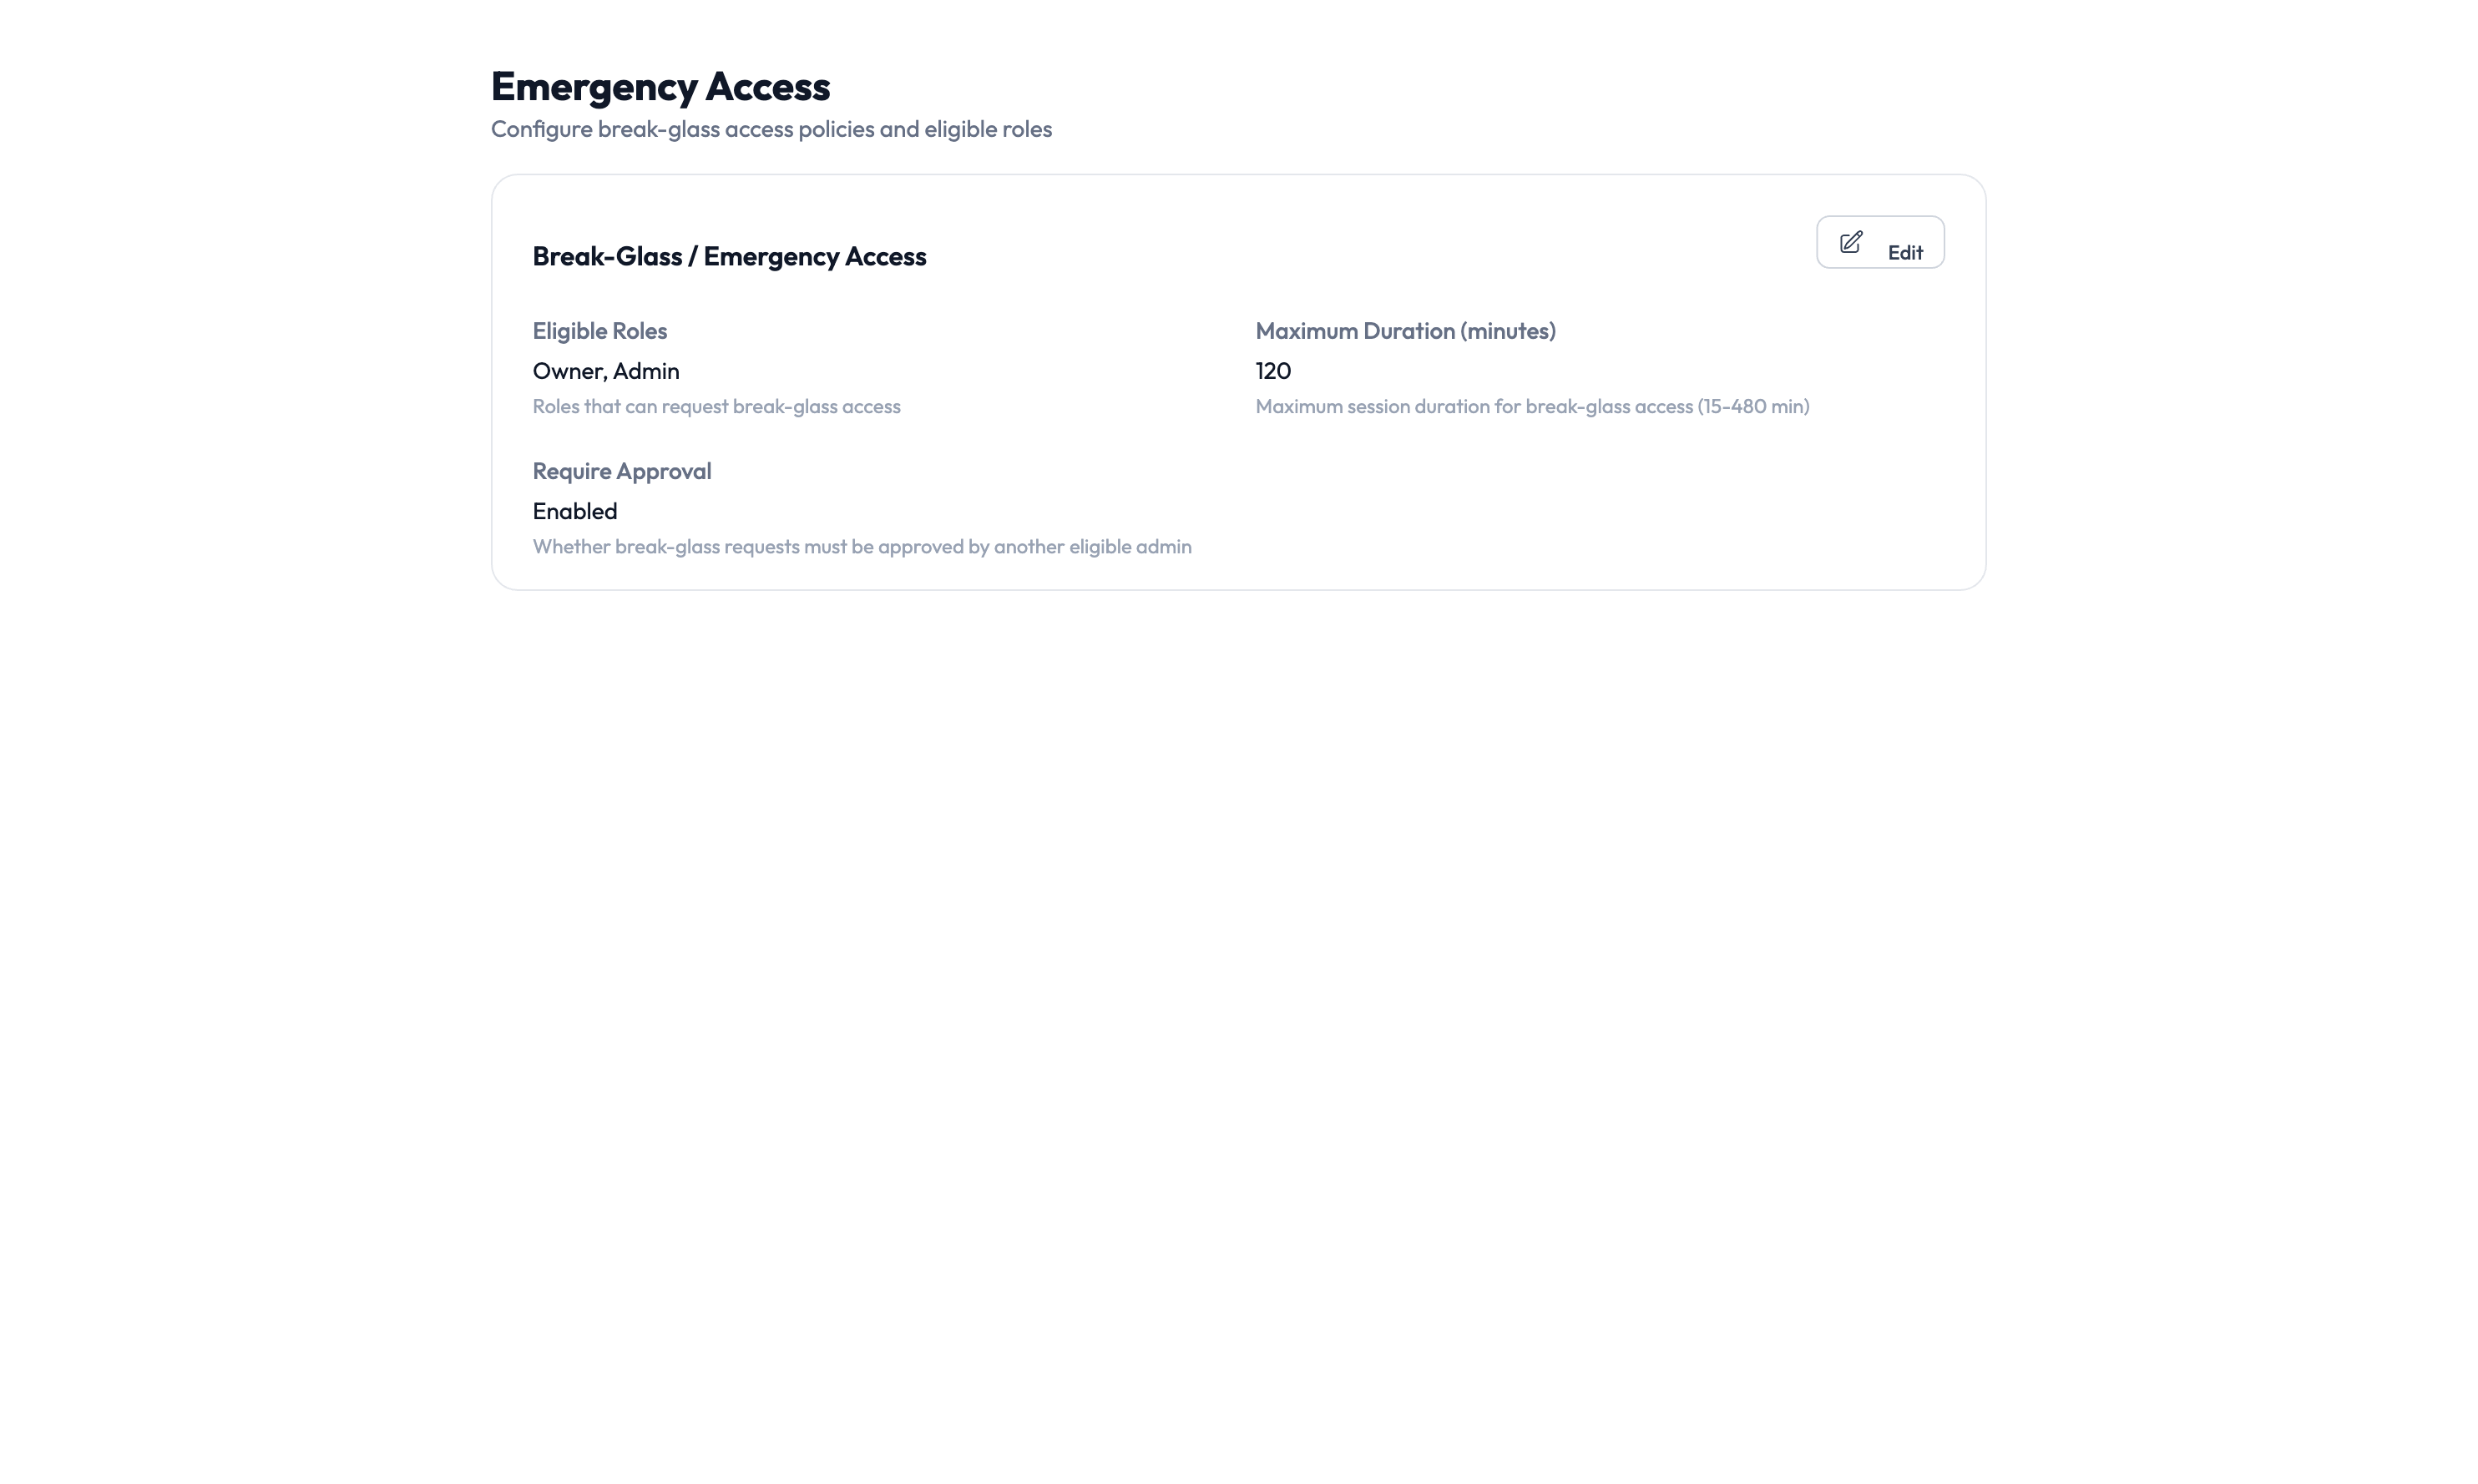
- Enable or disable emergency access agency-wide.
- Eligible approvers — Choose who can approve emergency access requests.
- Escalation thresholds — Set how long before an unanswered request escalates.
- Auto-approval rules — Define conditions where emergency access is granted automatically.
- Audit requirements — Specify what must be documented after an emergency access event.
Emergency access skips the standard approval workflow. Limit eligible approvers to senior personnel and review emergency access events regularly in the Audit Trail.
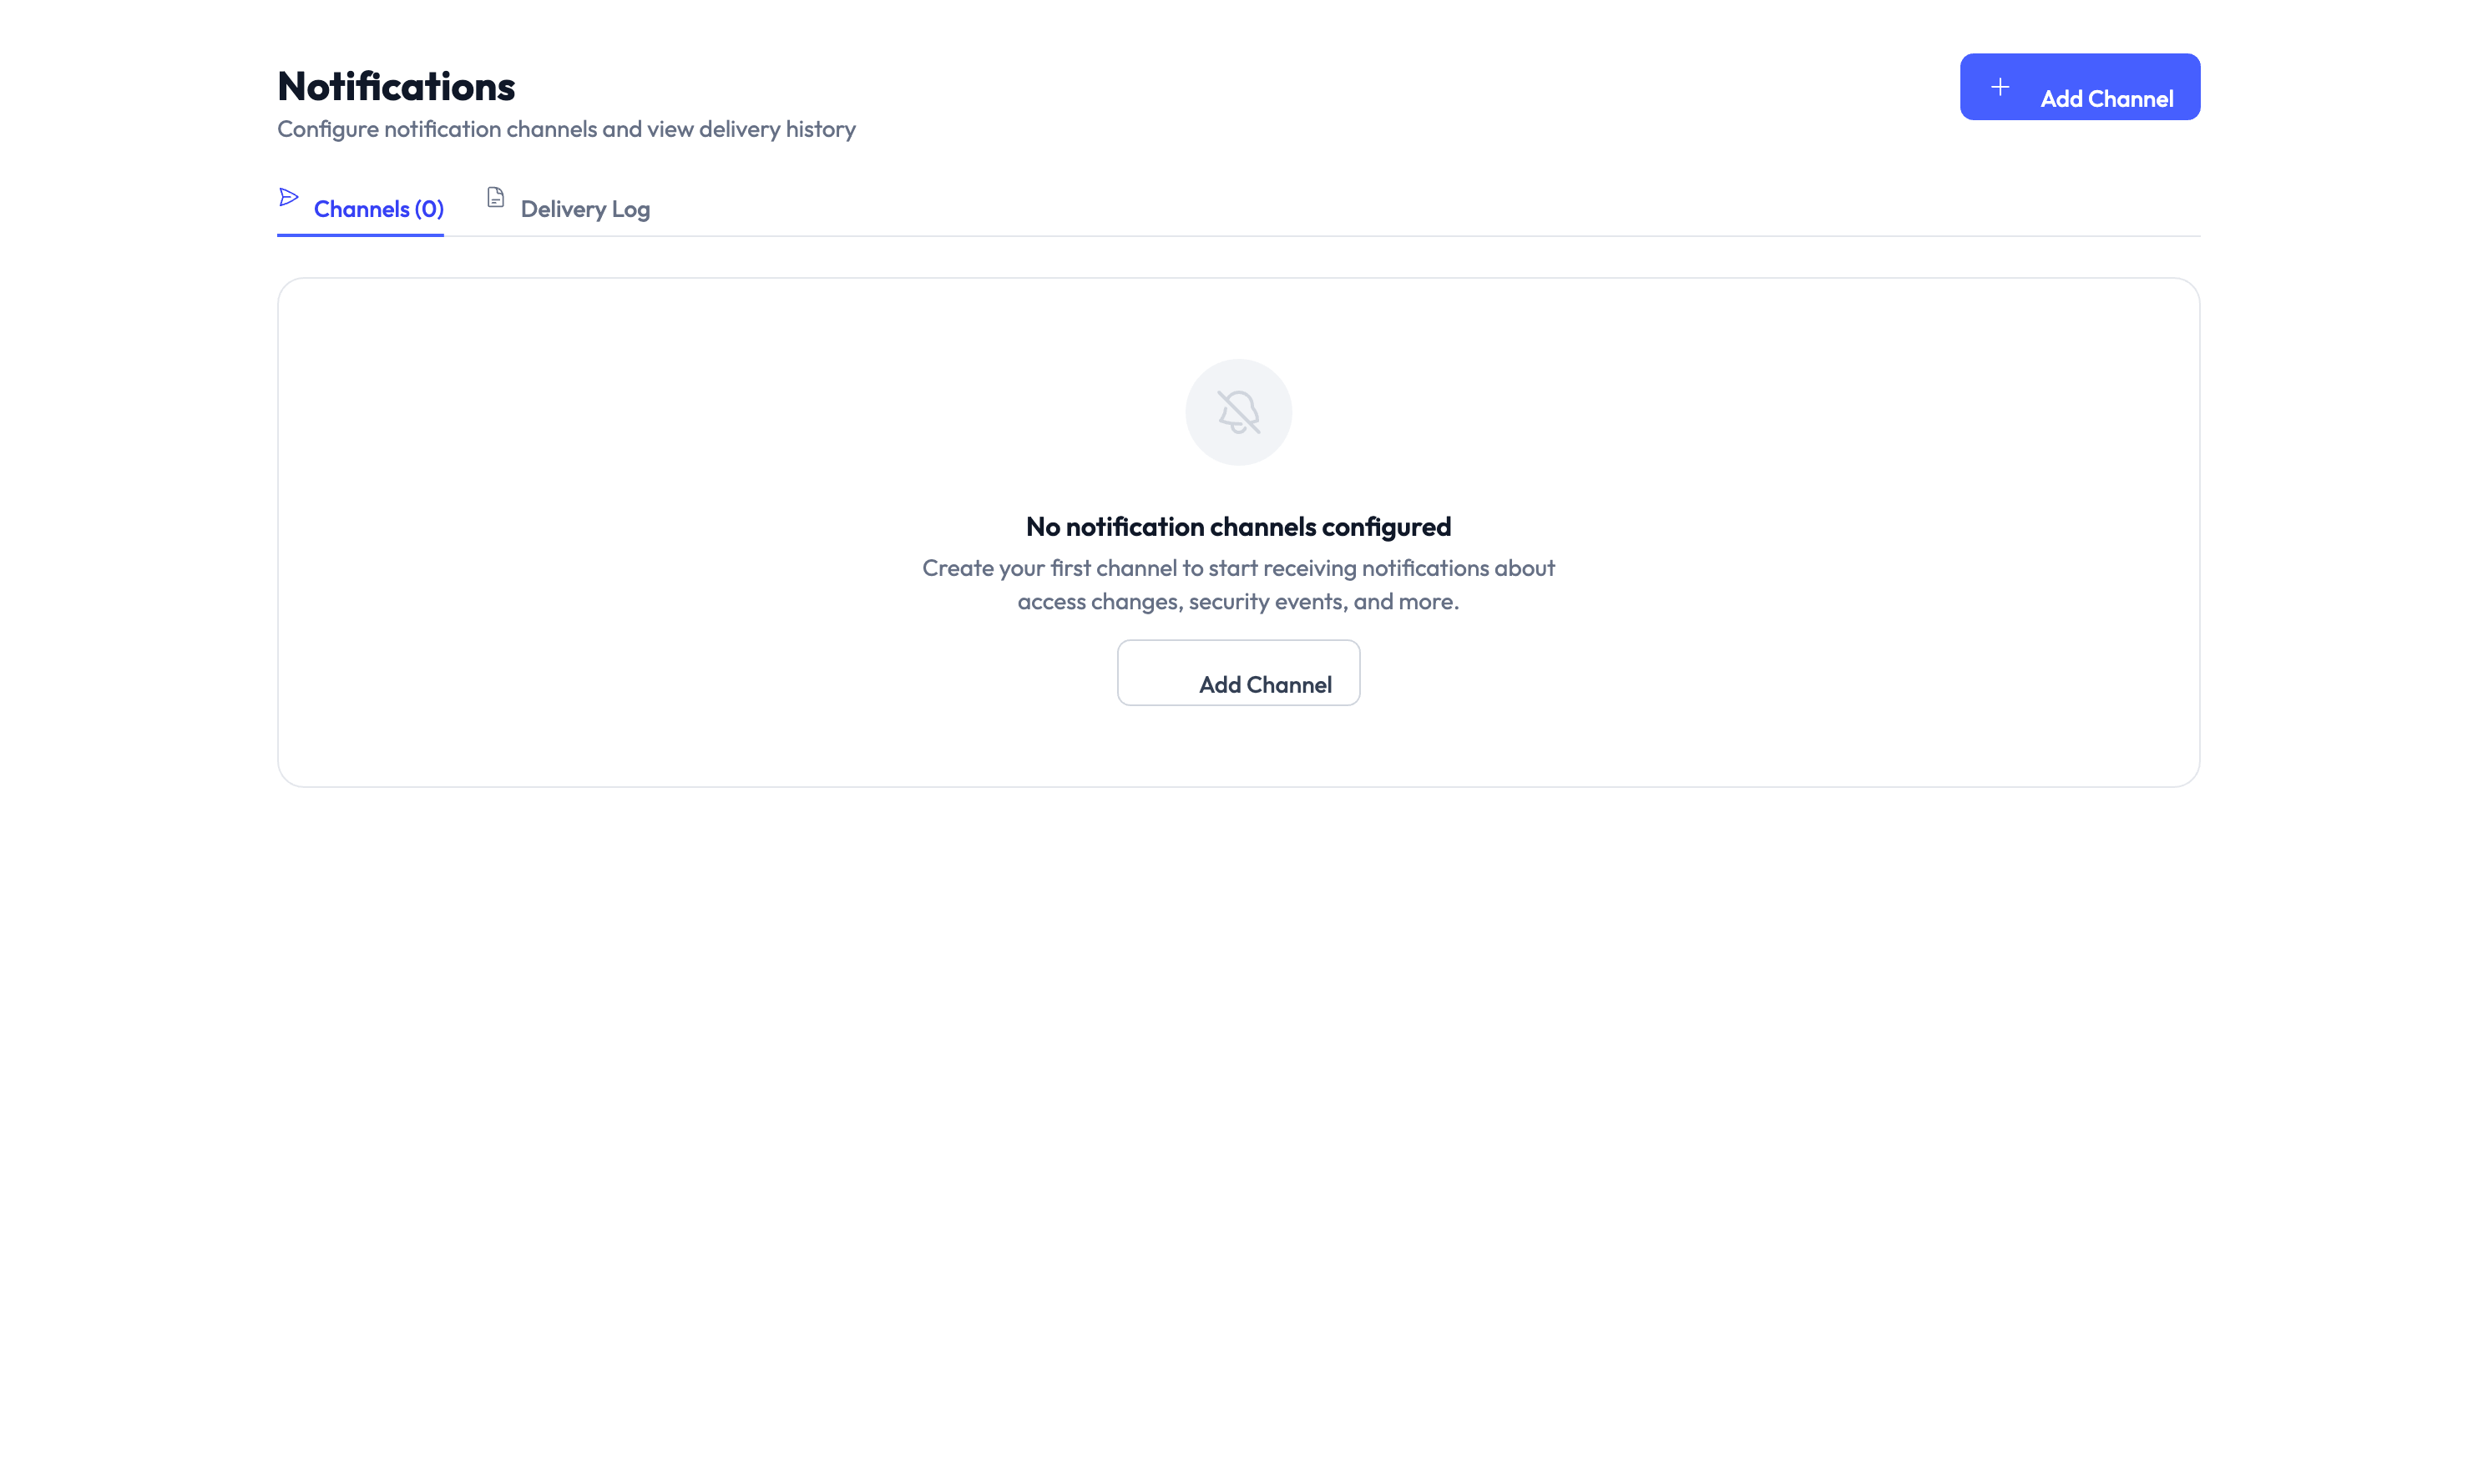
Notifications
Navigate to Settings > Notifications to set up alert channels so your team stays informed.
Supported channels
| Channel | How it works |
|---|---|
| Sends notifications to email addresses | |
| Slack | Posts to a Slack channel using a webhook |
| Microsoft Teams | Posts to a Teams channel using a connector |
| SMS | Sends text message alerts |
| Webhook | Sends a notification to any web address you configure |
Events you can subscribe to
Each channel can listen for specific events:
- Access request submitted, approved, or denied
- PAM session checkout, check-in, or termination
- Credential rotation completed
- Provisioning completed or failed
- Compliance drift detected
- Report generated
Add a notification channel
Step 1 — Open notification settings
Navigate to Settings > Notifications > Channels and click New Channel.
Step 2 — Configure the channel
Select the channel type (Email, Slack, Teams, SMS, or Webhook) and enter the destination — an email address, webhook address, or phone number.
Step 3 — Choose events
Select which events should trigger a notification on this channel.
Step 4 — Test and save
Click Test to send a test notification. If it arrives, click Save to finish.
Users and roles
Navigate to Settings > Users & Roles to manage who has access to your AccessHive agency and what they can do.
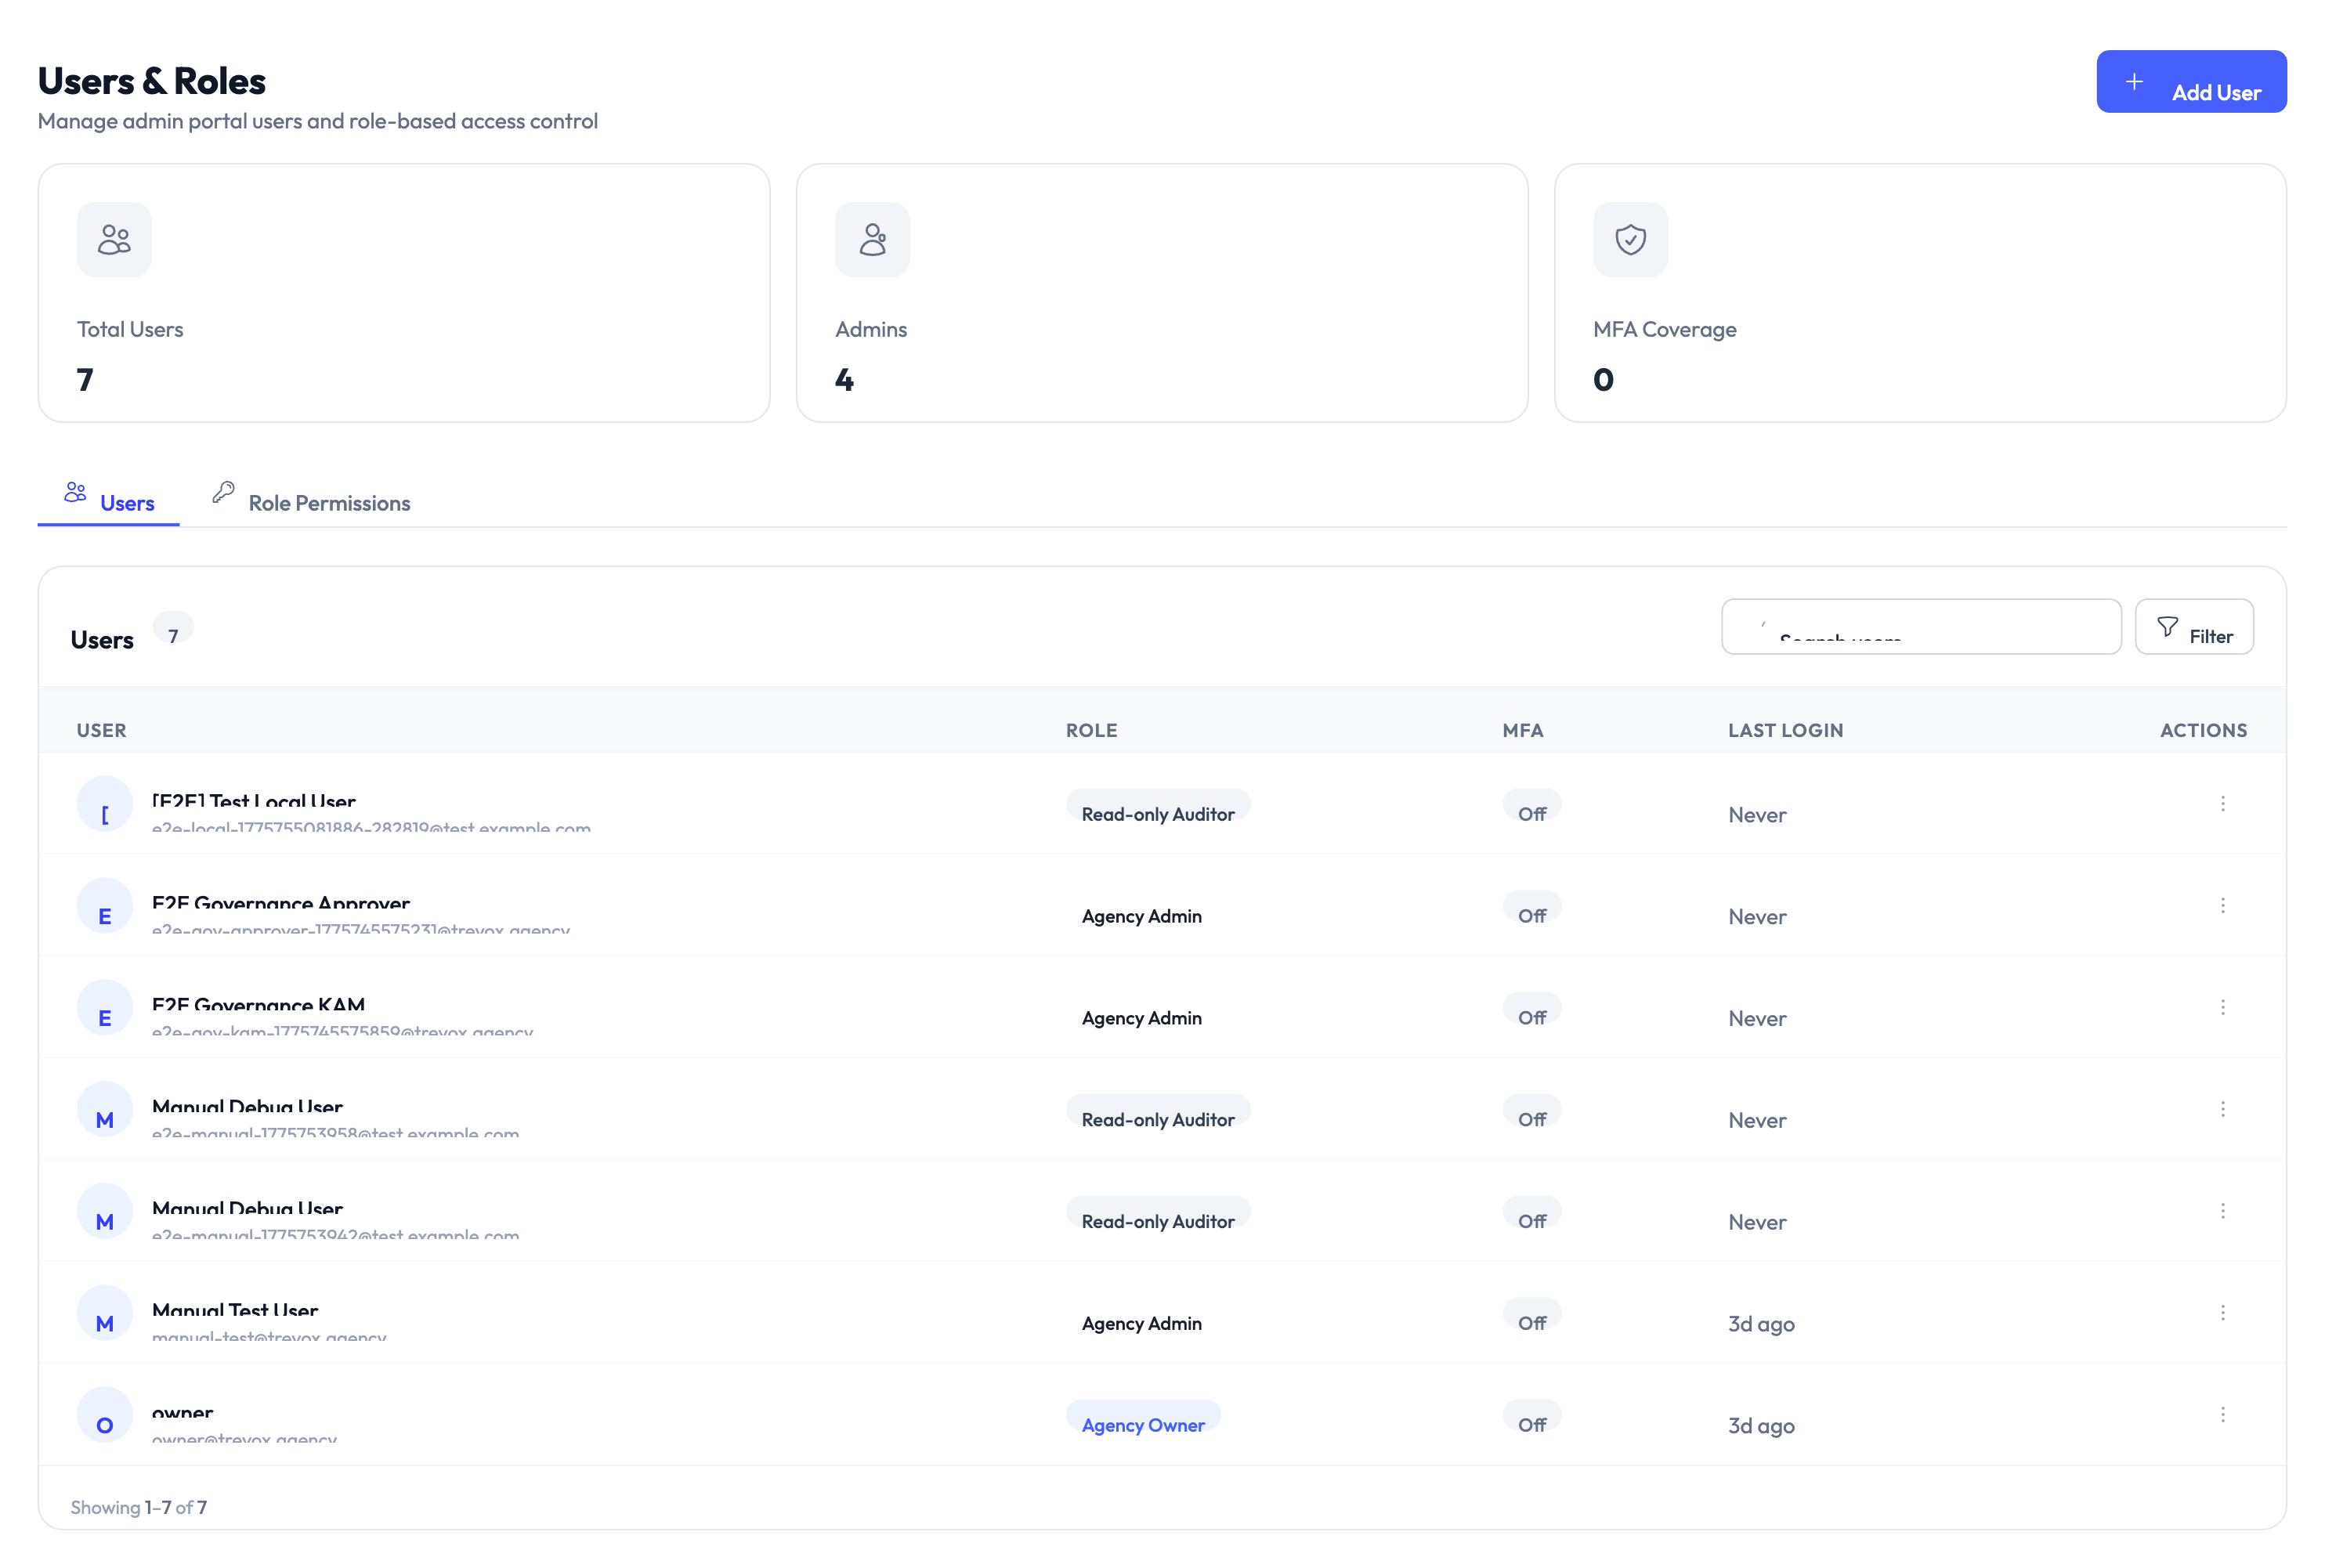
Managing users
- Invite new users — Send an invitation email to add team members.
- Assign roles — Choose the role that matches their responsibilities.
- Enable or disable accounts — Deactivate users without deleting them.
- Two-factor authentication (2FA) — Manage 2FA settings per user.
Built-in roles
| Role | What they can do |
|---|---|
| Owner | Full access including billing and all settings |
| Admin | Manage clients, platforms, and identities — but not billing |
| Approver | Approve or deny access requests and PAM sessions only |
| Security Owner | View audit logs, compliance reports, and governance policies |
| Client Manager | Manage clients and team assignments within their scope |
You can also create custom roles with specific permissions by navigating to Settings > Users & Roles > Roles.
Plan and billing
Navigate to Settings > Plan & Billing to manage your subscription:
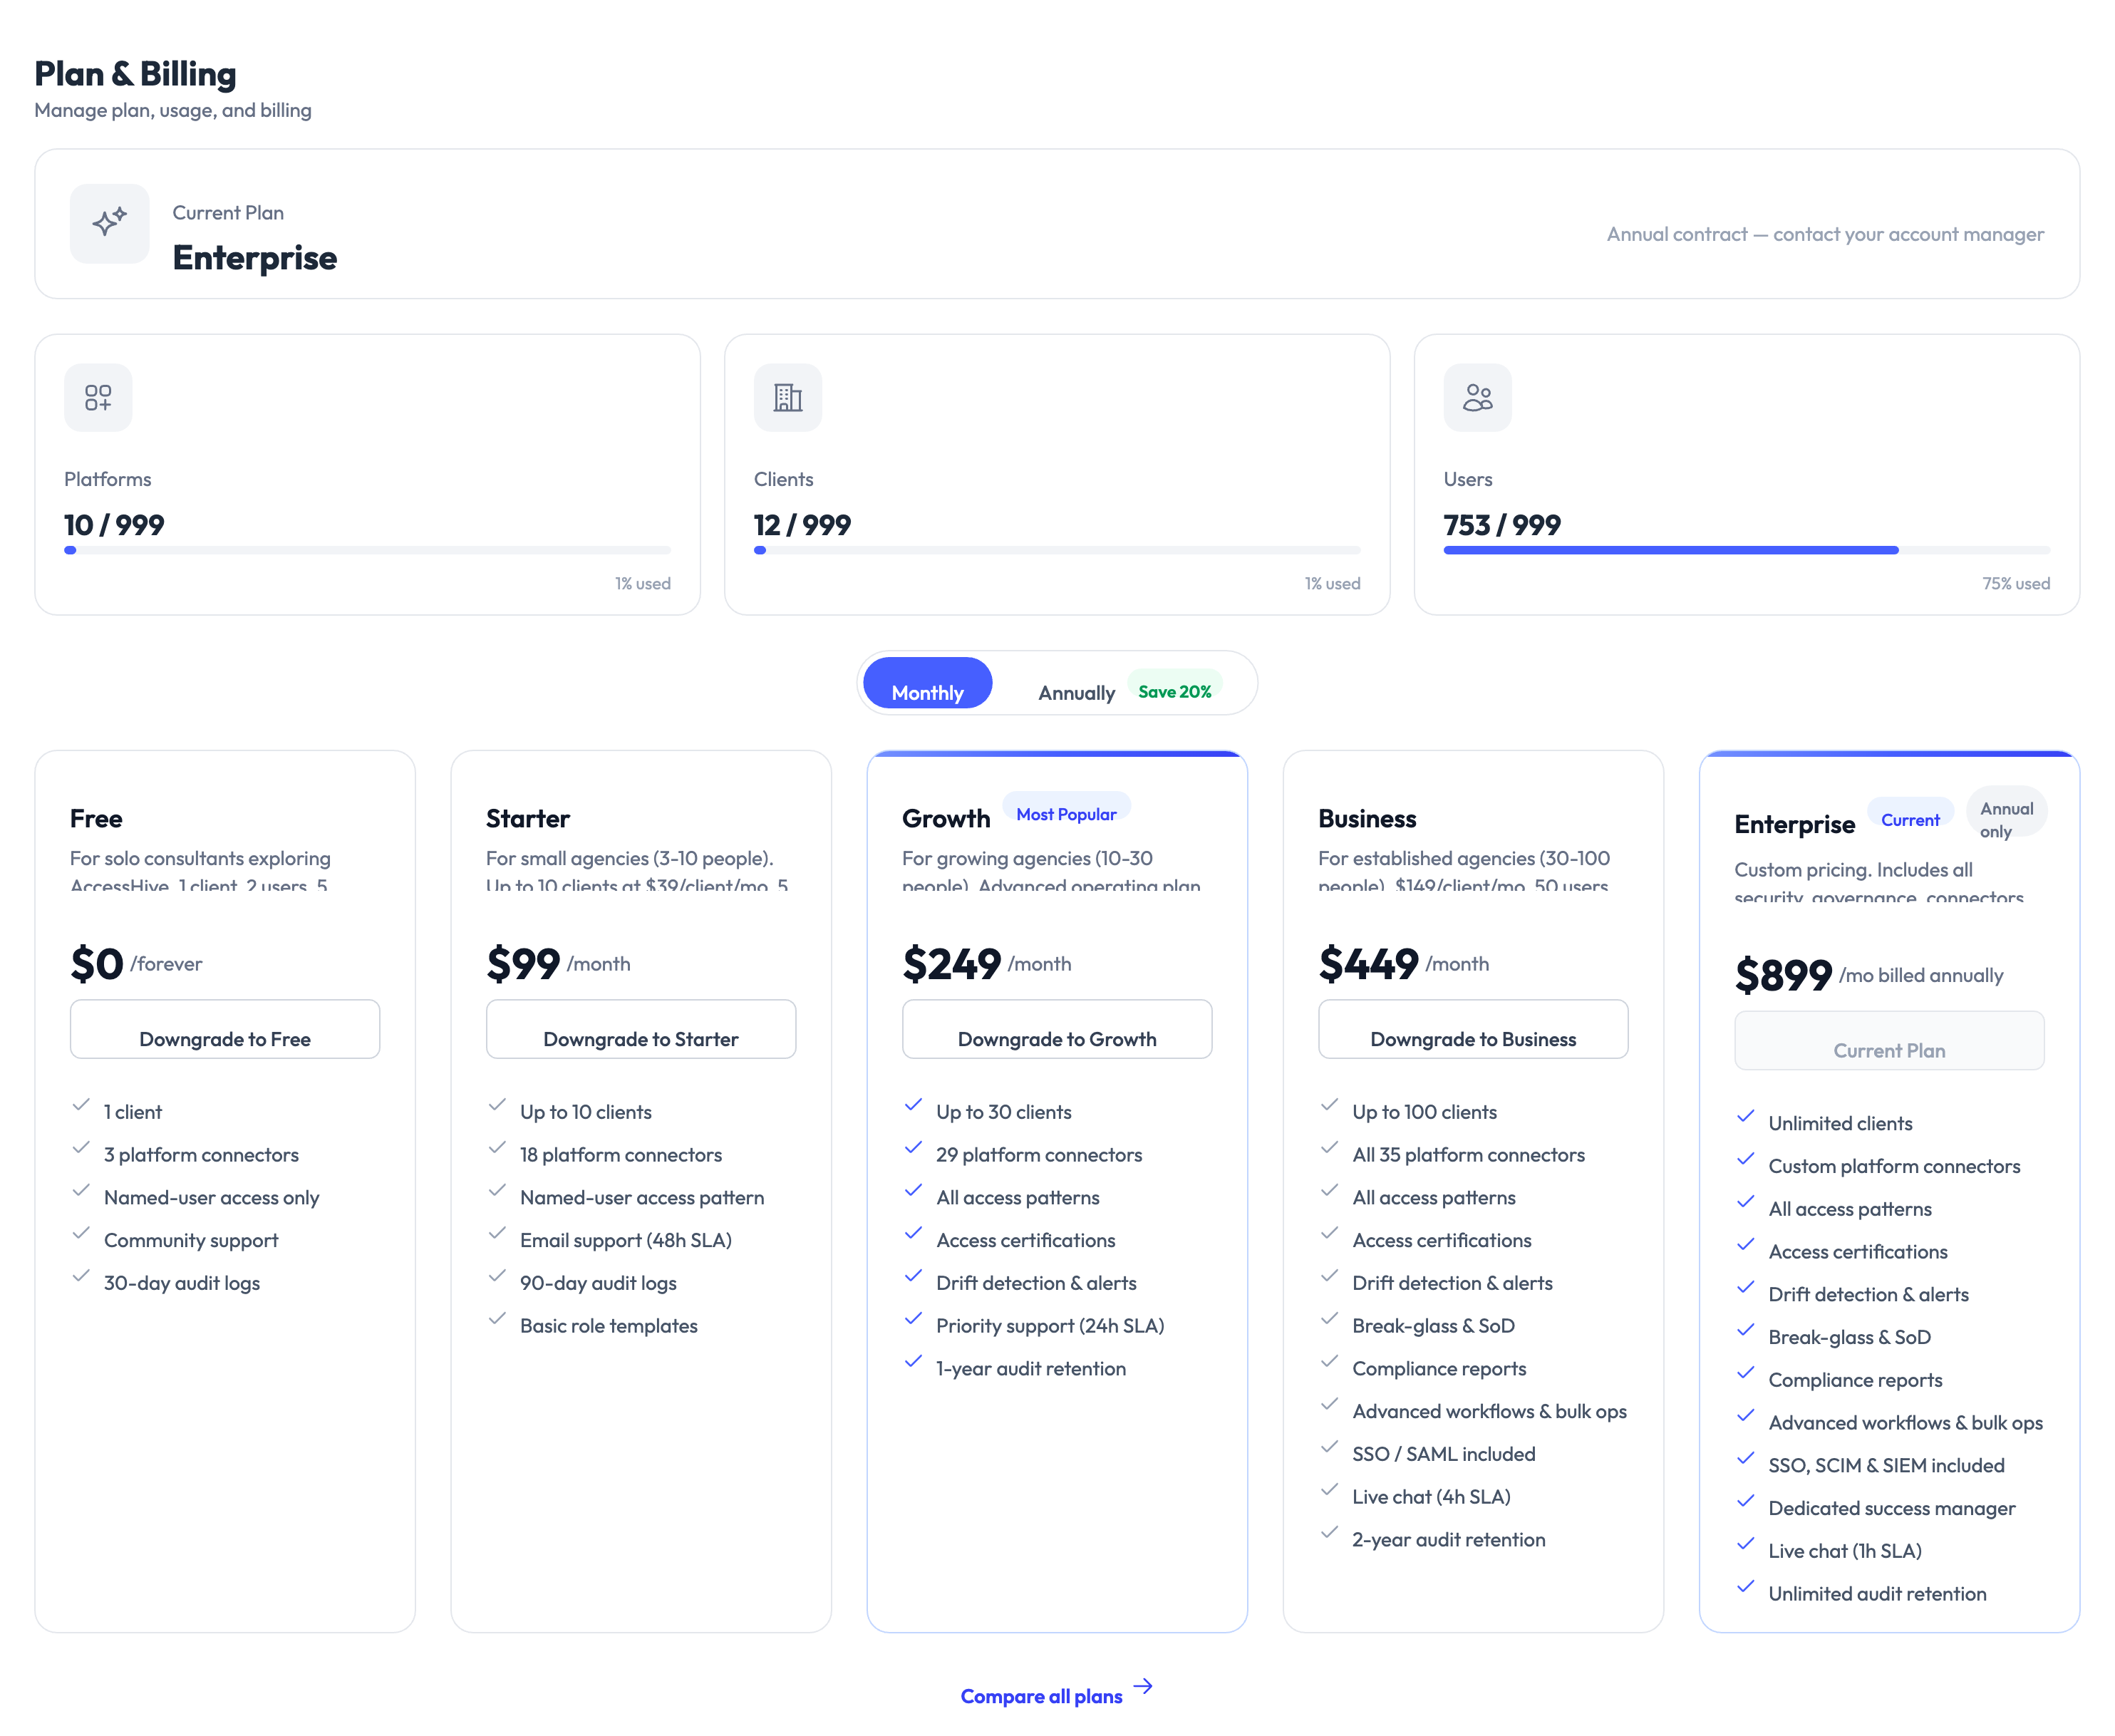
- View your current plan and usage.
- Compare features across tiers.
- Upgrade or downgrade your plan.
- Manage payment methods.
- View invoice history.
Only users with the Owner role can access plan and billing settings.
Time-bound access defaults
Navigate to Settings > Time-Bound Access to configure how long access grants last by default:
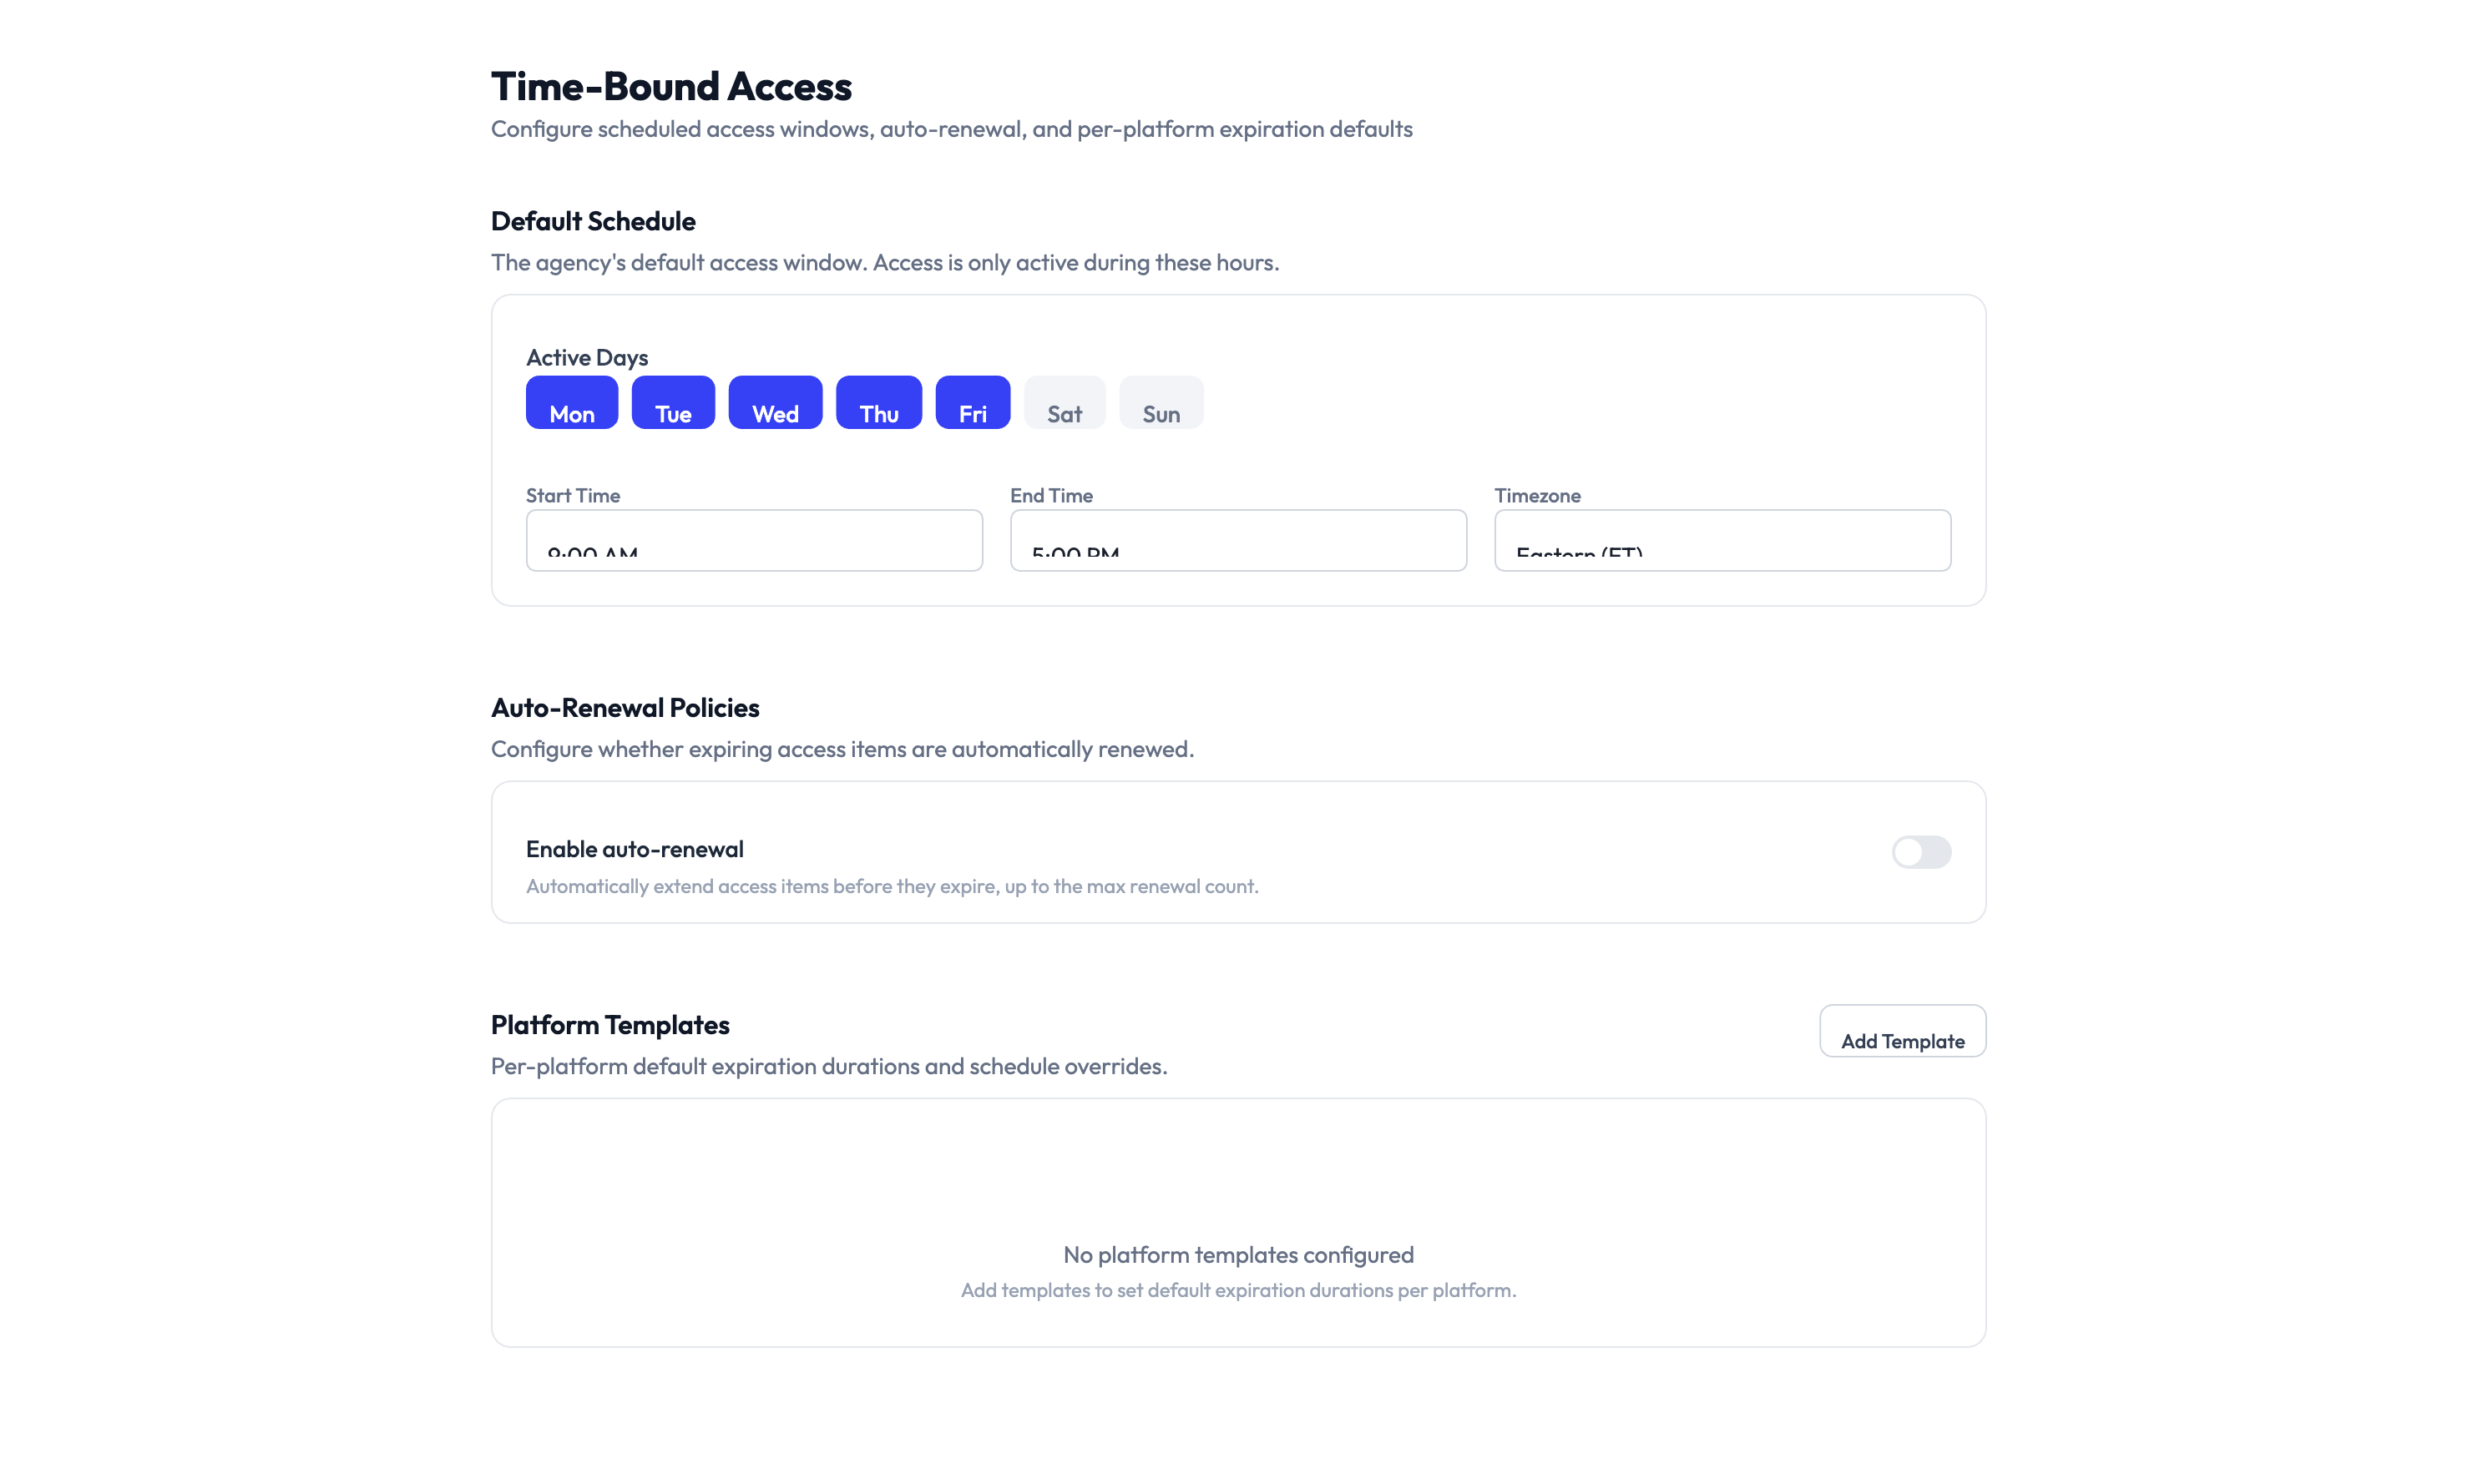
- Default expiration period — How long new access grants last before they expire.
- Auto-renewal thresholds — When access can be automatically renewed.
- Notification lead time — How far in advance users are notified before access expires.
- Extension approval — Whether extending access requires manager approval.
Joiner-Mover-Leaver (JML) automation
Navigate to Settings > JML Automation to configure what happens automatically when team members join, change roles, or leave your organization.
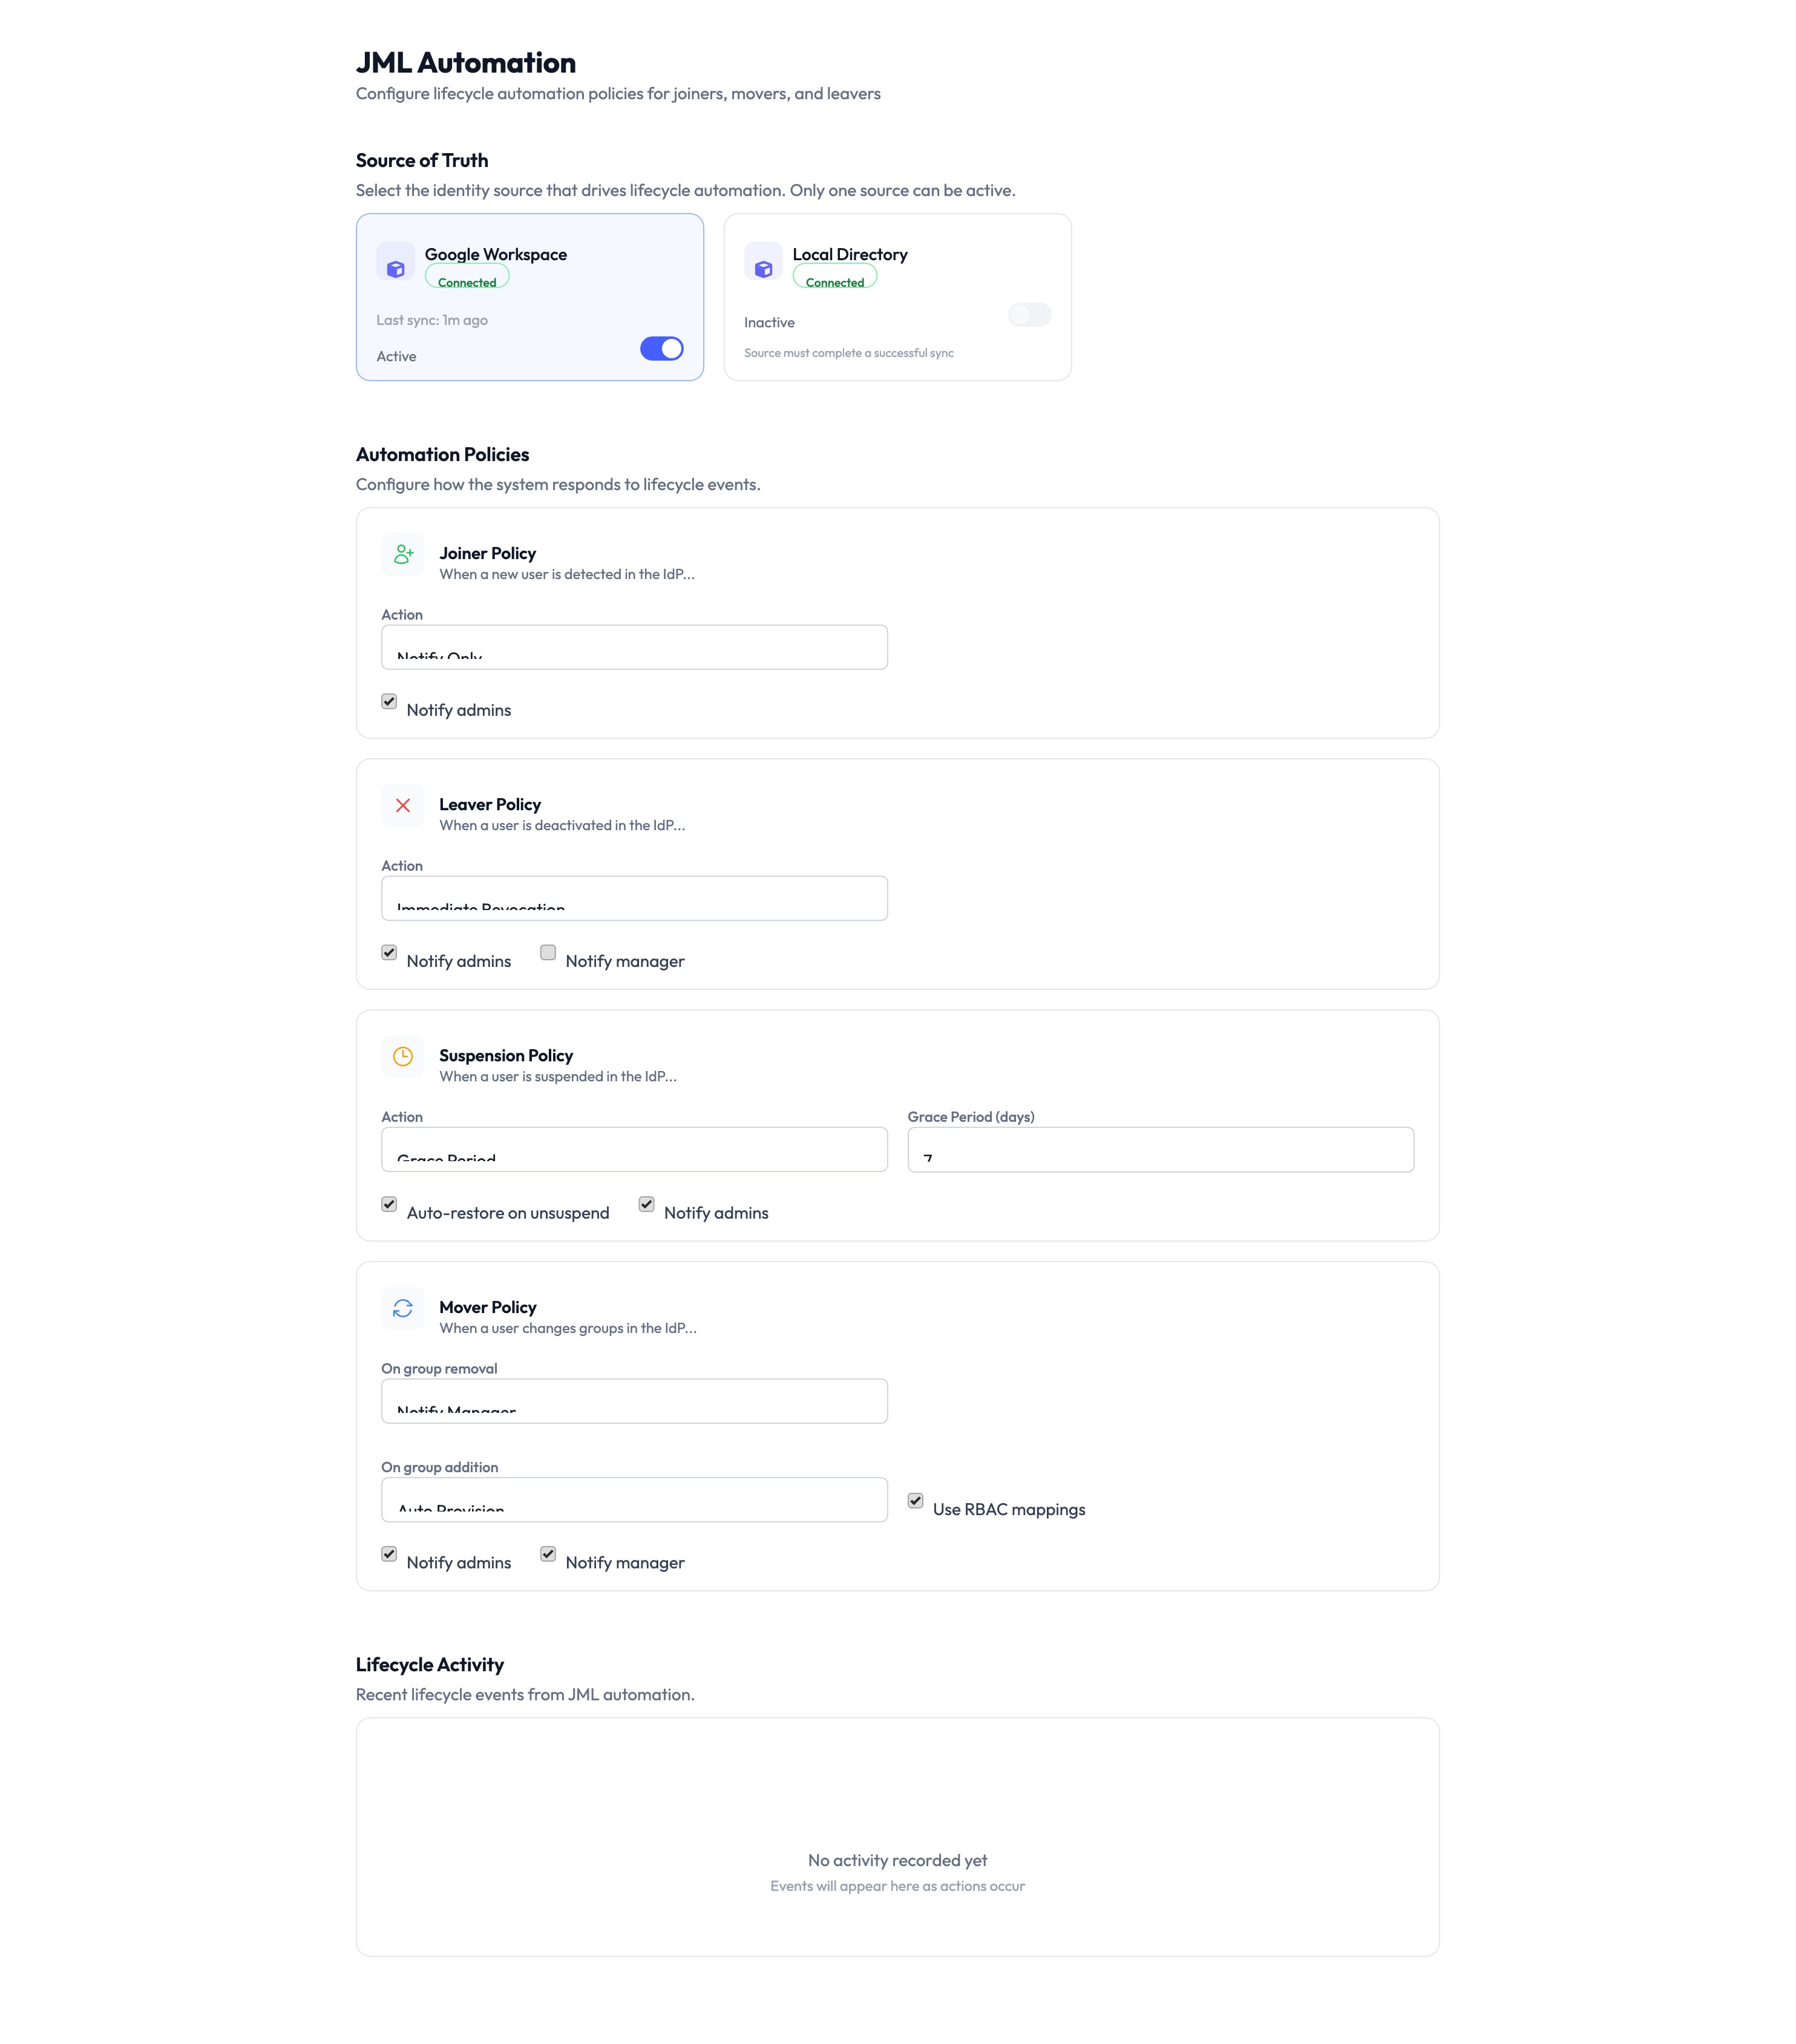
Joiner
When a new user is added to your directory:
- The system assigns the matching role template and provisions access automatically.
Mover
When a user’s group membership changes:
- The system revokes access from the old role template and applies the new one.
Leaver
When a user is deactivated or removed:
- The system revokes all access and rotates any shared credentials they had access to.
Auto-remediation
Navigate to Settings > Auto-Remediation to configure automatic enforcement of your governance policies:
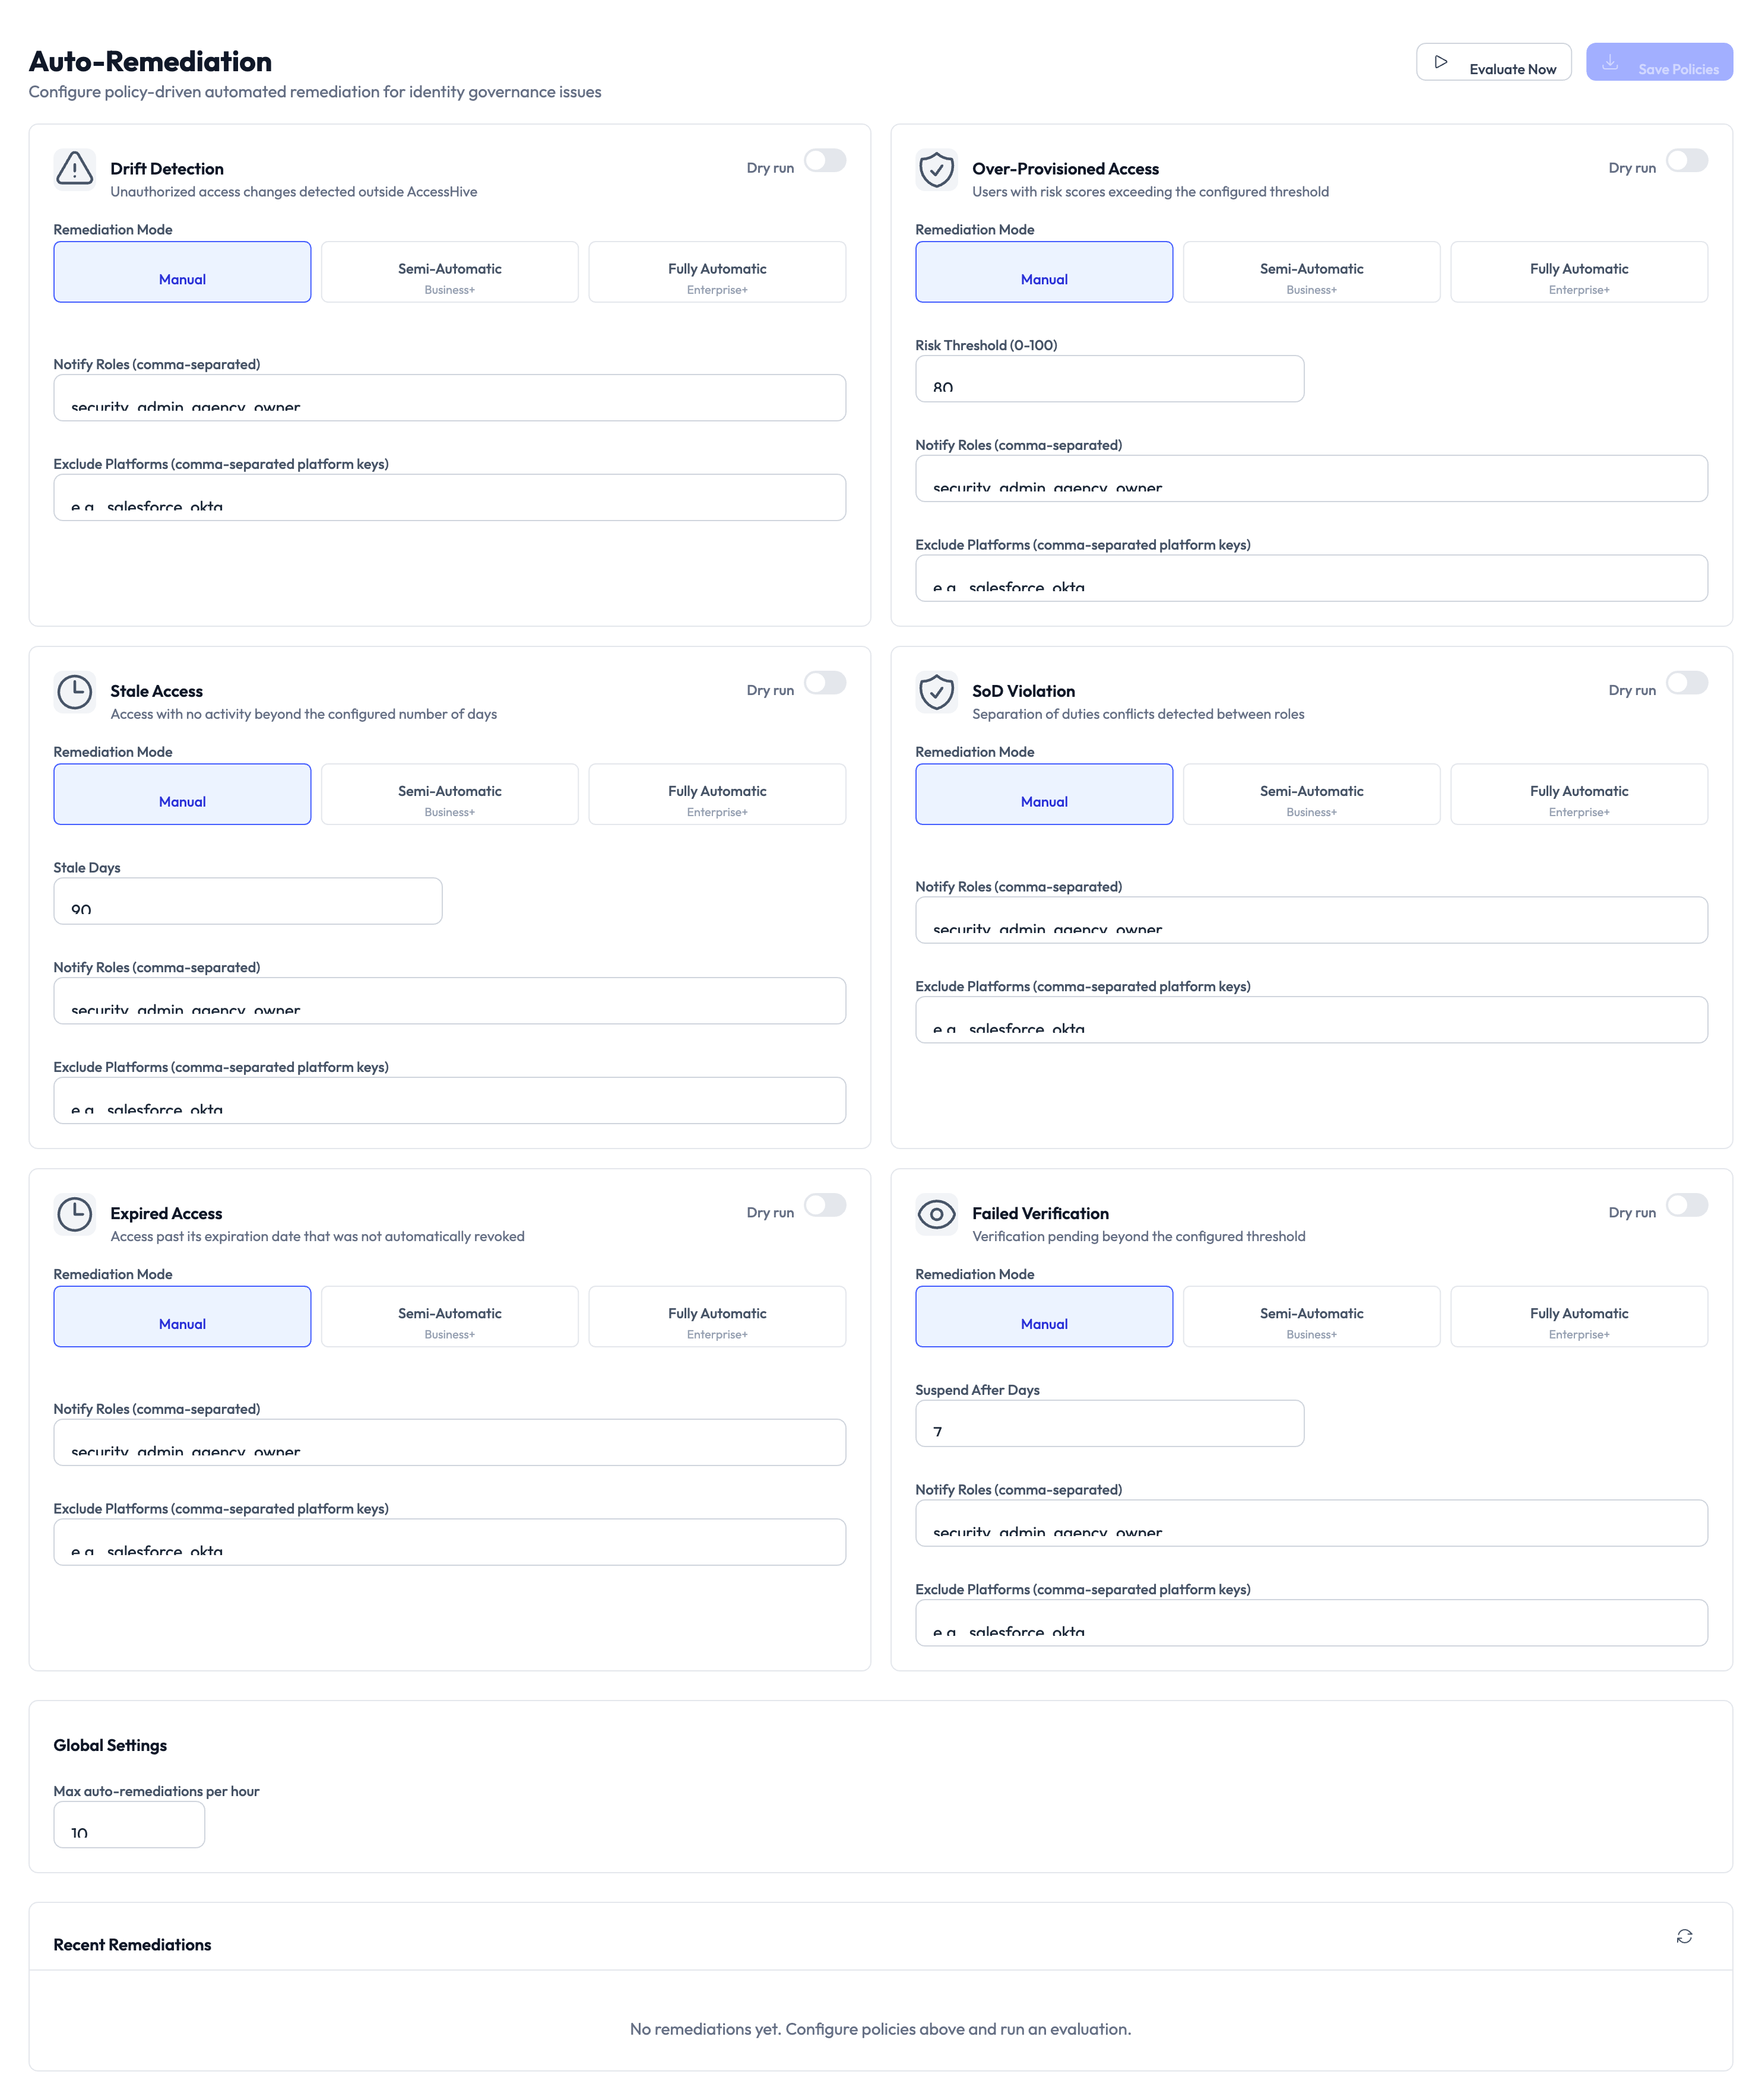
- Remediation rules — Define which policy violations trigger automatic action.
- Warning periods — Set how long users have to fix a violation before access is revoked.
- Notification channels — Choose where remediation alerts are sent.
- Enable per policy — Turn auto-remediation on or off for each policy individually.
- Remediation history — Review past auto-remediation actions.
Bulk import
Navigate to Settings > Bulk Import to create or update records in batches using CSV files.
What you can import
- Clients — Create or update multiple clients at once.
- Access requests — Submit multiple access requests in a single upload.
- Team assignments — Map team members to clients in bulk.
How to import
Step 1 — Download the template
Select your import type and click Download Template. The CSV template includes the required columns and formatting instructions.
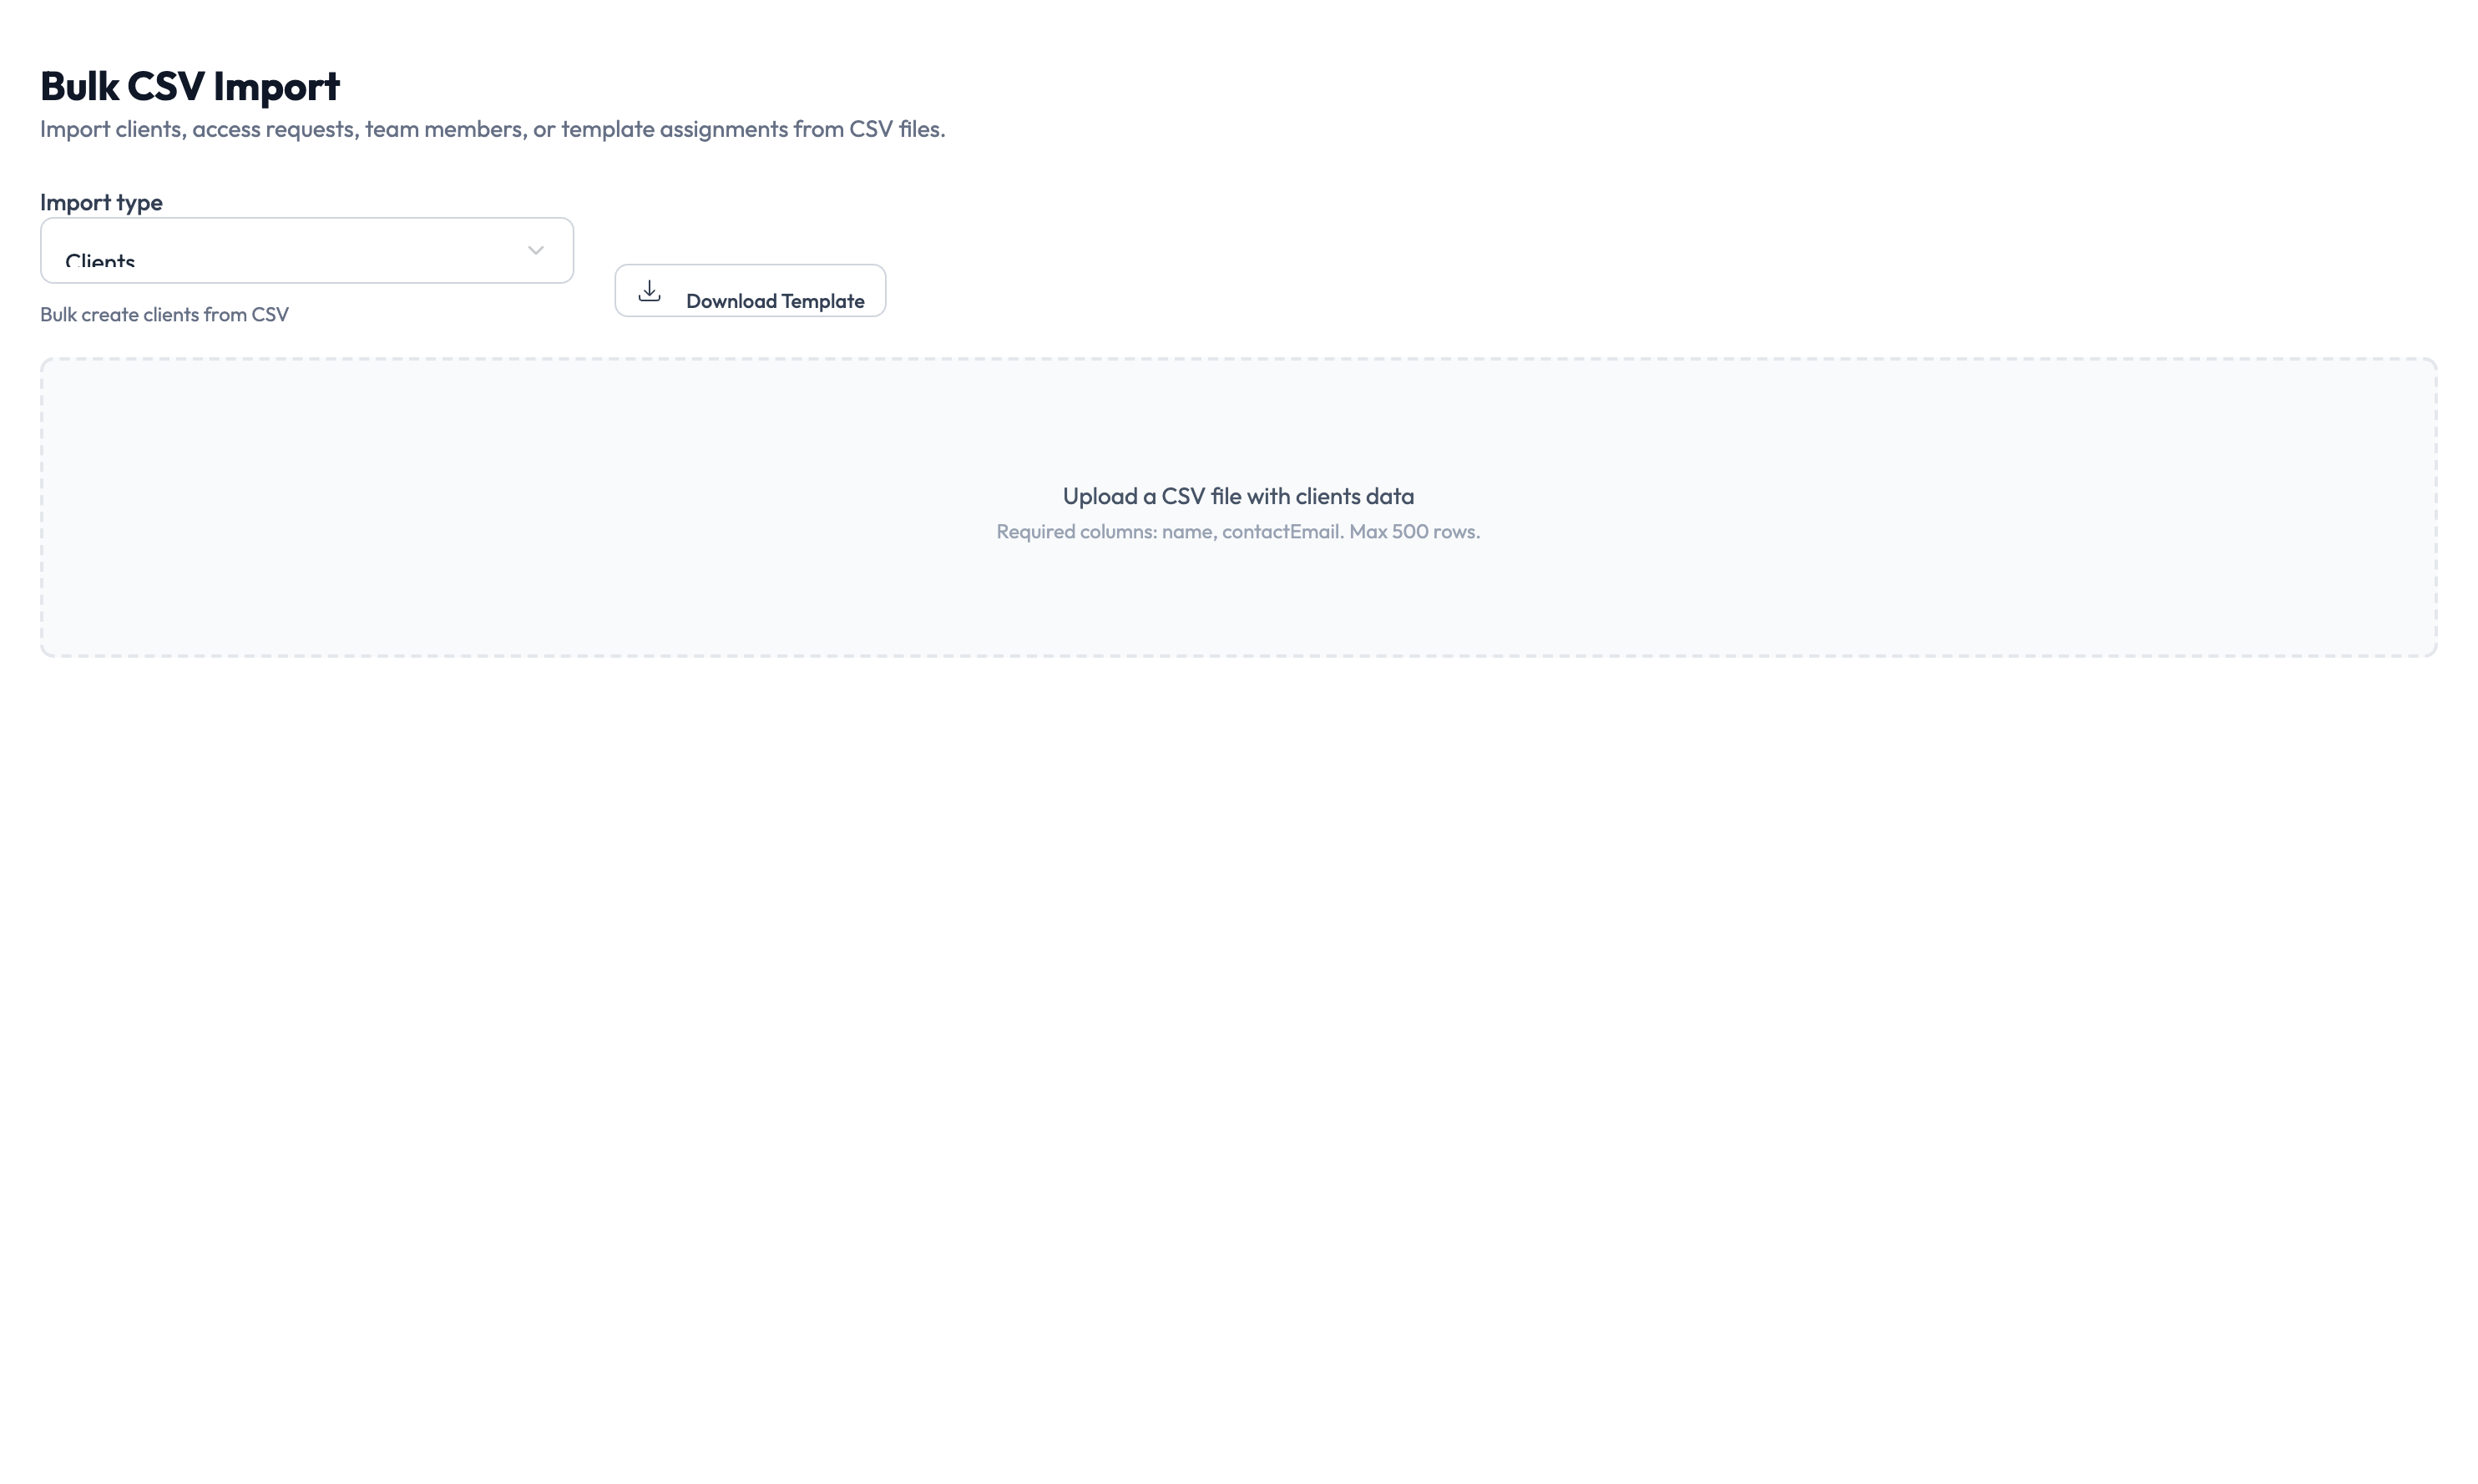
Step 2 — Fill in the data
Open the template in a spreadsheet application and fill in your data.
Step 3 — Upload and validate
Upload the completed CSV file. The system shows a validation preview with any errors highlighted.
Step 4 — Confirm and run
Review the preview, then click Confirm to execute the import. After it finishes, review the results and address any failures.
SCIM provisioning
Navigate to Settings > SCIM to set up System for Cross-domain Identity Management (SCIM) 2.0 for outbound user provisioning:

- Generate a bearer token for authentication.
- Choose which events trigger provisioning updates.
- Copy the endpoint address for your external system.
- Test connectivity.
- View sync logs.
SIEM integration
Navigate to Settings > SIEM to forward audit events to your Security Information and Event Management (SIEM) tool:
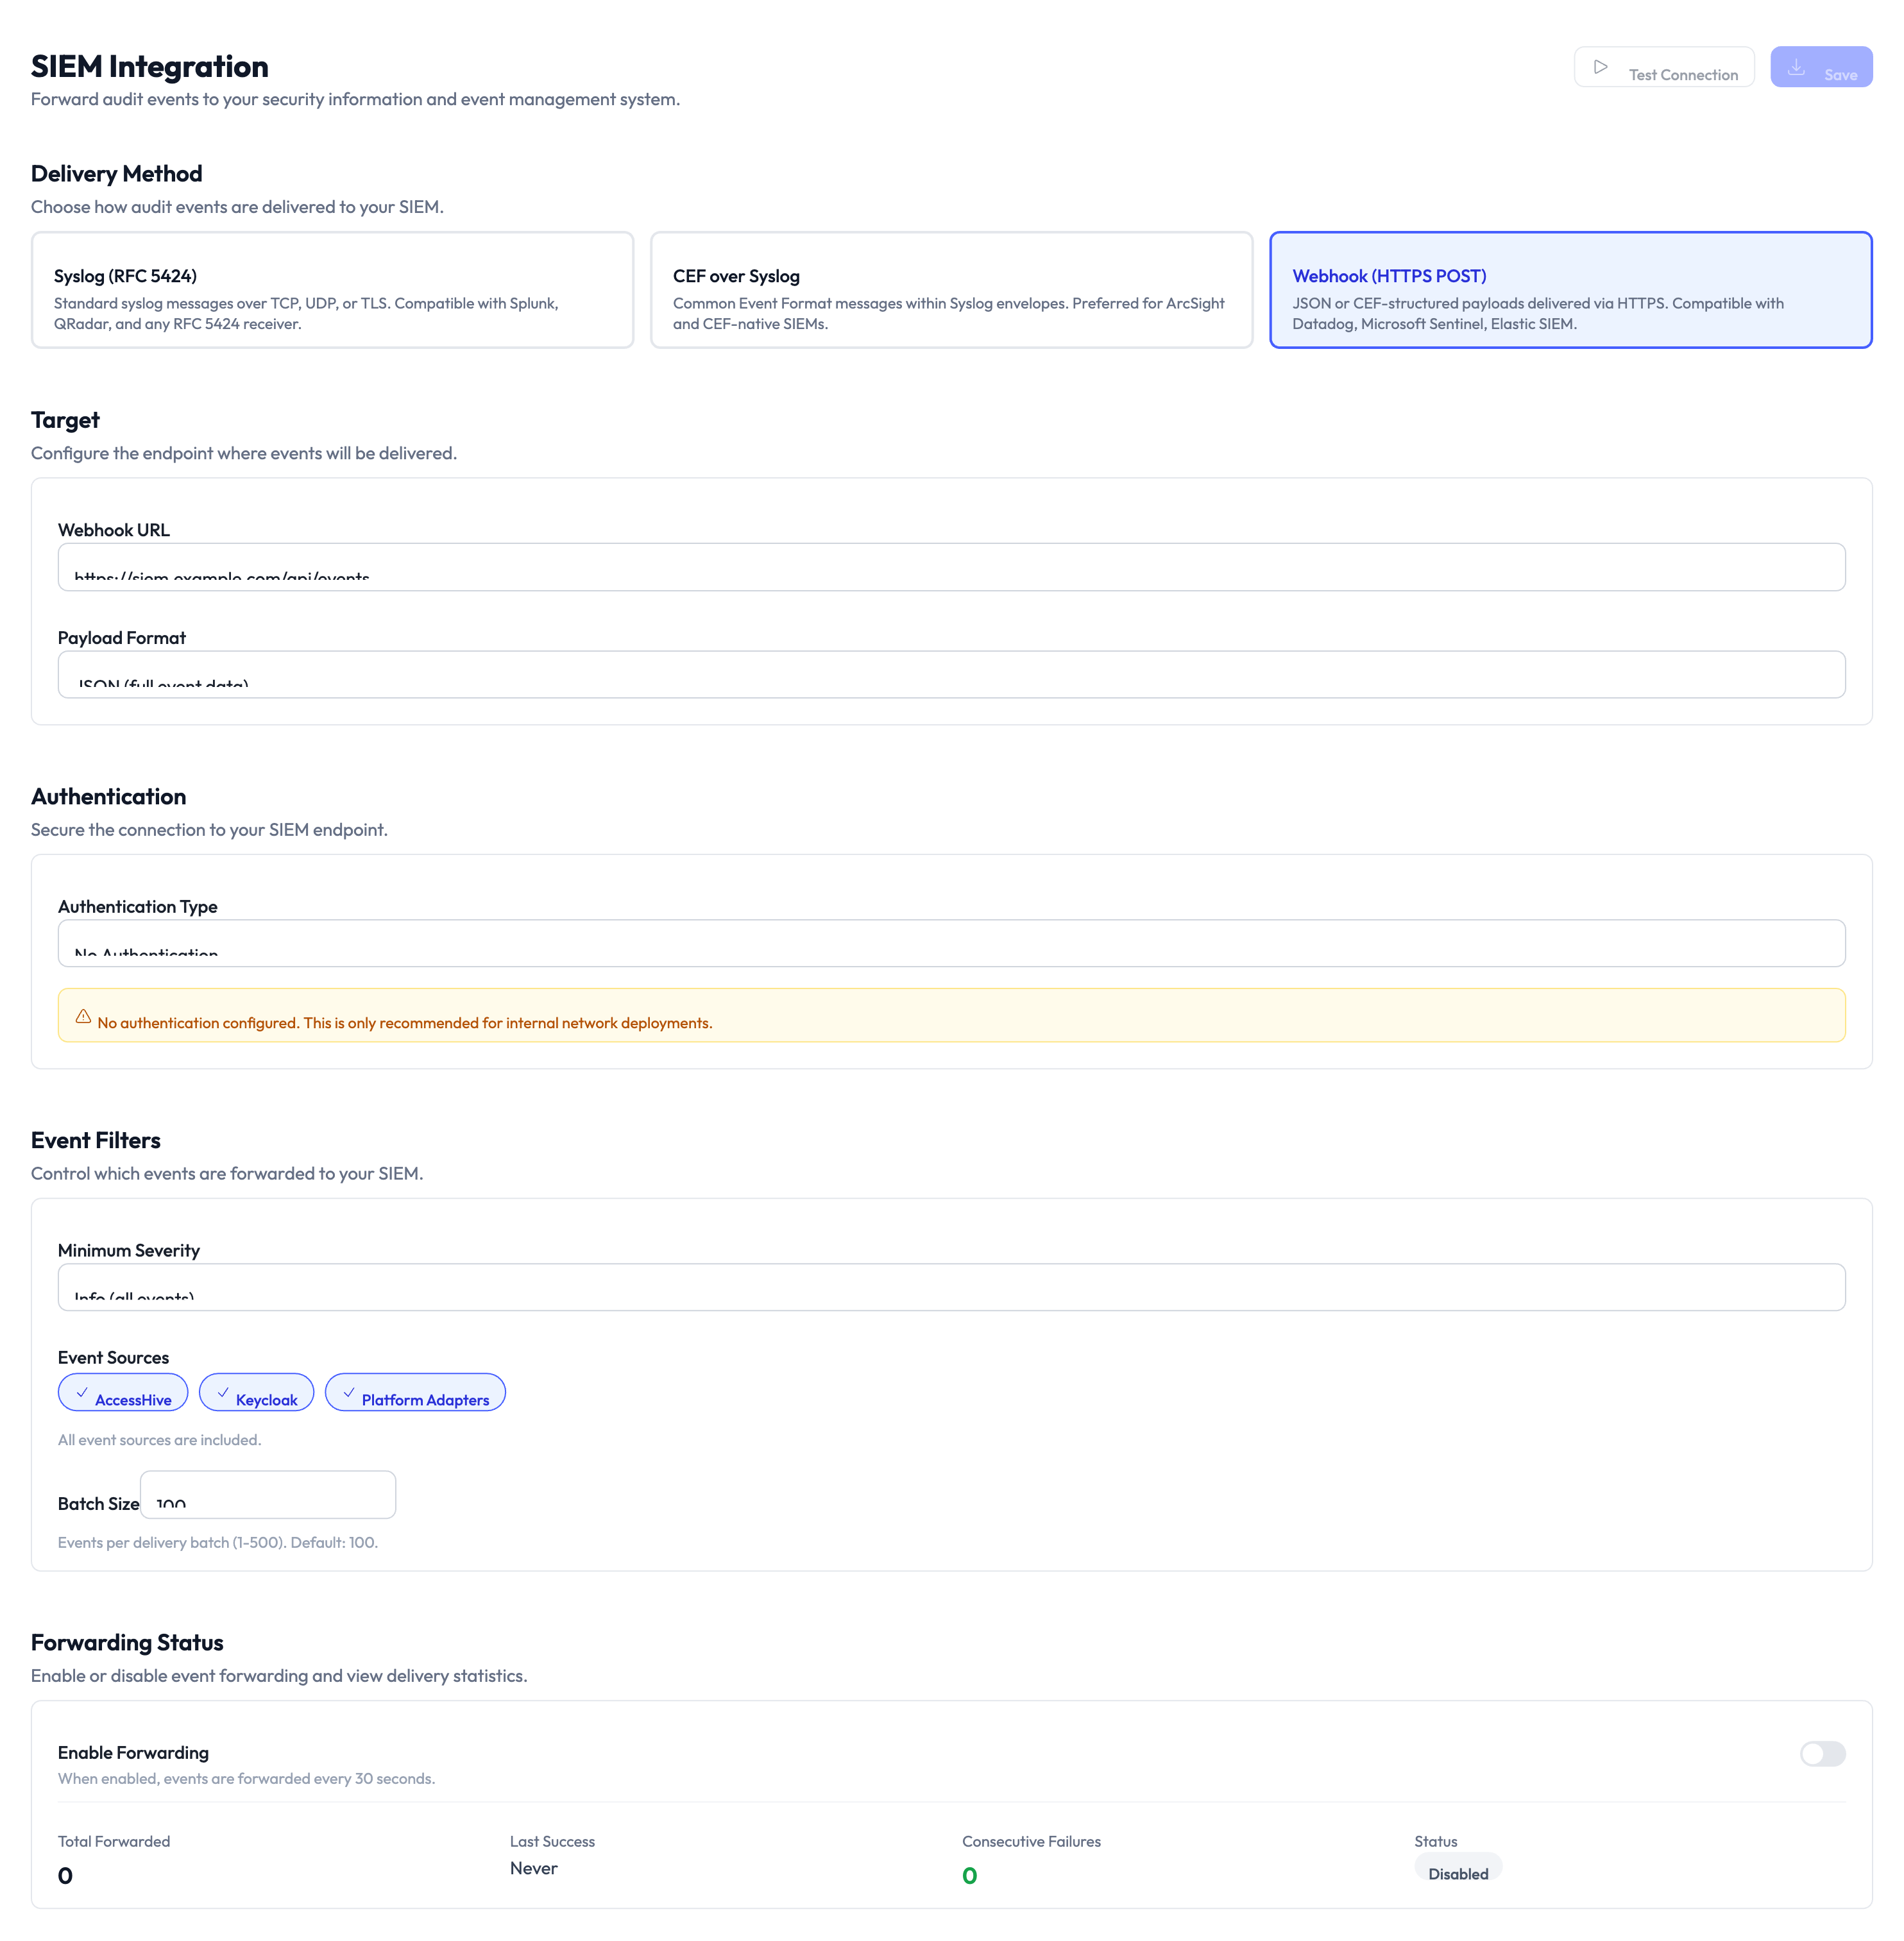
- Configure the destination address.
- Select the log format: Common Event Format (CEF), Syslog, or JSON.
- Choose which events to forward.
- Test the connection.
- Monitor forwarding status.
Something went wrong?
I changed a setting but it did not take effect
Some settings apply to new records only — for example, changing the default governance policy does not update existing identities. Check whether the setting applies retroactively or only to new items. See Troubleshooting.
I cannot access a settings page
Your role may not have permission for that section. Plan and billing requires the Owner role. Most other settings require Admin or Owner. Ask your agency owner to verify your role in Settings > Users & Roles. See Troubleshooting.
Notification test did not arrive
Check that the destination (email address, webhook address, or phone number) is correct. For Slack and Teams, verify the webhook is still active in your workspace settings. Try sending the test again after a few minutes. See Troubleshooting.
For more troubleshooting scenarios, see the full Troubleshooting Guide.
What’s next?
- Connect platforms — Add the marketing platforms your agency manages. See Platform Connections.
- Set up Google Workspace — Connect your Google Workspace identity source for managed credentials. See Google Workspace Setup.
- Create identities — Start creating identities for your team. See Creating Identities.
- Review the audit trail — Verify that your settings changes are logged. See Audit Trail.