Notifications
This guide walks you through setting up notification channels in AccessHive so your team stays informed about identity events, access requests, and security alerts. You can send notifications to email inboxes, Slack channels, or Microsoft Teams.
Time to complete: About 3 minutes per channel.
- You need the Admin or Owner role.
- For Slack or Microsoft Teams channels, have the webhook URL ready. Your Slack or Teams admin can provide this.
- See Settings for an overview of all configuration options.
Navigate to Settings > Notifications to get started.
How notification channels work
A notification channel is a destination where AccessHive sends alerts. You create one or more channels, choose which event types each channel receives, and the system delivers messages automatically when those events occur.
You can set up multiple channels to route different event types to different teams. For example, send security alerts to a dedicated Slack channel and daily summaries to email.
Adding a notification channel
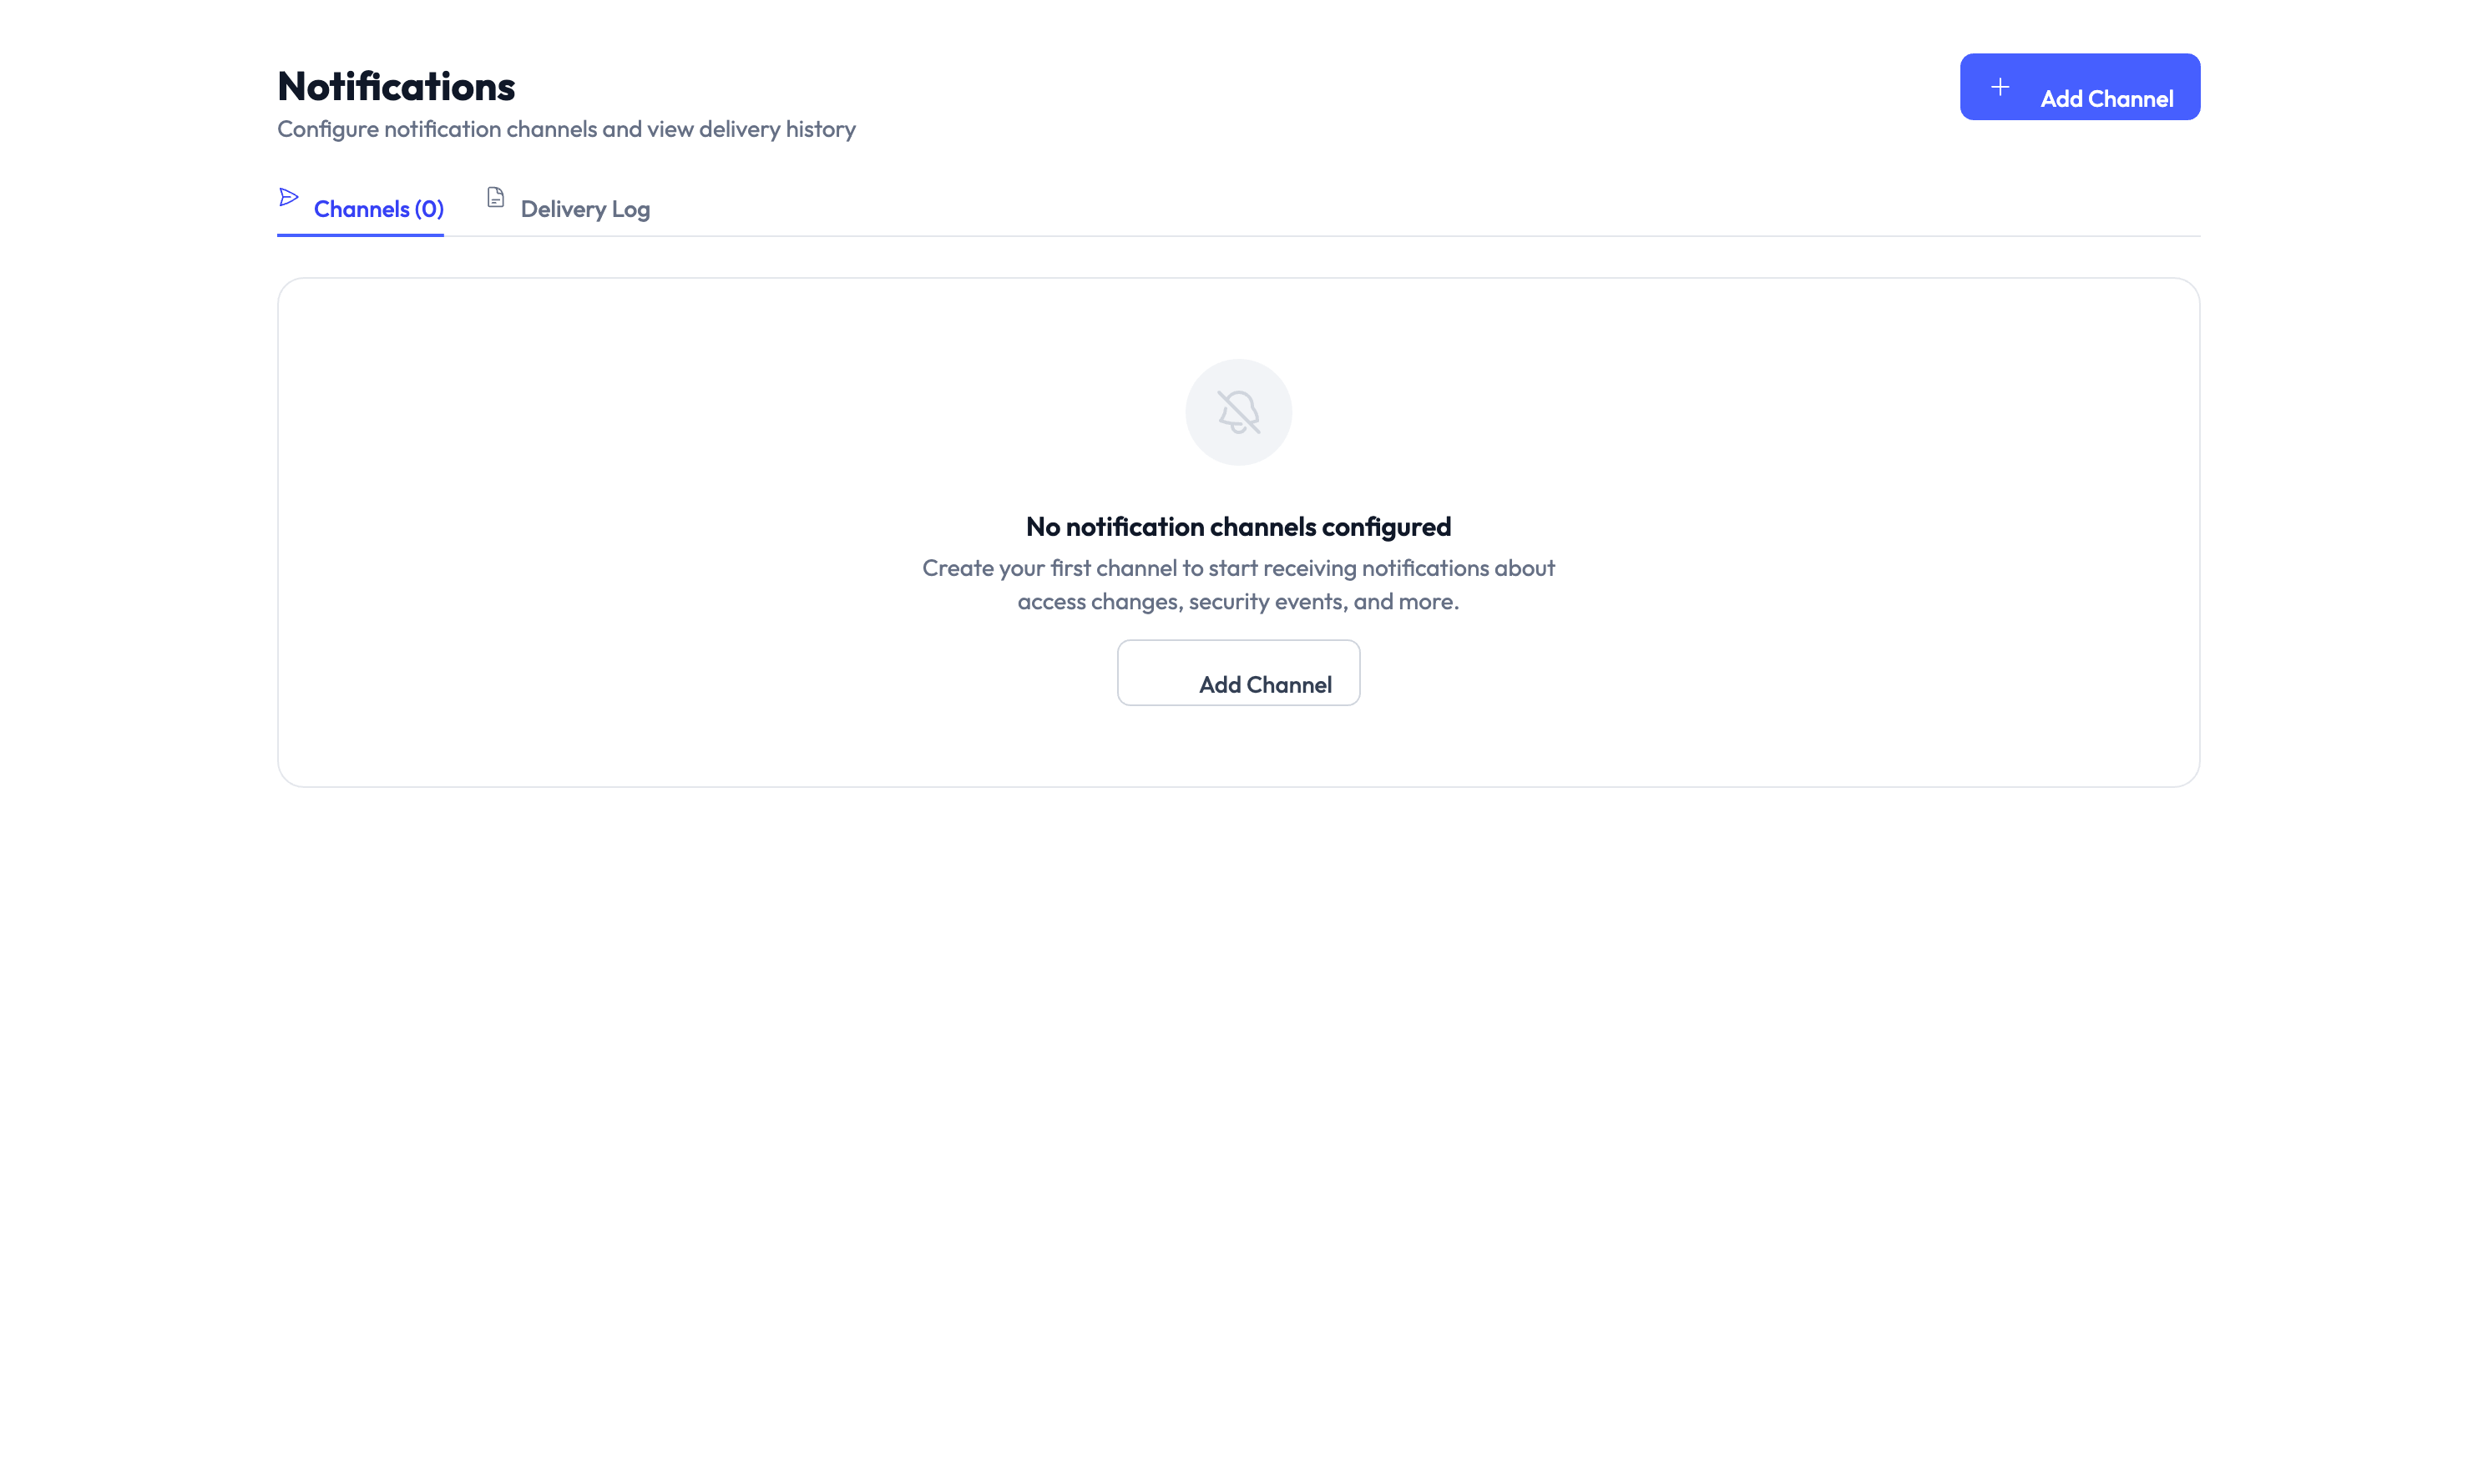
Step 1 – Open the Channels tab
Go to Settings > Notifications. The page opens on the Channels tab by default. If no channels exist yet, you see an empty state prompting you to add your first channel.
Step 2 – Click Add Channel
Click the Add Channel button in the top-right corner. A form appears asking for the channel details.
Step 3 – Configure the channel
Fill in the required fields:
- Channel name – A descriptive label for this channel (e.g., “Security Alerts - Slack” or “Team Leads - Email”).
- Channel type – Choose Email, Slack, or Microsoft Teams.
Enter one or more email addresses. Each address receives a formatted email when a matching event occurs.
Paste the incoming webhook URL for your Slack channel. AccessHive sends formatted messages directly to that channel.
Paste the incoming webhook URL for your Teams channel. Messages arrive as adaptive cards in the channel.
Step 4 – Select event types
Choose which events trigger a notification on this channel. Common event types include:
| Event type | What it means |
|---|---|
| Identity created | A new identity was provisioned |
| Identity status change | An identity moved to a new state (e.g., Pending to Provisioned) |
| Credential checkout | A team member checked out credentials |
| Credential check-in | Credentials were returned (manually or automatically) |
| Access request | Someone submitted an access request |
| Access request approved/denied | A manager responded to an access request |
| Password rotation | The system rotated a credential password |
| Security alert | A potential security issue was detected |
Enable all event types at first. After a week, review the delivery log and turn off any events that create noise for that channel.
Step 5 – Save the channel
Click Save. The channel appears in the list on the Channels tab. Notifications start flowing immediately for new events.
Reviewing the delivery log
Switch to the Delivery Log tab to see a history of sent notifications.
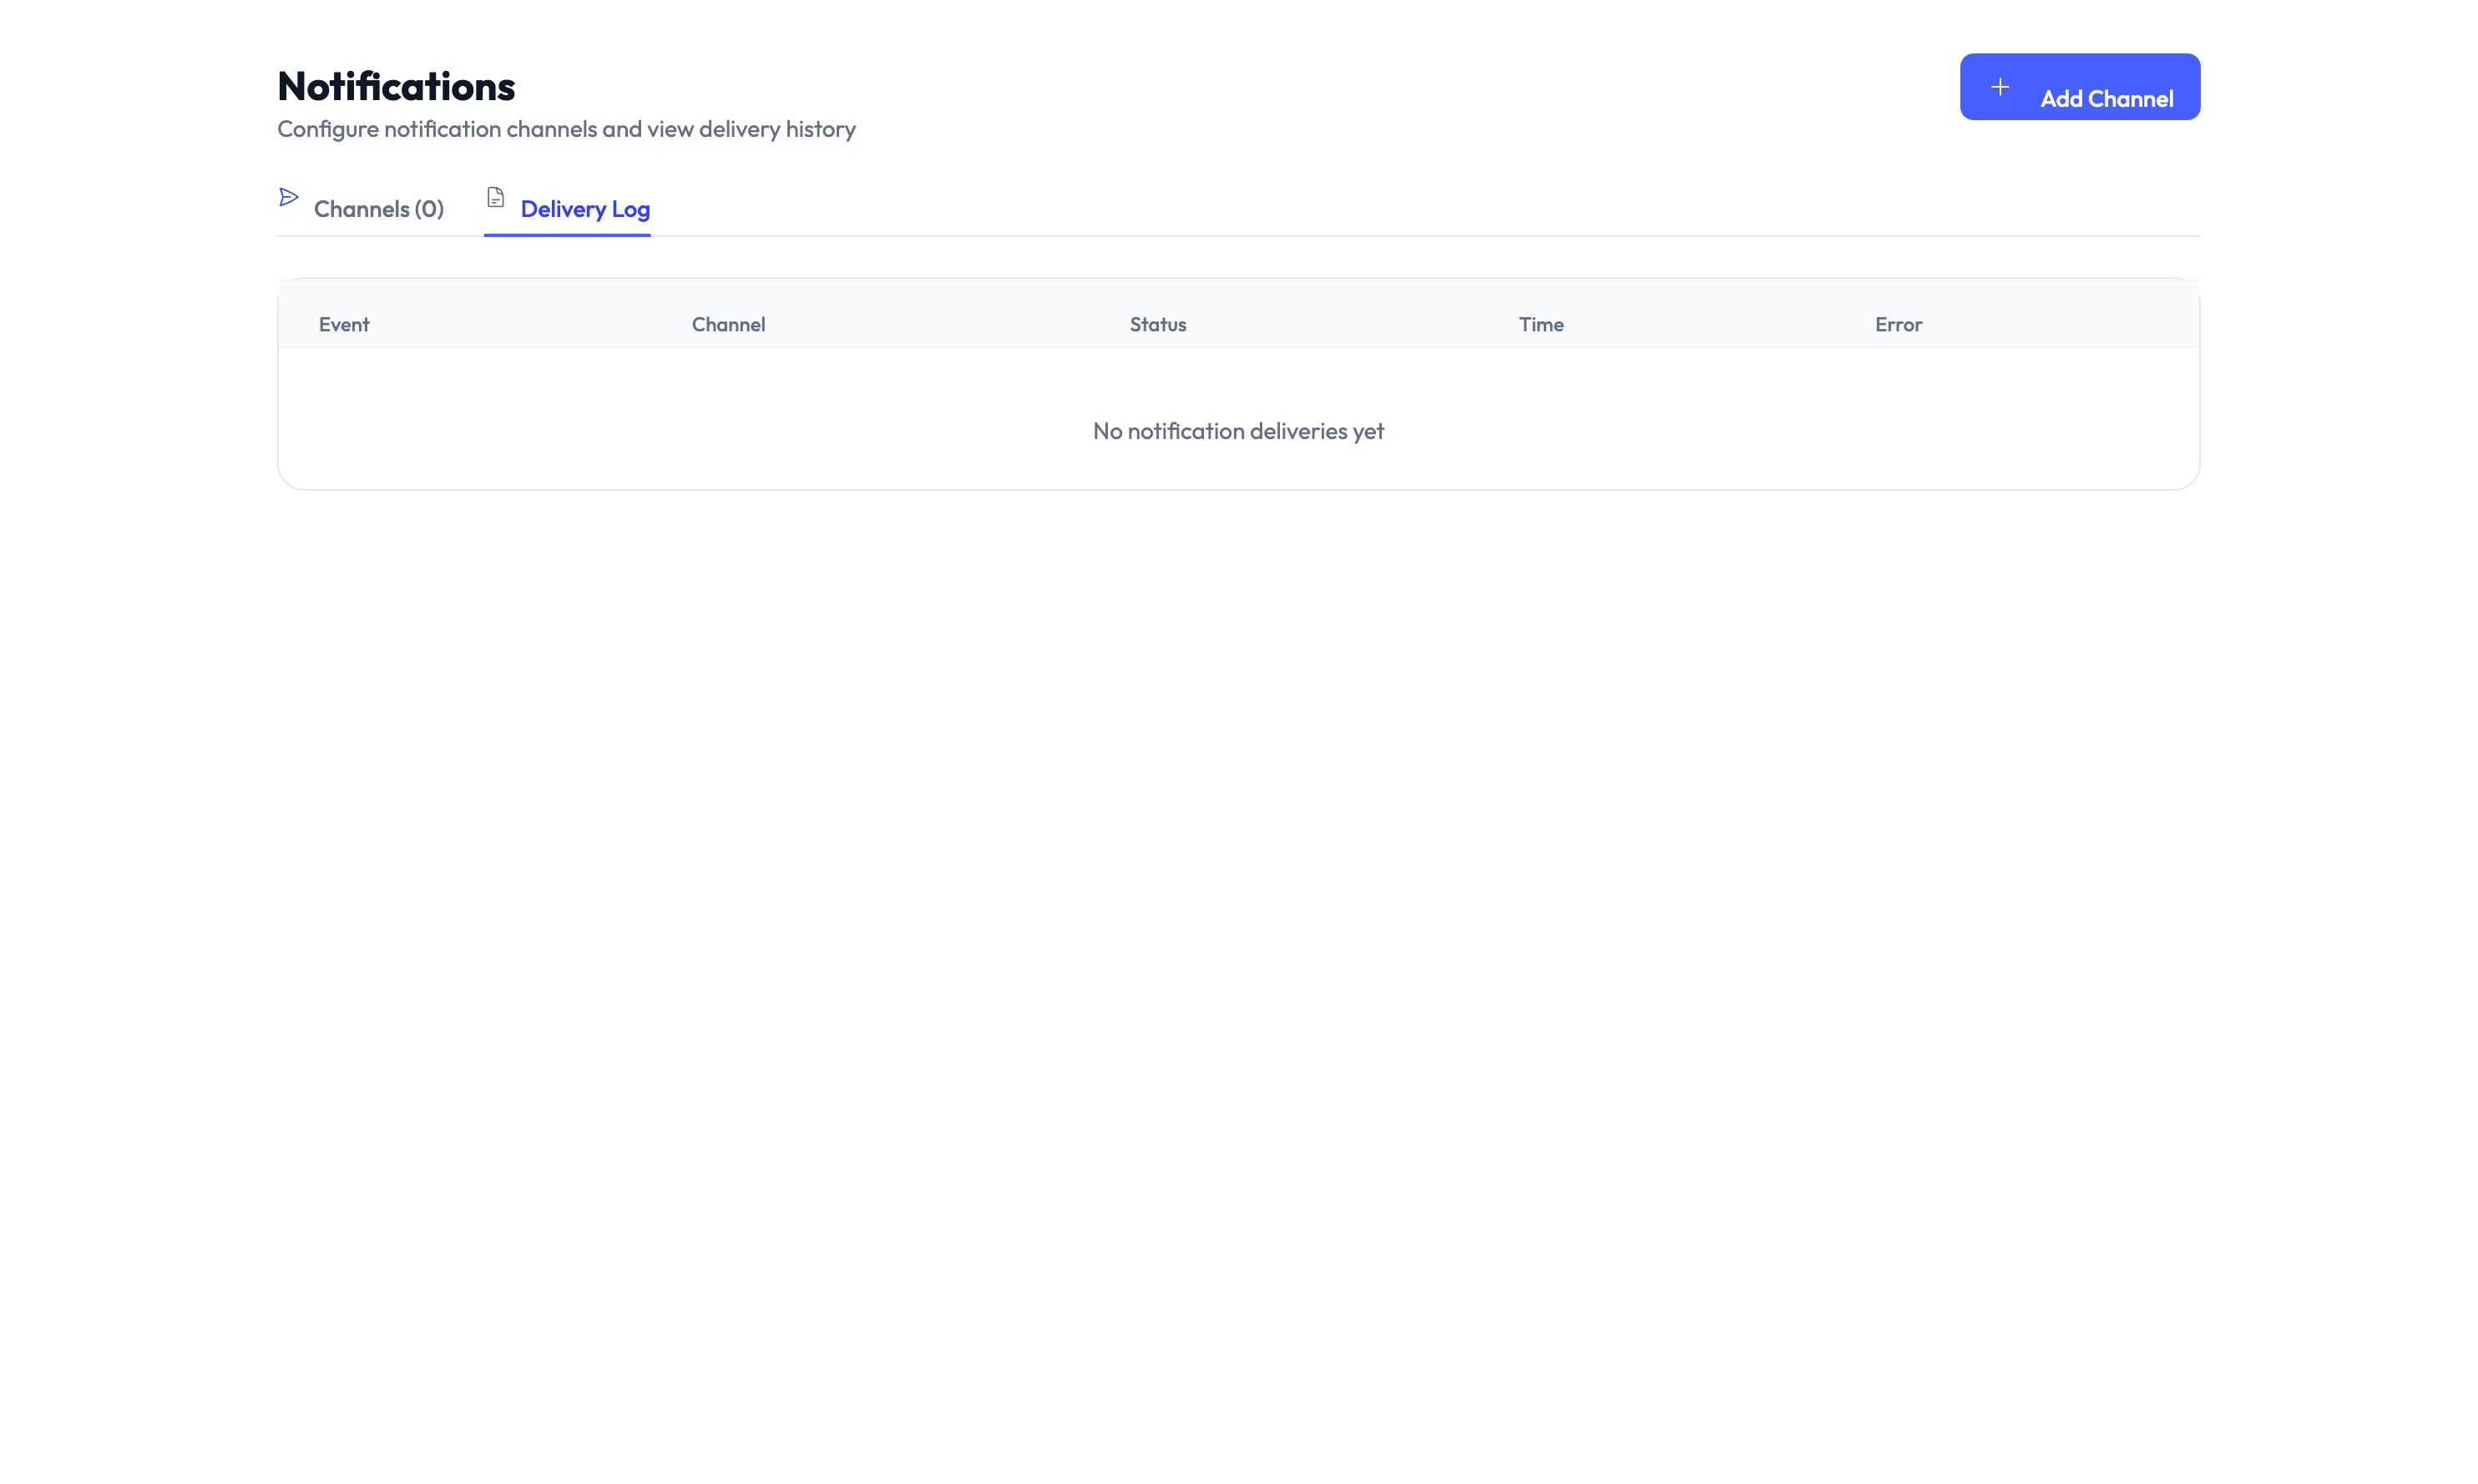 Each entry shows:
- The event that triggered the notification
- The channel it was sent to
- The delivery status (delivered, failed, or pending)
- The timestamp
Use the delivery log to verify that channels are working and to troubleshoot missed alerts.
Editing or removing a channel
To change a channel’s settings, click the channel name in the list and update the fields. To remove a channel, open it and click Delete. Deleting a channel stops all future notifications to that destination but does not remove past entries from the delivery log.
Once you delete a channel, all event subscriptions for that destination are removed. You need to recreate the channel from scratch if you want to restore it.
Something went wrong?
Notifications are not arriving in Slack or Teams
Cause: The webhook URL may be invalid or the integration was removed on the Slack/Teams side.
Resolution: Verify the webhook URL is still active in your Slack or Teams admin settings. Edit the channel in AccessHive and paste the updated URL. See Troubleshooting.
Email notifications go to spam
Cause: Your email provider may flag automated messages from unfamiliar senders.
Resolution: Add the AccessHive sending address to your email allowlist. Contact your email admin if you are unsure how to do this. See Troubleshooting.
Delivery log shows ‘failed’ status
Cause: The destination rejected the message, usually due to an expired webhook or a full inbox.
Resolution: Check the channel configuration and update the destination details. Retry by re-saving the channel. See Troubleshooting.
What’s next?
- Manage your team – Add users and assign roles to control who receives notifications. See Users and Roles.
- Review the audit trail – Track all system events alongside notifications. See Audit Trail.
- Set up access request approvals – Configure approval workflows that trigger notification alerts. See Access Requests.
- Explore all settings – See the full list of configuration options. See Settings.