Proxy Identity
This guide explains what proxy identities are and how to configure the default settings that control how they are named, governed, and managed. Proxy identity settings define the templates and policies applied when AccessHive automatically creates identities on behalf of your agency or clients.
Time to complete: About 3 minutes.
- You need the Admin role to edit proxy identity settings.
- Familiarize yourself with identity types and how provisioning works. See Identity Types and Provisioning.
Navigate to Settings > Proxy Identity in the left sidebar.
What are proxy identities?
A proxy identity is an identity that AccessHive creates automatically using predefined templates and governance rules. Instead of manually filling in every field when creating an identity, the system applies your configured defaults – naming conventions, checkout durations, approval requirements, and more.
Proxy identity settings control two scopes:
- Agency Owned – Defaults for identities owned by the agency itself.
- Client Dedicated – Defaults for identities created on behalf of specific clients.
Switch between these tabs at the top of the page to configure each scope independently.
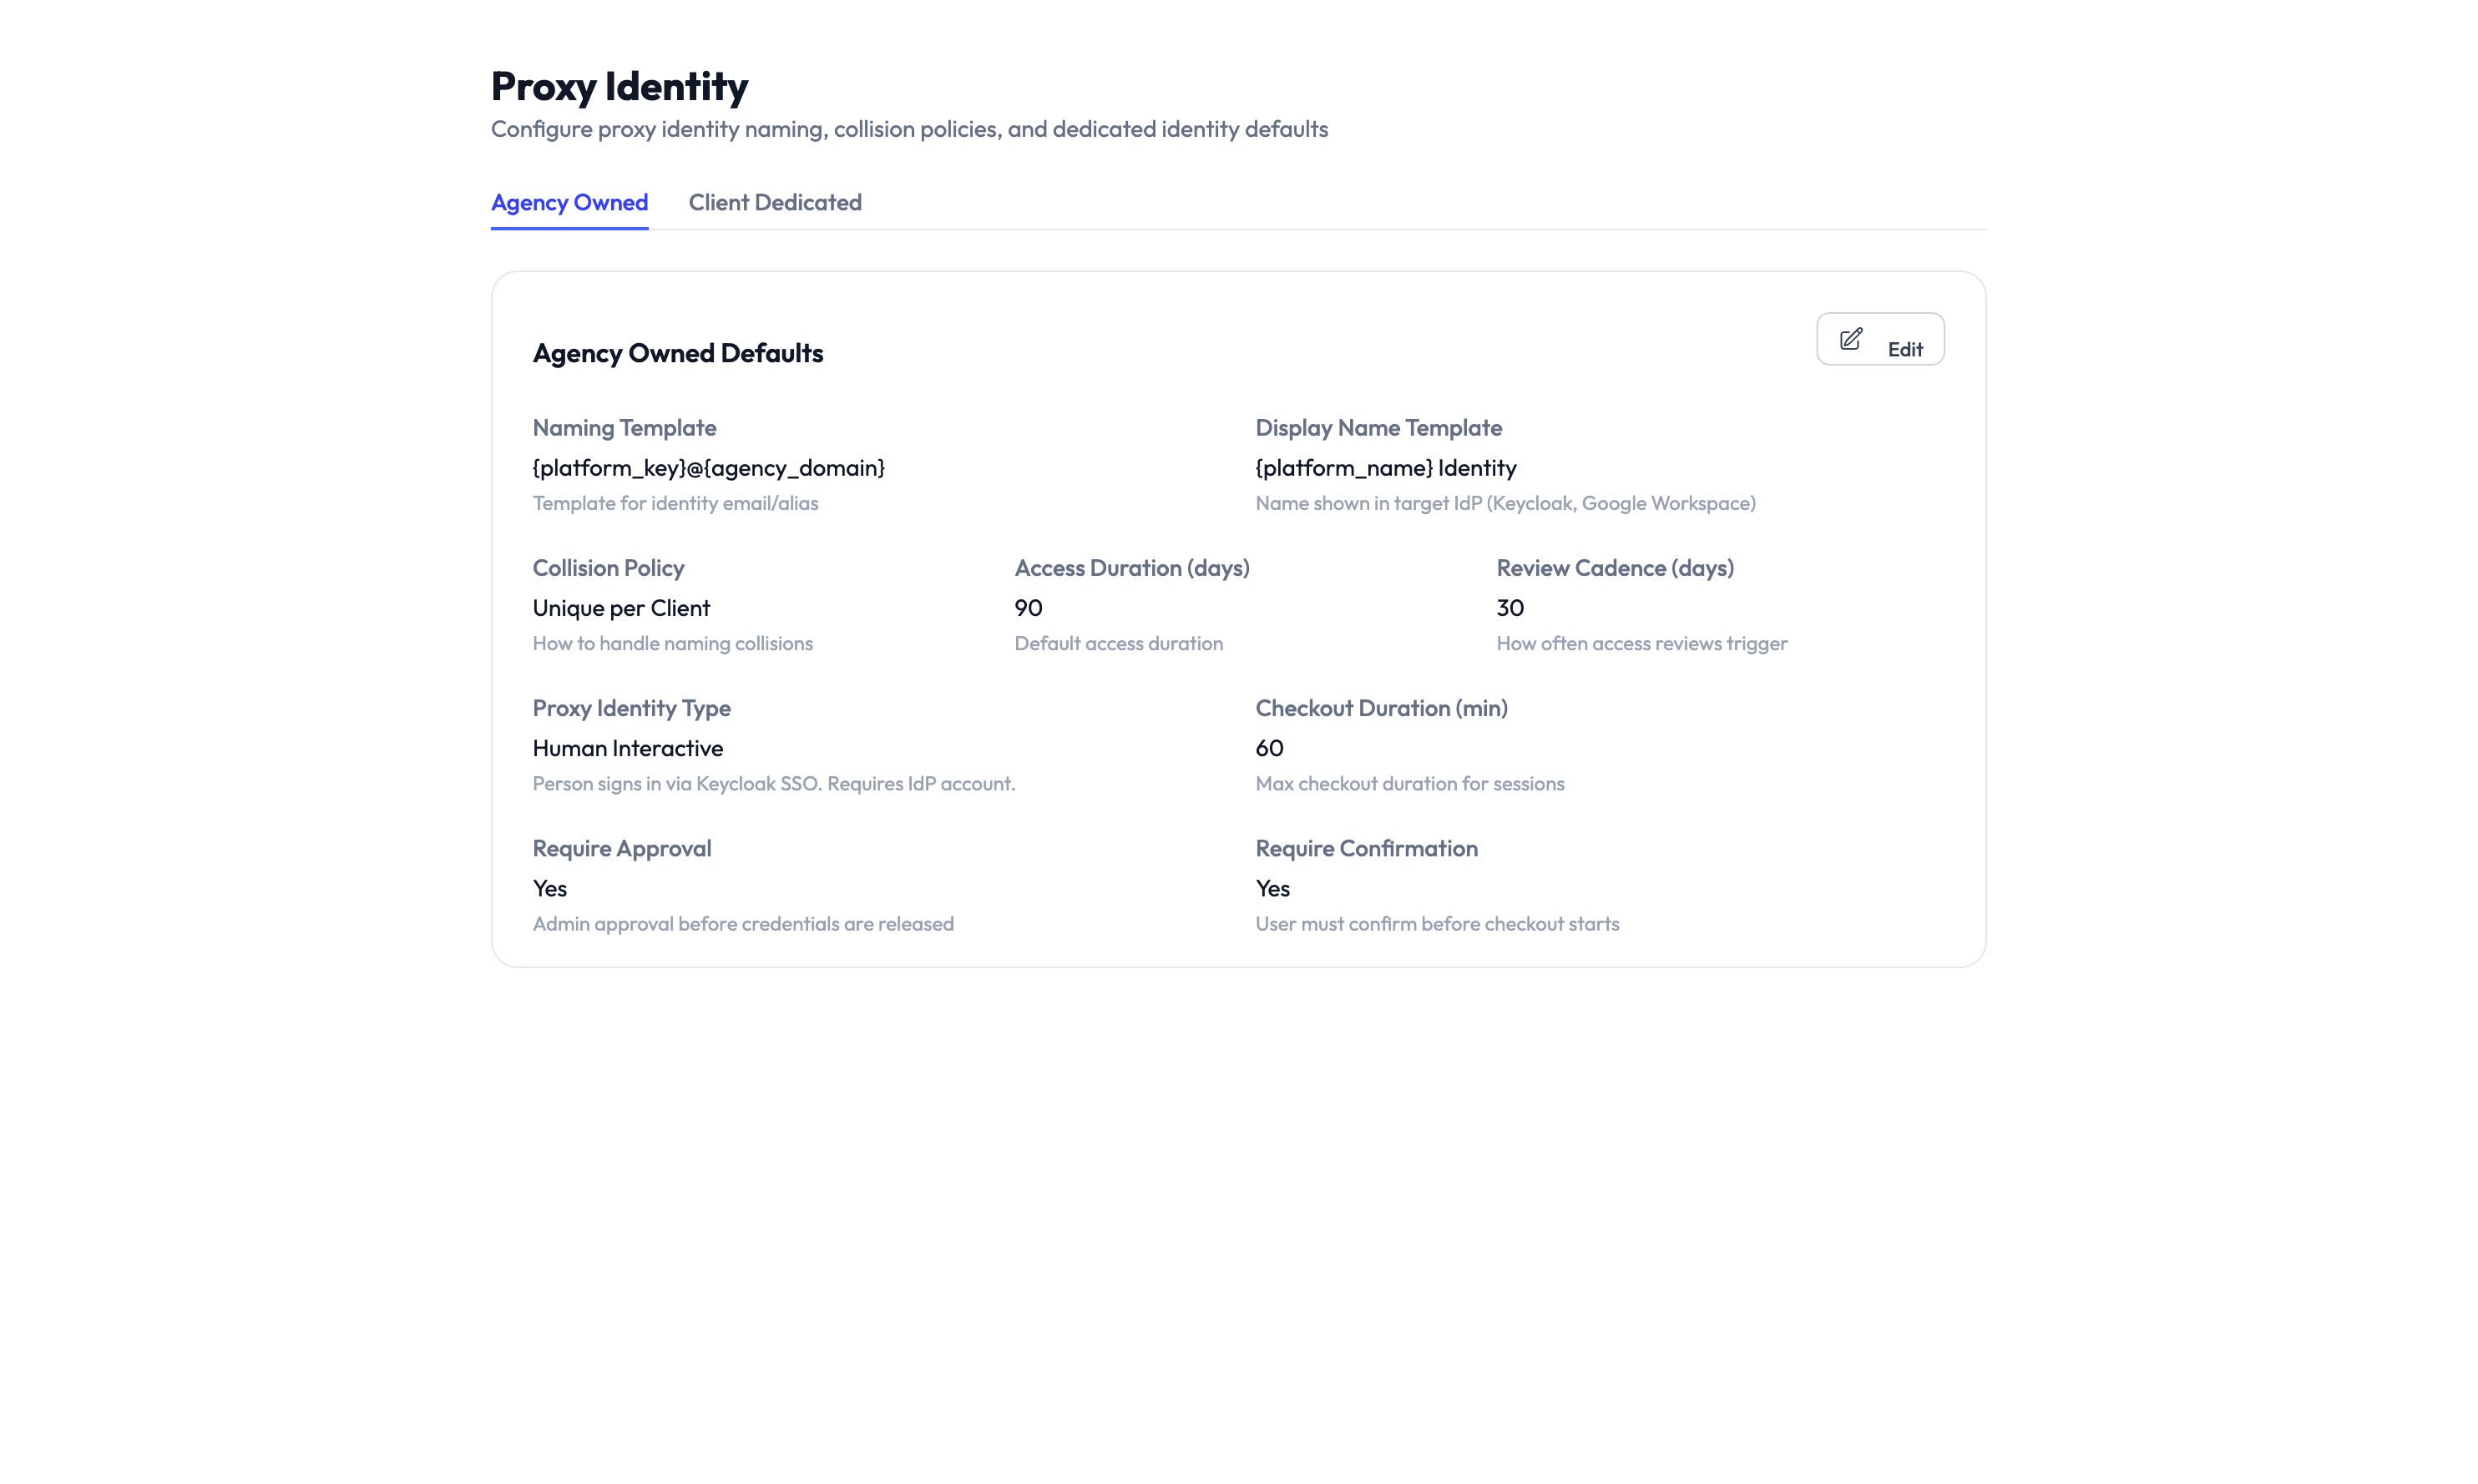
Configuring Agency Owned defaults
The Agency Owned tab shows the default settings applied when creating identities owned by your agency.
Step 1 – Open the editor
Click the Edit button (pencil icon) in the top-right corner of the Agency Owned Defaults section. The fields become editable.
Step 2 – Set naming templates
Configure how identities are automatically named:
| Field | Description | Example |
|---|---|---|
| Naming Template | Pattern for the identity’s internal name. Uses variables like {platform}, {agency_domain}. |
{platform}_{agency_domain} |
| Display Name Template | Pattern for the human-readable name shown in the interface. | {platform}_owned_identity |
These templates ensure consistent naming across all automatically created identities.
Step 3 – Configure governance defaults
Set the default governance policies that apply to new identities:
| Setting | What it controls |
|---|---|
| Credential Pins | How many credential versions are retained. |
| Access Duration (days) | How long access is granted before it must be renewed. |
| Unique per Client | Whether each client gets a separate identity or shares one. |
| Checkout Duration (days) | How long a team member can hold checked-out credentials. |
| Proxy Identity Type | The default identity type (e.g., Human Interactive) for proxy-created identities. |
| Require Approval | Whether a manager must approve each access request. |
| Require Confirmation | Whether the user must confirm they have finished before the session ends. |
If your agency handles sensitive client data, enable both Require Approval and Require Confirmation to ensure every credential checkout is authorized and properly closed. See Governance for more guidance.
Step 4 – Save your changes
Click Save to apply the new defaults. These settings apply to all future proxy-created identities. Existing identities are not affected.
Configuring Client Dedicated defaults
Switch to the Client Dedicated tab to set defaults for identities created on behalf of specific clients. The fields are the same as Agency Owned, but the values may differ to reflect client-specific policies.
For example, you might set shorter checkout durations for client-dedicated identities or require approval for every checkout when working with a client’s platform credentials.
Something went wrong?
New identities are not using the updated defaults
Proxy identity defaults only apply to identities created after the settings are saved. Existing identities keep their original settings. To update an existing identity, edit it directly from the identity detail page. See Troubleshooting.
Naming template variables are not resolving
Make sure you use the correct variable syntax with curly braces: {platform}, {agency_domain}. If a variable is not recognized, check the tooltip next to the Naming Template field for the full list of supported variables. See Troubleshooting.
Client Dedicated tab is empty
If no client-dedicated defaults have been configured yet, the tab shows empty fields. Click Edit and fill in the defaults. These are optional – if not set, the system falls back to the Agency Owned defaults. See Troubleshooting.
What’s next?
- Create identities – See how proxy defaults are applied during identity creation. See Creating Identities.
- Configure governance – Learn more about checkout policies and approval workflows. See PAM Sessions.
- Manage clients – Set up client accounts that use dedicated identities. See Client Management.
- Update your agency profile – Configure agency-wide settings like domain and locale. See Agency Profile.