Reports
This guide walks you through generating, exporting, and scheduling compliance reports in AccessHive. Reports give you ready-made views of access activity, stale permissions, and compliance status across your agency.
Time to complete: About 5 minutes.
- You need the Admin, Owner, or Security Owner role.
- At least one client and platform must be set up to see meaningful data. See Client Management and Platform Connections.
Which report should I run?
| If you need to… | Run this report | Export formats |
|---|---|---|
| See who has access to what across all platforms and clients | Access Matrix | CSV |
| Find identities or access items that have not been used recently | Stale Access | CSV |
| Prepare data for a General Data Protection Regulation (GDPR) review | GDPR Report | CSV, PDF |
| Map your access controls to ISO 27001 requirements | ISO 27001 | CSV, PDF |
| Spot access that does not match your governance policies | Drift Report | CSV |
| Analyze permission distribution and over-provisioning | Permission Analysis | CSV, PDF |
The executive dashboard
Navigate to Executive Dashboard for a high-level overview of your agency. The dashboard shows:
- Total clients managed
- Platforms connected
- Active Privileged Access Management (PAM) sessions
- Pending approvals
- Recent events
- Compliance trend indicators
- Risk assessment summary
The dashboard refreshes automatically. Click Export Snapshot to download a point-in-time copy.
Generate a report
Step 1 — Open the reports page
Navigate to Settings > Reports.
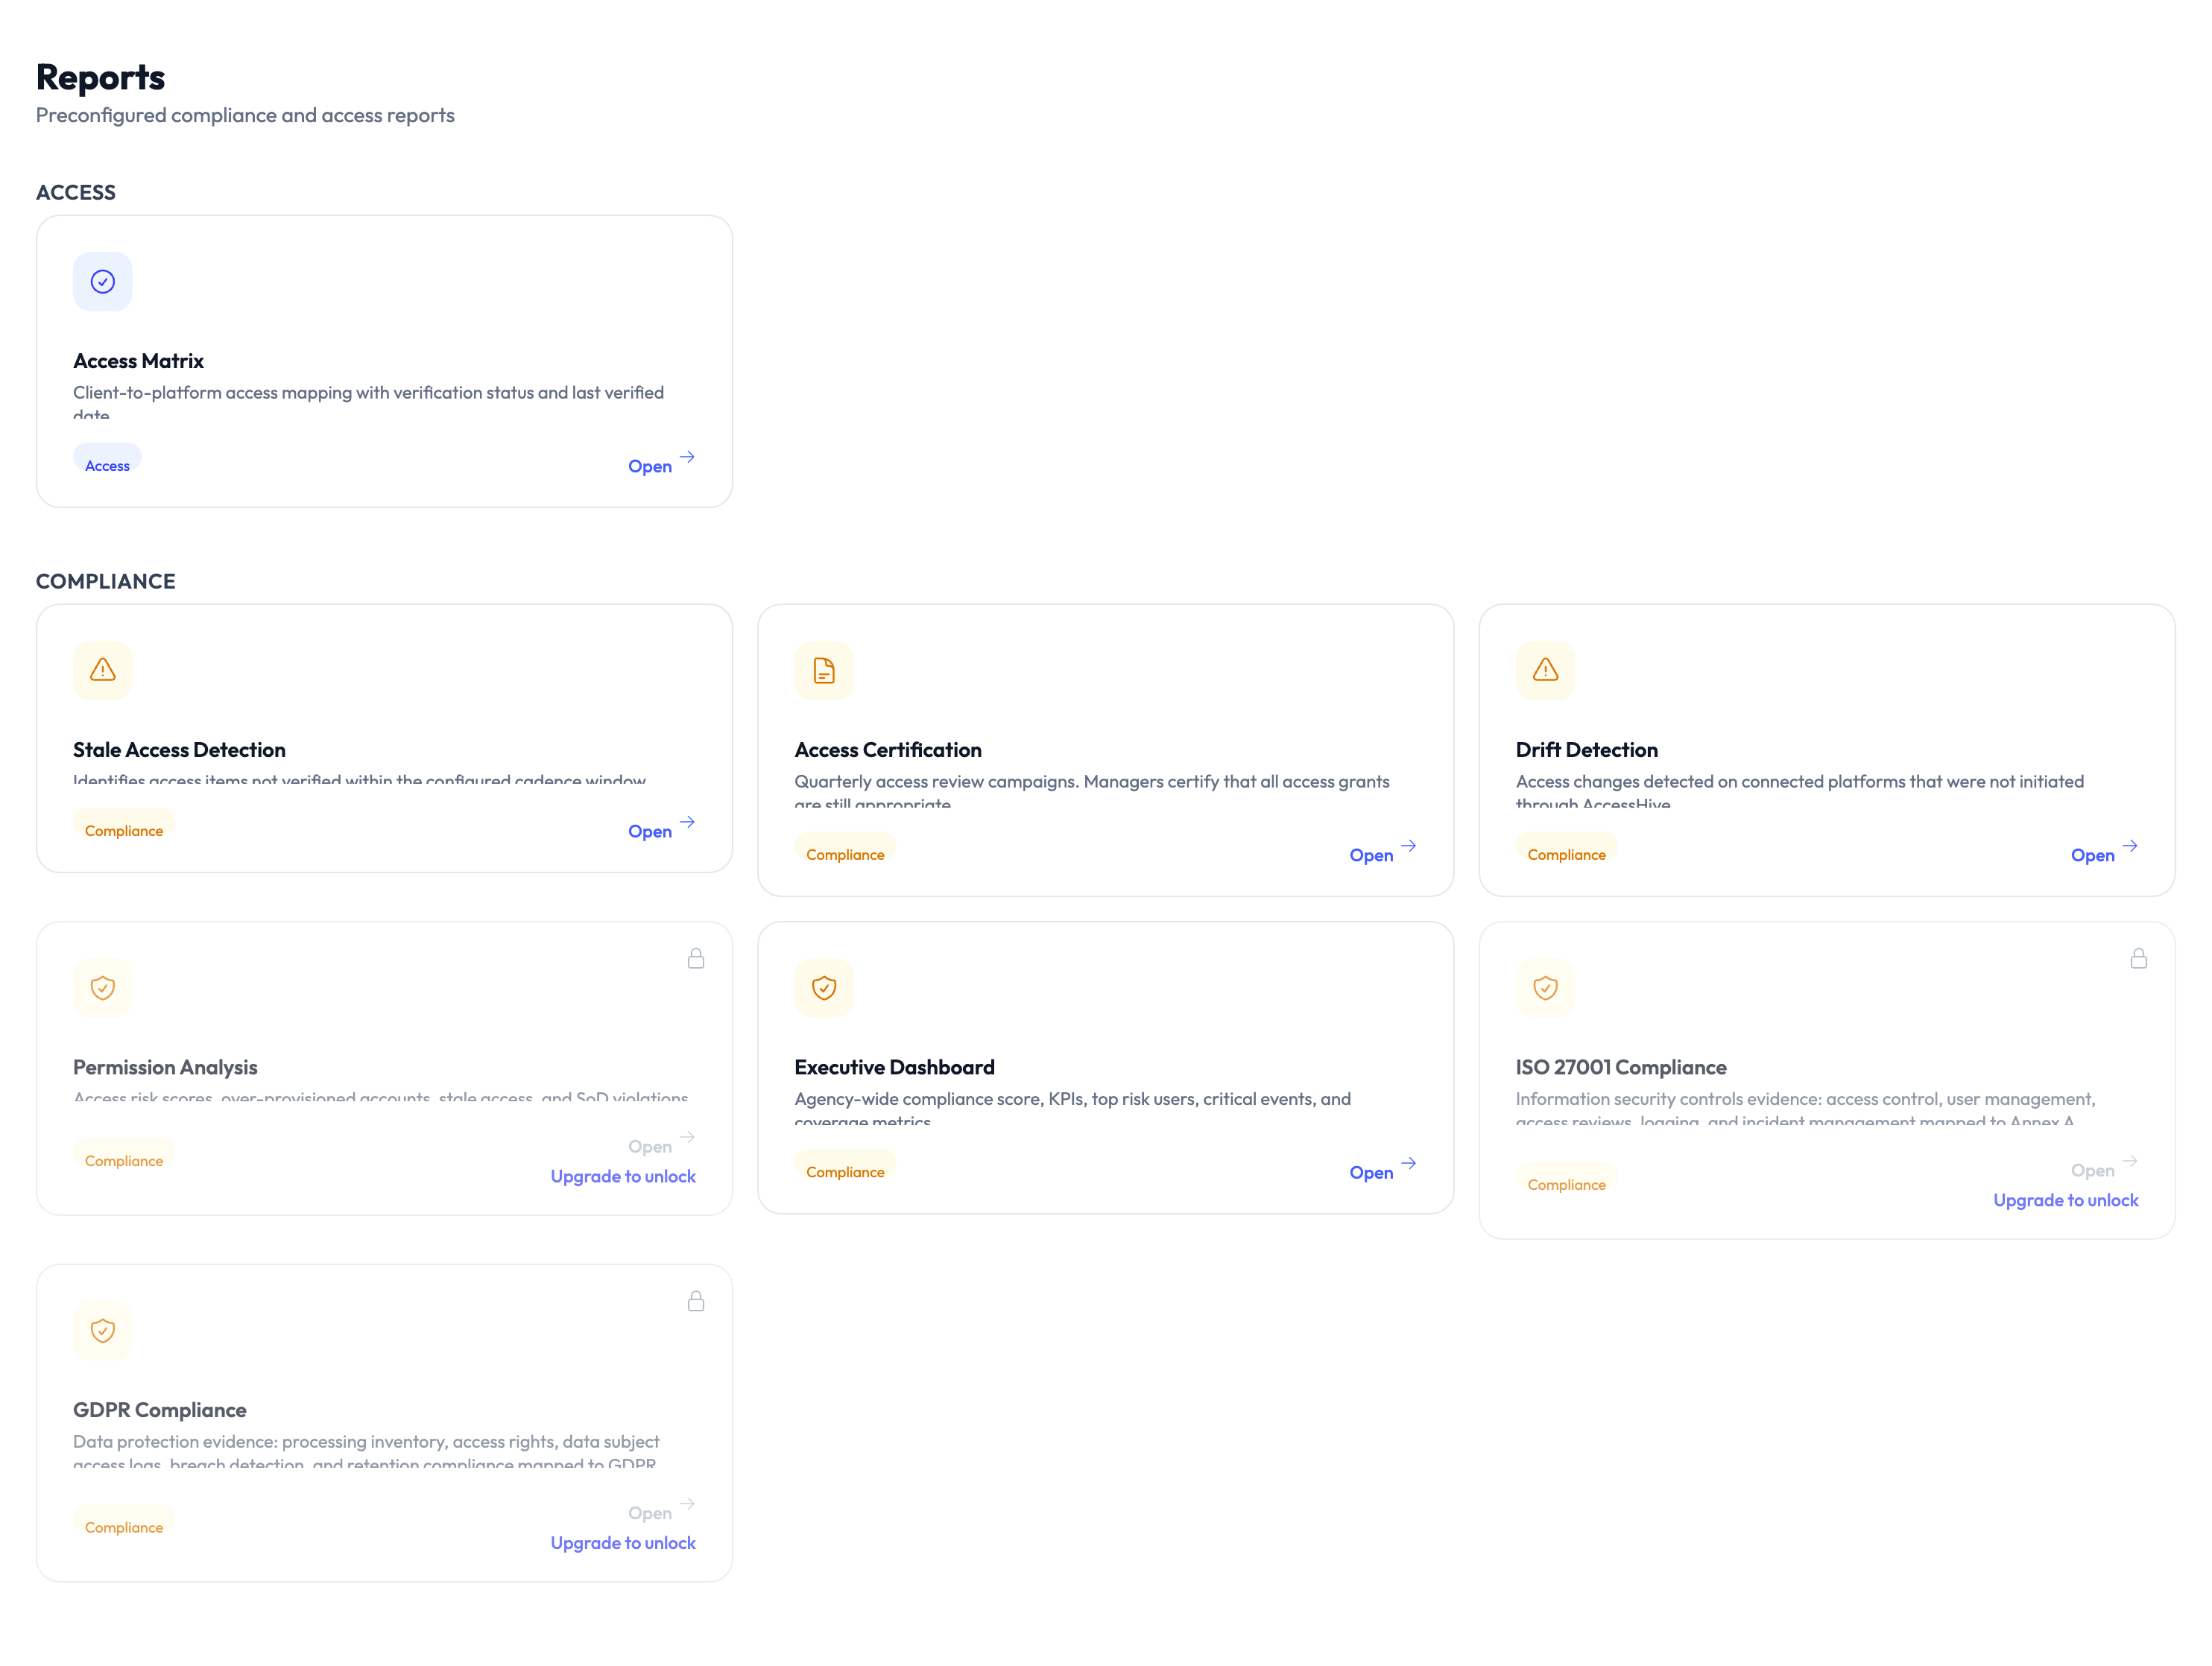
Step 2 — Choose the report type
Select one of the six report types from the list. Each report card shows a short description and the export formats available.
Step 3 — Set filters
Configure the scope of the report:
- Client — Limit to a specific client or include all.
- Platform — Limit to a specific platform or include all.
- Time period — Set the date range for the data.
For the Stale Access report, you can also set the inactivity threshold: 30, 60, or 90 days.
Step 4 — Generate and review
Click Generate. The report preview loads on screen so you can review the data before exporting.
Step 5 — Export
Click Export and choose your format (CSV or PDF, depending on the report type). The file downloads to your browser.
Schedule a recurring report
You can set reports to generate and deliver automatically.
Step 1 — Open the report you want to schedule
Navigate to Settings > Reports and select the report type.
Step 2 — Configure the schedule
Set the following:
- Frequency — Daily, weekly, or monthly.
- Delivery channel — Email.
- Recipients — One or more email addresses.
- Format — CSV or PDF.
Step 3 — Save the schedule
Click Save. The report will generate and deliver on the schedule you set.
Schedule the Access Matrix report monthly and the Stale Access report weekly. This keeps your data fresh for quarterly access reviews and catches unused permissions early.
Something went wrong?
Report shows no data
Check your filters. If you selected a specific client or platform that has no activity in the chosen time period, the report will be empty. Try broadening the date range or removing filters. See Troubleshooting.
Scheduled report did not arrive
Verify the recipient email address in the schedule settings. Check your spam or junk folder. If the report still did not arrive, try generating it manually to confirm data is available. See Troubleshooting.
Export button is greyed out
You must generate the report first before exporting. Click Generate, wait for the preview to load, then click Export. See Troubleshooting.
For more troubleshooting scenarios, see the full Troubleshooting Guide.
What’s next?
- Review the audit trail — See the raw event log behind your reports. See Audit Trail.
- Set up notifications — Get alerts when compliance drift is detected. See Settings.
- Manage access requests — Review and approve pending access requests surfaced in reports. See Access Requests.
- Configure governance policies — Adjust the policies that reports measure against. See PAM Sessions.