Single Sign-On
This guide walks you through configuring Single Sign-On (SSO) in AccessHive. SSO lets your team members log into AccessHive with their existing identity provider credentials instead of maintaining a separate password.
Time to complete: About 5 minutes.
- You need the Admin or Owner role to configure SSO settings.
- Your identity source must be connected. See Google Workspace Setup or Identity Sources.
- Have your SSO provider details ready (provider name, protocol settings, and any required configuration values).
Navigate to Settings > Single Sign-On to open the configuration page.
How SSO works in AccessHive
When SSO is configured, team members sign in through your identity provider (such as Google Workspace) instead of using a local AccessHive password. The identity provider authenticates the user and sends a confirmation back to AccessHive, which then grants access based on the user’s role and permissions.
This means:
- One fewer password for your team to manage.
- User access is tied to your directory – deactivating someone in your identity provider automatically blocks their AccessHive login.
- You can enforce Multi-Factor Authentication (MFA) through your identity provider’s policies.
Configuring SSO
Step 1 – Open the Single Sign-On settings card
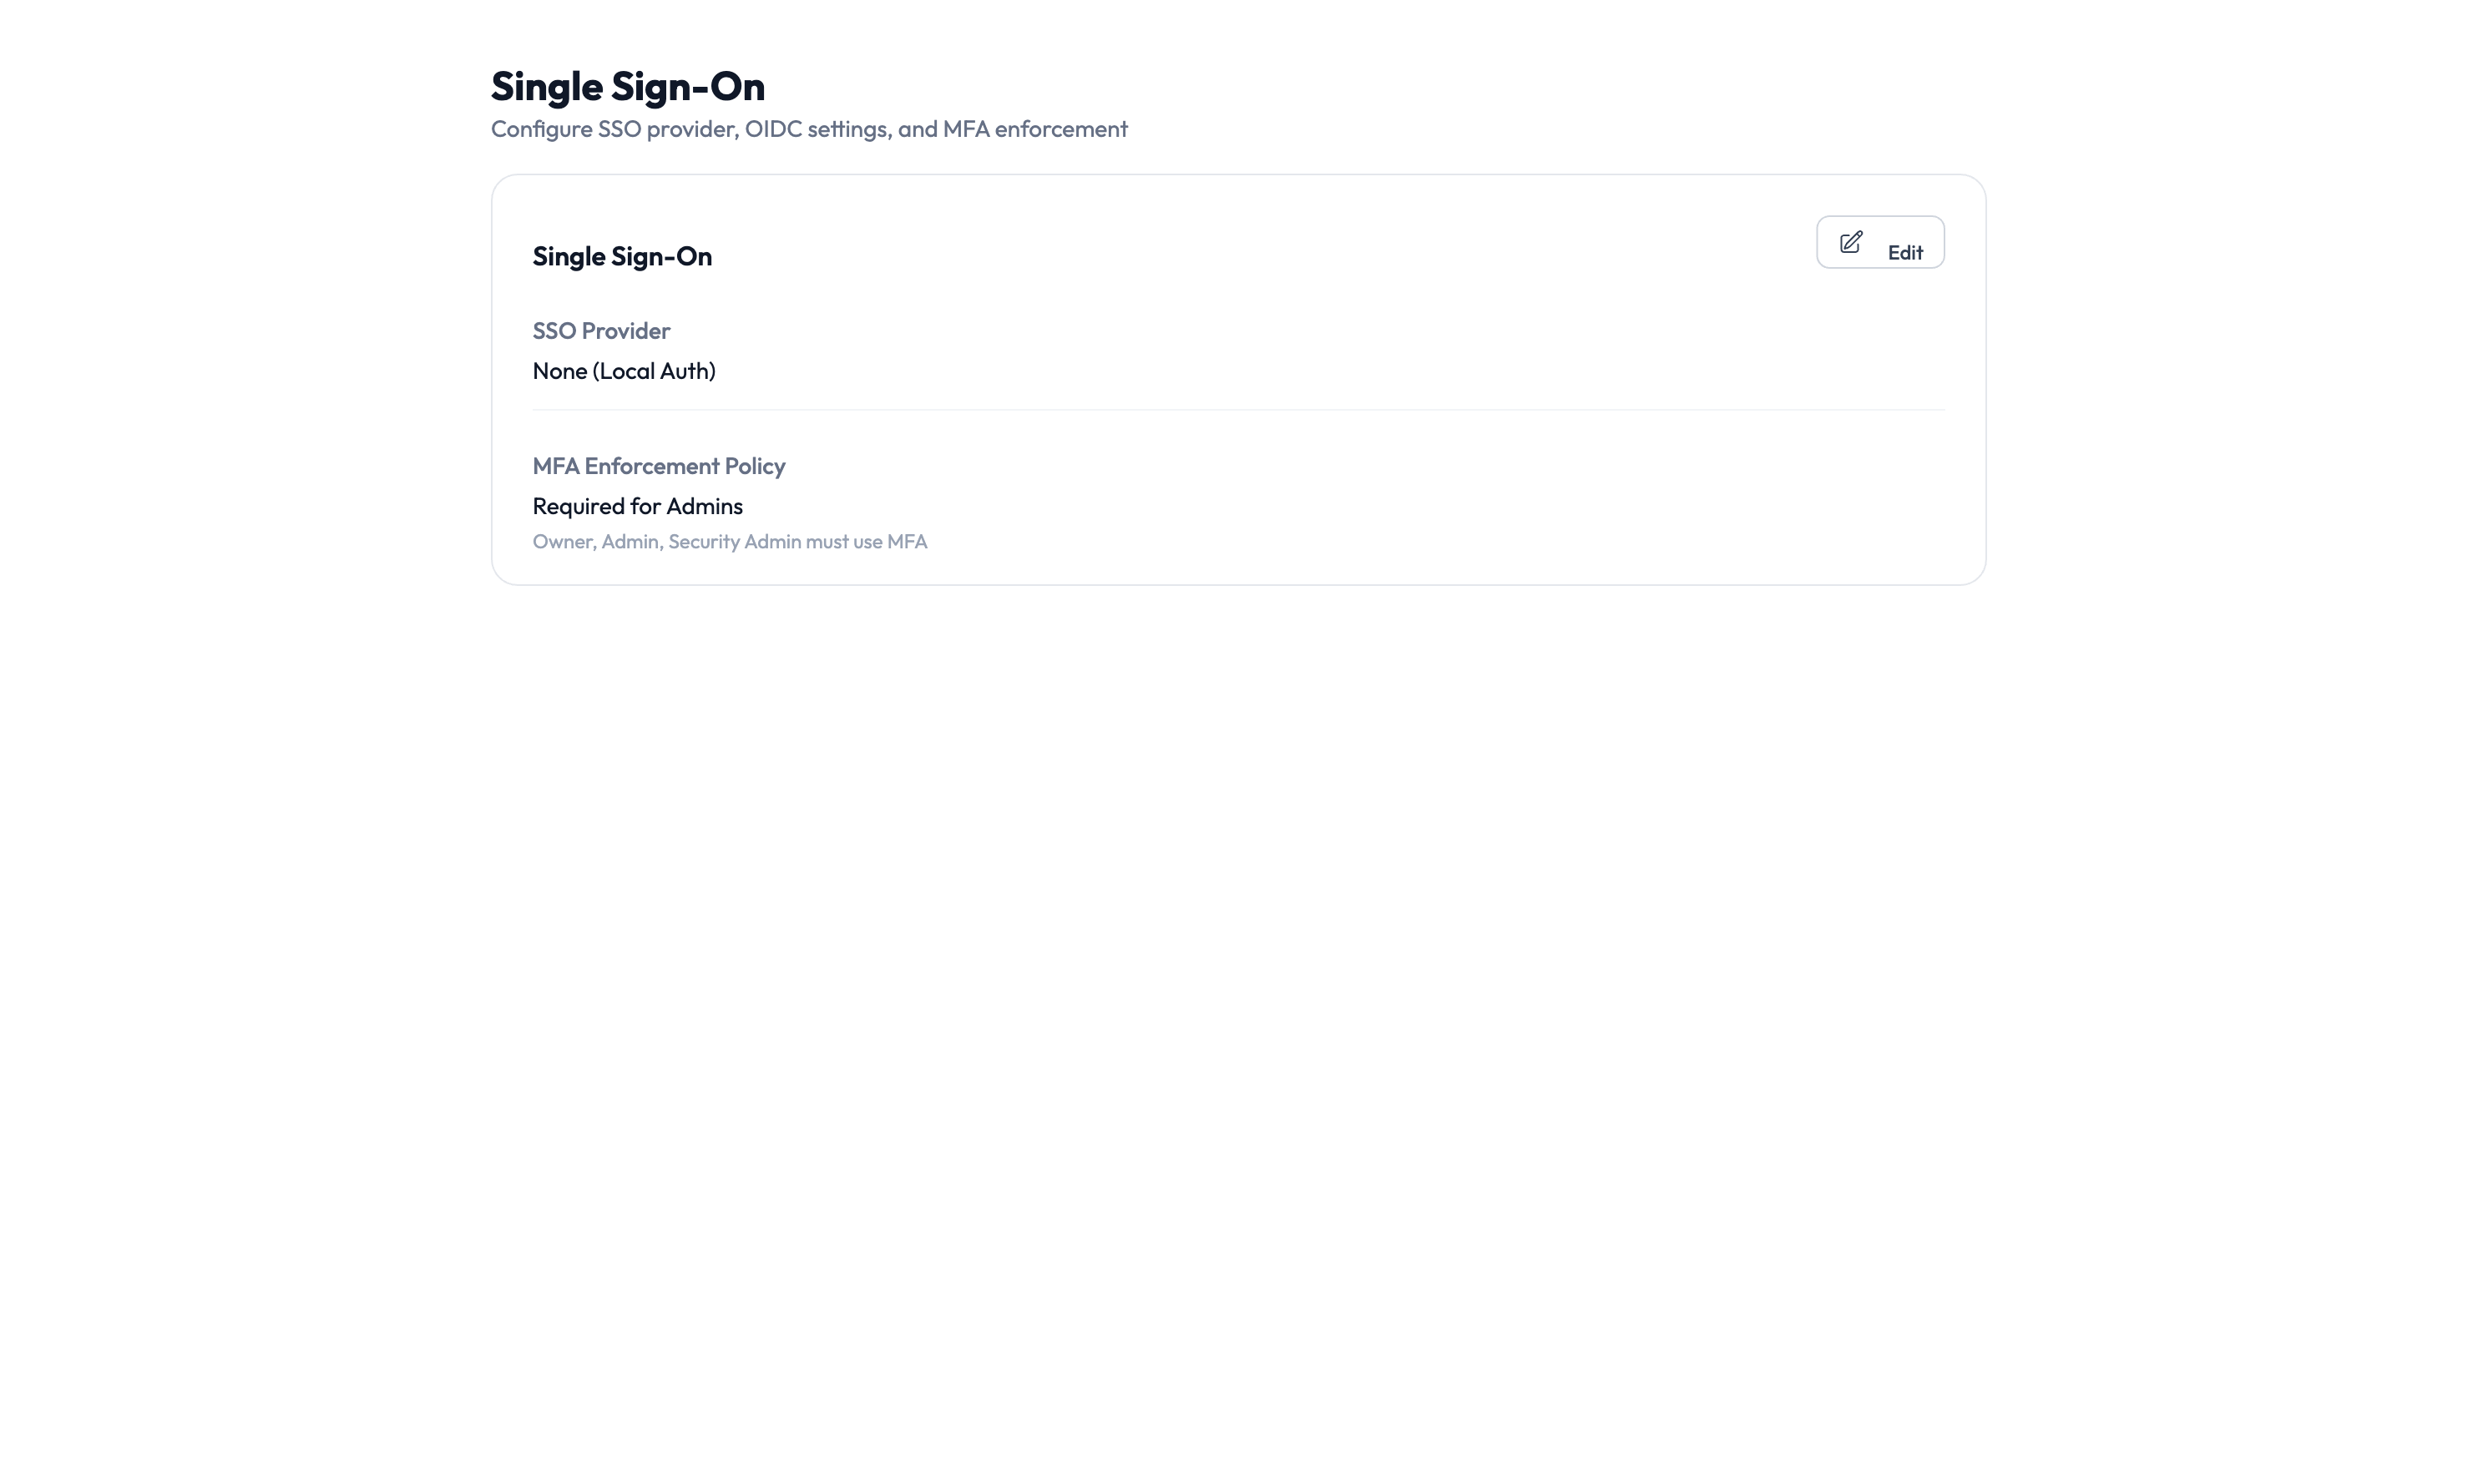
On the Single Sign-On page, click the Edit button on the settings card.
Step 2 – Select your SSO provider
Choose your identity provider from the SSO Provider dropdown. AccessHive supports:
- None (Local Auth) – Team members log in with an AccessHive username and password. No external provider is involved.
- Google Workspace – Team members log in with their Google account.
- Custom OpenID Connect (OIDC) – Connect any identity provider that supports OIDC.
If your agency already uses Google Workspace as an identity source, selecting it as your SSO provider requires minimal setup – the connection is already established.
Step 3 – Configure protocol settings
If you selected a custom OpenID Connect (OIDC) provider, enter the required connection details:
- Issuer URL – The address of your identity provider’s OIDC discovery endpoint.
- Client ID – The identifier for AccessHive in your provider’s configuration.
- Client Secret – The secret used to authenticate the connection.
For Google Workspace, these settings are configured automatically when you connect your identity source.
Step 4 – Set the MFA enforcement policy
Choose how strictly MFA is enforced for users logging into AccessHive:
| Policy | Who must use MFA |
|---|---|
| Required for Admins | Only users with Admin, Owner, or Security Owner roles must complete MFA |
| Required for All | Every user must complete MFA when logging in |
| Not Required | MFA is optional (not recommended for production use) |
Accounts with elevated permissions are the highest-value targets. At minimum, require MFA for admins and owners to protect your agency’s most sensitive operations.
Step 5 – Save your changes
Click Save to apply the SSO configuration. The next time a team member logs in, they are redirected to the configured identity provider.
Testing the SSO connection
After saving your SSO settings:
- Open a private or incognito browser window.
- Navigate to your AccessHive login page.
- Verify that the SSO login option appears.
- Sign in with a test account to confirm the full flow works.
Verify that both admin and non-admin users can log in successfully, especially if your MFA policy differs by role.
Something went wrong?
Users see an error when redirected to the identity provider
Verify that the SSO Provider is set correctly and the connection to your identity source is active. For custom OIDC providers, double-check the Issuer URL, Client ID, and Client Secret. A typo in any of these fields causes a redirect failure. See Troubleshooting.
MFA prompt does not appear for admin users
Check that your MFA Enforcement Policy is set to Required for Admins or Required for All. MFA enforcement happens at your identity provider – verify that MFA is enabled there as well. AccessHive enforces the policy, but the actual MFA challenge comes from your provider. See Troubleshooting.
A user cannot log in after being removed from the identity provider
This is expected behavior. When a user is deactivated or removed from your identity provider, they can no longer authenticate through SSO. If the user still needs access, reactivate them in your identity provider first. See Troubleshooting.
For more troubleshooting scenarios, see the full Troubleshooting Guide.
What’s next?
- Connect your identity source – Set up the directory that powers SSO. See Google Workspace Setup or Identity Sources.
- Configure JML automation – Automate access changes when users join, move, or leave. See JML Automation.
- Manage users and roles – Assign roles that determine what each team member can do. See Settings.
- Review the audit trail – Track login events and authentication activity. See Audit Trail.