Workflows
This guide walks you through creating and managing approval workflows in AccessHive. Workflows define the sequence of steps a request must pass through before access is granted – including who approves, what conditions must be met, and what happens when a step is skipped or delayed.
Time to complete: About 5 minutes to create a workflow.
- You need the Admin or Owner role to create and manage workflows.
- Configure your approval policies first so you understand which requests require approval. See Approval Policies.
- At least one user must have the Approver role. See Settings.
Navigate to Settings > Workflows to open the workflow management page.
How workflows work
A workflow is a named sequence of approval steps. When AccessHive receives a request that matches a workflow’s trigger, it routes the request through each step in order. Each step can require approval from a specific person, a role, or a group – and you can add conditions that control when a step activates.
AccessHive comes with several built-in workflows. You can edit these or create your own.
Built-in workflows
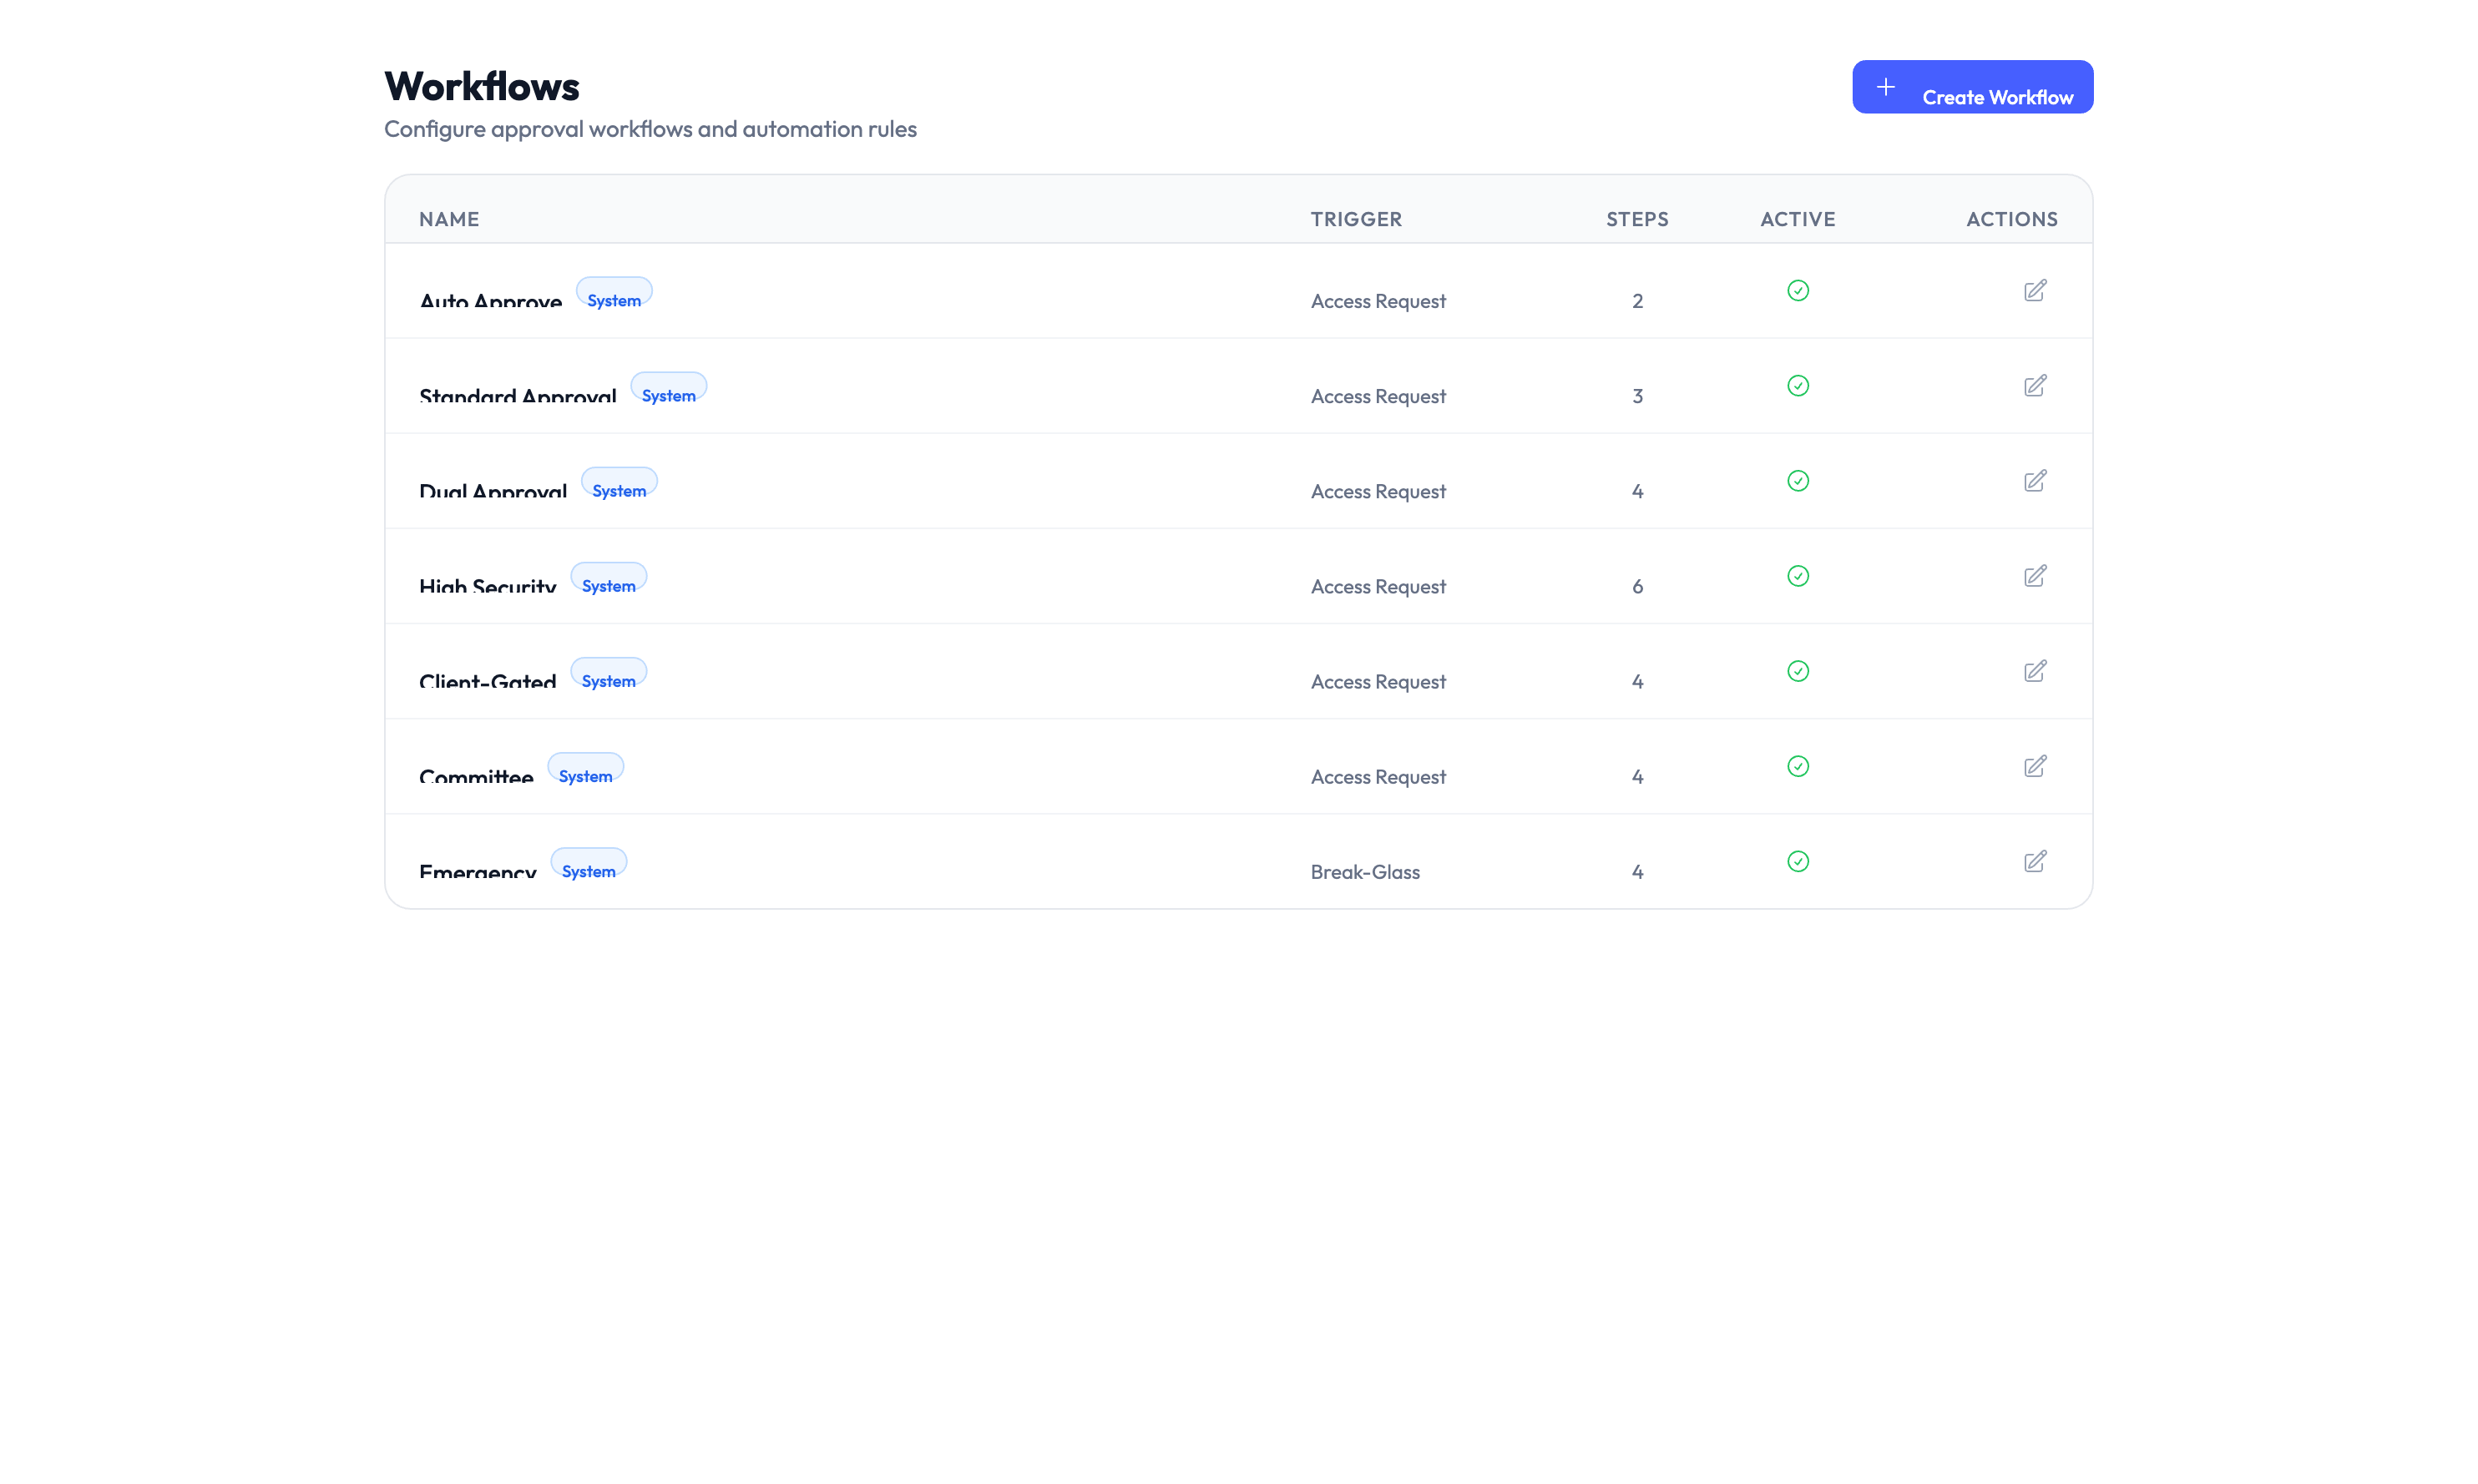
The Workflows page lists your active and inactive workflows. Each row shows the workflow name, its trigger, the number of steps, and whether it is active.
| Workflow | Trigger | What it does |
|---|---|---|
| Auto Approve | Access Request | Automatically approves requests that meet predefined conditions |
| Standard Approval | Access Request | Routes the request to a single approver |
| Tiered Approval | Access Request | Routes through multiple approval tiers based on risk level |
| Multi-Party | Access Request | Requires approval from more than one person |
| Client-Scoped | Access Request | Routes approval to the manager responsible for the specific client |
| Cancellation | Access Request | Handles request cancellation and cleanup |
| Reassignment | Email Open | Reassigns a request when the original approver is unavailable |
Creating a workflow
Step 1 – Open the workflow builder
Click Create Workflow in the top-right corner of the Workflows page.
Step 2 – Name and describe the workflow
Enter a clear name that describes the workflow’s purpose – for example, “High-Risk Platform Approval” or “Client Onboarding Review”. Add an optional description.
Step 3 – Choose a trigger
Select what event starts this workflow:
- Access Request – The workflow activates when a team member submits an access request.
- Email Open – The workflow activates when an approval notification email is opened.
Step 4 – Add approval steps
Build the workflow by adding one or more steps. For each step, configure:
- Approver – Who must approve at this step (a specific user, a role, or a group).
- Condition – Optional rules that determine whether this step activates (for example, “only if risk level is High or Critical”).
- Timeout – How long the approver has to respond before the request escalates.
Step 5 – Set the workflow to active
Toggle the Active switch to enable the workflow. Inactive workflows are saved but do not process any requests.
Step 6 – Save the workflow
Click Save to finish. The workflow takes effect immediately for new requests that match its trigger.
Editing and deactivating workflows
To edit an existing workflow, click the workflow row in the list and make your changes. To temporarily disable a workflow without deleting it, toggle the Active switch off. Inactive workflows remain in the list and can be reactivated at any time.
Editing or deactivating a workflow does not affect requests already in progress. Those requests continue through the version of the workflow that was active when they were submitted.
Something went wrong?
A request skipped a workflow step
Check whether the step has a condition that was not met for this particular request. Open the request detail page and review the workflow execution log to see which steps were evaluated and why a step was skipped. See Troubleshooting.
The workflow is not triggering for new requests
Verify that the workflow is set to Active in the workflows list. Also confirm that the trigger type matches the event – for example, a workflow with an “Email Open” trigger will not activate on a new access request. See Troubleshooting.
Approver is not receiving requests from this workflow
Check the approver assignment on the relevant step. If the step targets a role or group, verify that the approver belongs to that role or group. Also check notification settings under Settings > Notifications. See Troubleshooting.
For more troubleshooting scenarios, see the full Troubleshooting Guide.
What’s next?
- Configure approval policies – Set the default approval mode and risk thresholds. See Approval Policies.
- Manage access requests – See how requests flow through the approval process. See Access Requests.
- Set up role templates – Bundle permissions into reusable templates for faster onboarding. See Role Templates.
- Review the audit trail – Track workflow execution and approval decisions. See Audit Trail.