Permission Analysis
This guide shows you how to use the permission analysis tool to review who has access to what across your agency. Permission analysis calculates effective access by combining role assignments, platform connections, and governance policies into a single risk-scored view.
Time to complete: About 5 minutes for a full review.
- You need the Admin or Security Manager role to access permission analysis.
- At least one identity must exist in your agency. See Creating Identities.
- For the most accurate results, ensure your platform connections are up to date. See Platform Connections.
Navigate to Settings > Permission Analysis in the left sidebar.
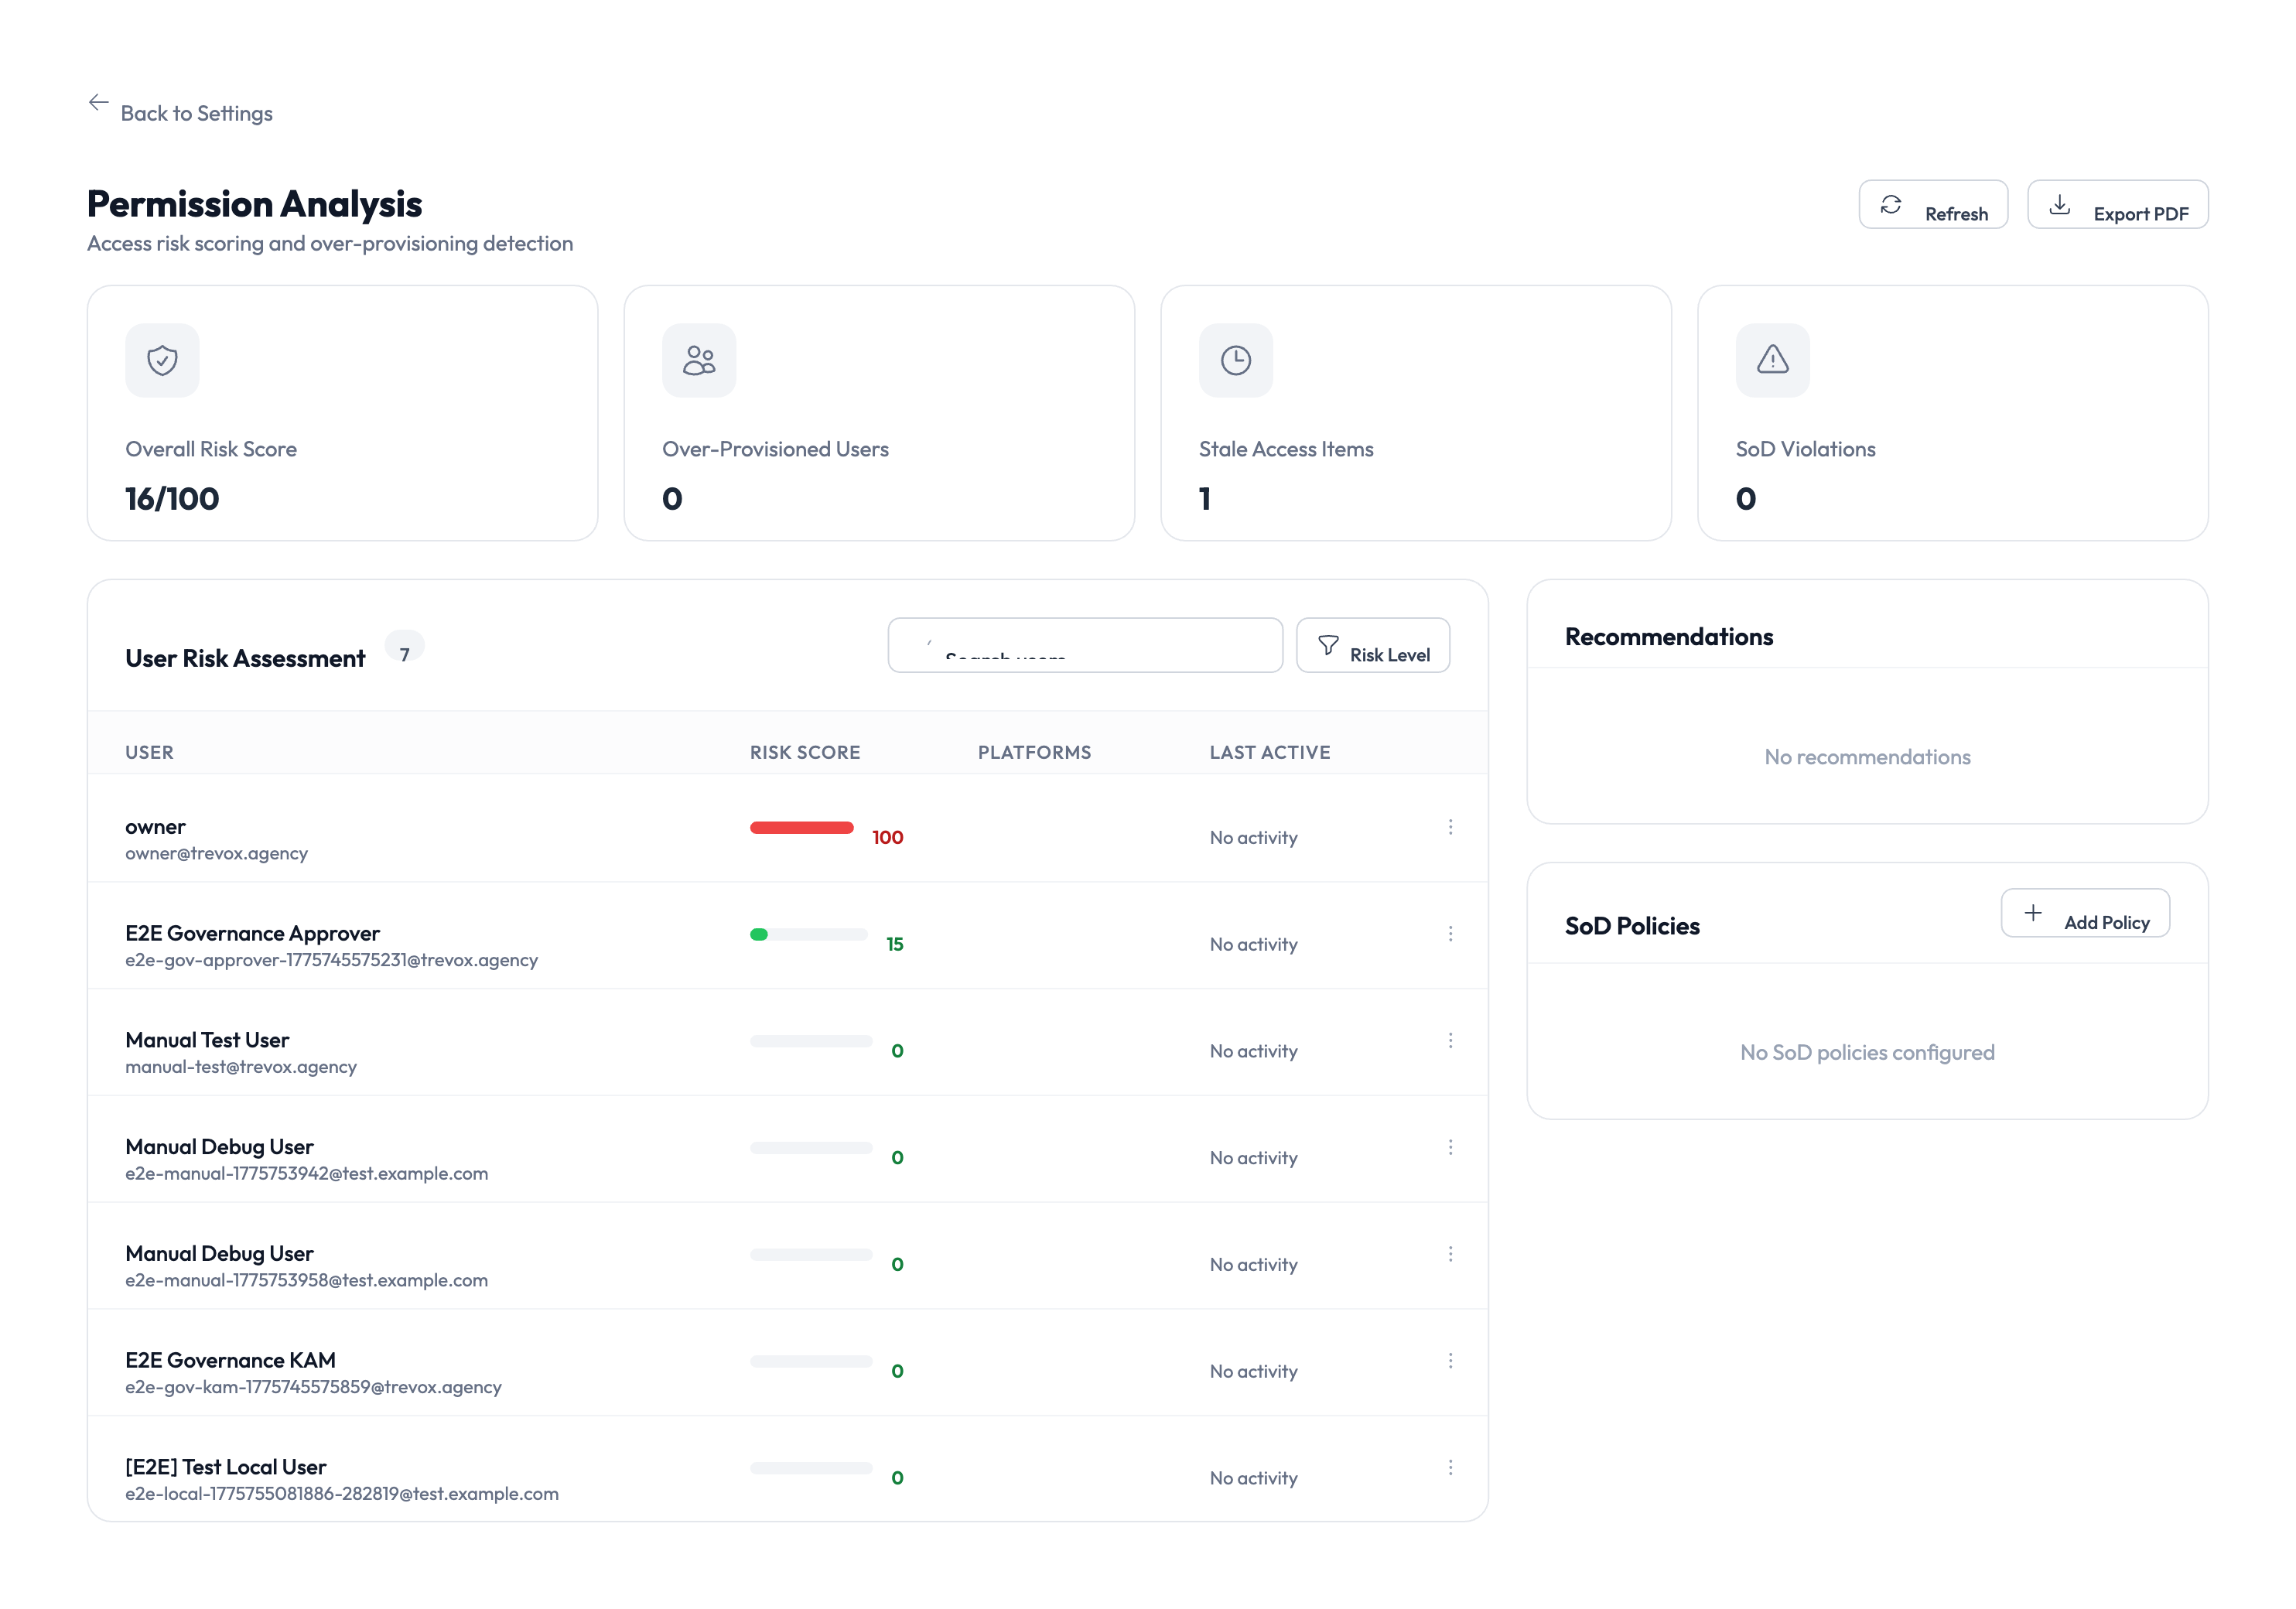
Understanding the summary cards
The top of the page shows four cards that summarize your agency’s access landscape.
| Card | What it tells you |
|---|---|
| Overall Risk Score | A numeric score (out of 100) reflecting the combined risk across all users and identities. Lower is better. |
| Over-Provisioned Users | The number of users who have more access than they actively use. These are candidates for access reduction. |
| Stale Access Items | Credentials or role assignments that haven’t been used in a significant period. Consider revoking them. |
| SoD Violations | Separation of Duties conflicts where a single user holds roles that should be kept separate for security reasons. |
Reviewing the User Risk Assessment
The main table lists every user in your agency, ranked by risk score. Each row shows:
- User name and email – who the user is.
- Risk score – a color-coded indicator (green, yellow, red) showing relative risk.
- Platforms – which platforms the user can access.
- Last active – when the user last performed an action.
Step 1 – Sort and filter the list
Click the column headers to sort by risk score, name, or last active date. Use the search bar above the table to find a specific user. Use the Role filter to narrow results to users with a particular role.
Step 2 – Investigate high-risk users
Click any user row to expand their access details. The expanded view shows:
- Every identity the user can access and through which role.
- The governance policies that apply to each identity.
- A breakdown of how the risk score was calculated.
Step 3 – Take action on findings
Based on your review, you can:
- Remove unnecessary role assignments from the user’s profile.
- Revoke access to identities the user no longer needs.
- Adjust governance policies to require approval for high-risk access.
Focus your review on users with red risk scores first. These users have the highest combination of broad access, policy exceptions, or inactive credentials that could pose a security risk.
Recommendations panel
The right side of the page shows a Recommendations panel with suggested actions to improve your security posture. These are generated automatically based on the analysis and may include:
- Revoking stale access that hasn’t been used recently.
- Enabling Separation of Duties (SoD) policies that aren’t yet configured.
- Reducing over-provisioned users to least-privilege access.
Each recommendation links to the relevant settings page where you can make the change.
Running a fresh analysis
Click the Refresh button in the top-right corner to re-run the analysis with the latest data. The analysis scans all users, identities, and policies, which takes a few seconds. The page updates automatically when the scan completes.
Something went wrong?
Risk scores seem inaccurate
Risk scores are calculated from platform access, session history, and policy compliance. If a user’s score seems wrong, check that their role assignments and identity access are up to date. Recently changed permissions may take a moment to reflect. See Troubleshooting.
No SoD policies configured
If the Recommendations panel shows a message about Separation of Duties policies, it means your agency hasn’t configured any SoD rules yet. Go to Settings > Governance to define which roles should not be combined. See Governance.
Over-provisioned count is higher than expected
The system flags users who have access to identities they haven’t used within the configured lookback period. This is not always a problem – some access may be needed infrequently. Review each flagged user individually before revoking access. See Troubleshooting.
What’s next?
- Review the executive dashboard – See the big picture of your security posture. See Executive Dashboard.
- Configure governance policies – Set up SoD rules and approval workflows. See PAM Sessions.
- Manage role templates – Define standardized role sets to reduce over-provisioning. See Role Templates.
- Check the audit trail – Review historical access events for flagged users. See Audit Trail.